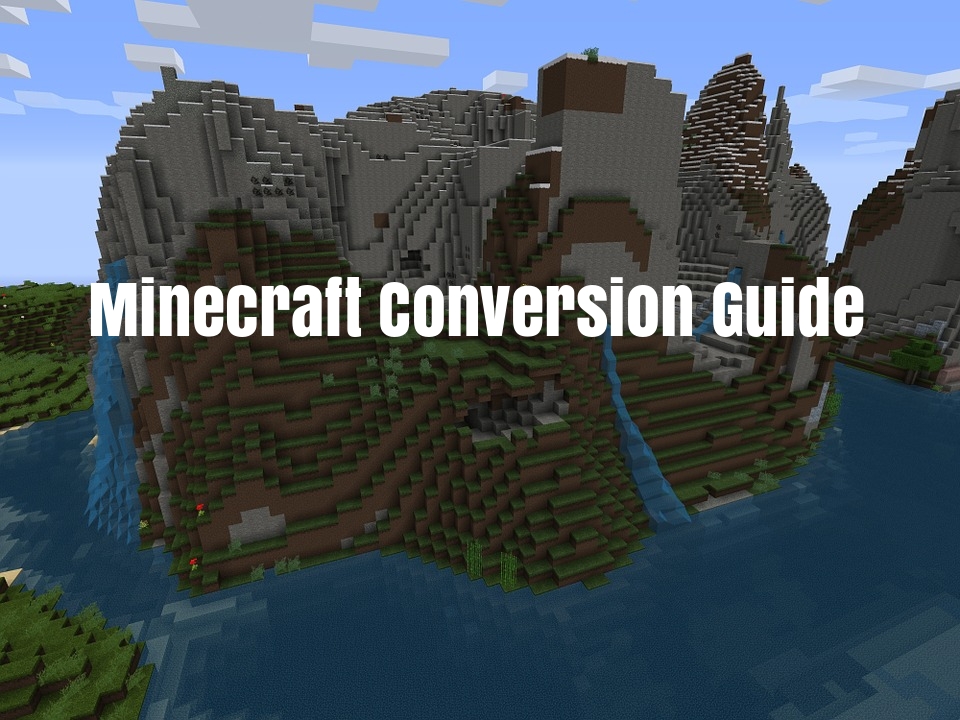
Minecraft Conversion Guide: What You Need to Know before Switching from Minecraft Java to Bedrock

By Fernando Raymond | November 10, 2021
Minecraft has had several versions, ranging from Pocket Editions, Console Editions, and even Pi Editions; now it has settled for two lanes of development with the incredibly popular titles: Java and Bedrock Editions.
If you’ve worked hard to build your Minecraft Java world, it should please you to know that you can be able to convert to the Bedrock format on Windows 10, as required for Minecraft with RTX.
While the two major versions of Minecraft are now closely similar, but still there are some visible differences. And there’s a lot of confusion on why you should play either one and why Mojang and Microsoft continue to develop and invest in what’s essentially separate games.
Also read: Minecraft Java vs Bedrock Edition: How to Choose the Best Minecraft for Your Gaming Needs!
The Java Edition of the game has always had priority in updates and new content, while the other versions would often lag behind. Albeit, the game was unplayable on other platforms, so players on would have to wait months to see features that Java Edition had been enjoying.
In this Minecraft conversion guide, we’ll show you the steps, though not official guide for Minecraft world conversion, so it is recommended that you have backups of all your worlds and files before you proceed, in case things get stuck!
What You Need to Know before Switching from Minecraft Java to Bedrock
Mojang wanted Minecraft to be the same across all versions, which led to The Better Together Update that brought the Pocket and Console Editions together, with promise of the same frequency of updates and features across the lineup.
The update also promised cross-platform support for multiplayer, which means that players on different platforms would be able to play with one another on the same version. This was made possible with the new Render Dragon engine and other backend improvements, which Mojang named “Bedrock.”
That was the birth of Minecraft: Bedrock Edition, and despite the move for Minecraft to become a unified game across all platforms, Mojang still do actively develop the Java Edition as separate entity from the Bedrock Edition.
But, it’s pretty hard not to see the actual gap, which for some obvious reasons, the Java and Bedrock Editions still look and feel different from each other.
Among the major differences between the two versions, include support for mods and a number of minuscule differences such as number of “inventory” spaces within a piglin, or how many items you might find in a chest.
Then comes the question, why should you switch from Minecraft Java to Bedrock Edition?
Minecraft Java or Bedrock Edition?
Both Minecraft Java and Bedrock Edition started on opposite ends of the spectrum, and catered for different audiences with opposing game philosophies. Mojang had it all cut out for them, with separate teams working on each of the version.
The Bedrock Edition requires lower-powered hardware than Java Edition and simply can’t do some things the Java Edition can easily do. But why should gamers on the Java Edition have to downgrade to Bedrock? Perhaps, it could be for the sake of parity!
The actual conversion from Minecraft Java to Bedrock is like pulling off a big feat, as bringing Bedrock in line with the decade-old Java Edition is itself a Herculean task. That’s why most of the game changes and fixes which bring the two closer together are only ones you may never notice.
And the next major update for Minecraft, the Nether Update, will bring the version numbers of the two Minecraft editions together for the very first time.
Both versions exist and will always be, as they are there to accomplish different things. So, if your choice is between excellent performance for mobile device and increasing the things piglins can hold in its inventory, then go for the Bedrock Edition.
How to Convert a Minecraft World From Java to Bedrock (Windows 10)
We’ll be using a third-party converter known as the Universal Minecraft Converter, which you can download and setup from here!
Step 1: Input the Java World
After installing the Universal Minecraft Converter, launch the tool and select the Minecraft Java world that you want to convert.
- Click the PC (Java) Button to view your Minecraft worlds.
- Double click on the World to input a world stored elsewhere on your PC
- Select by clicking the Browse button at bottom of the window, then click Open.
Step 2: Convert the World
- Click the Windows 10 button to select the output platform.
- Click Start to begin the conversion.
Step 3: Save the Converted World
If the conversion went successfully, the Windows 10 button will show a full green border.
- Now, click the Windows 10 button to open the save window.
- Enter the name for the converted World and save it (kindly note the following: Save: saves the converted world directly into your Minecraft Windows 10 save folder
Save As: saves the converted world as a folder to the chosen location
Save as .mcworld: saves the converted world as an .MCWORLD file). - As the converted world has been saved, you can now close the converter or reset it by clicking the PC (Java) button.
And congratulations, as you have successfully converted your Java world to Bedrock!
Conclusion
As you can see, the world conversion can be completed in minutes if you’re familiar with the workflow, which enables you to quickly switch your Java worlds to Bedrock.
Bedrock Edition is the best suitable for casual players, and it’s easier to hop into, and more stable than the Java Edition. But if you enjoy customizing your world, using commands, working with Redstone or prefer a customized experience and already know your way around the Java edition of the game, it’s best to still stick with it.
You can check out the guide on how to play MInecraft with friends (for beginners) with instructions and hacks, all covered for you to get started and play online with the option of joining SeekaHost free Minecraft servers. With step-by-step instructions to show you how to get your friends to join your server and tips to build your own community!
Author Profile
- Founder & CEO - SeekaHost
Latest entries
 OtherNovember 10, 2021Minecraft Conversion Guide: What You Need to Know before Switching from Minecraft Java to Bedrock
 Minecraft Playing TipsOctober 31, 202115 Best Minecraft Seeds: How to Pawn for the best Adventures
 OtherAugust 18, 202115 Minecraft Vocabulary Words You need to Get Started on Your Minecraft Adventure
 Minecraft Playing TipsAugust 5, 202110 Best Minecraft Maps & Where to get the best Minecraft Adventure Maps