 SeekaHost.com Client Area
  SeekaHost.app
  SeekaHost.co.uk
  SeekaHost.in
How to Enable Two-factor Authentication for SeekaHost Email

By Frank Carson
Table of Contents
Enable Two-Factor Authentication (2FA) is a must option to protect any account in terms of privacy by adding second layer of protection apart from usual mail address and password to login. This option also works out for SeekaHost Business Email Hosting using the third party app in mobile configure with webmail interface.
This article describes how to enable two-factor authentication (2FA) for a Professional Email account and provide an extra layer of security for your account.
Why Enable Two-factor Authentication?
As said, Two-factor authentication gives you added advantage of protecting your account with more security instead of just protecting with email and password. Because in this modern world, all account is not secure and there is no proof that you can safe the data with strong password.
If you enable Two-factor Authentication for your email hosting, even if someone hack your email account of password they need your special code (mix of letter, character and number) to login to the email account. You can enable the two-factor authentication by installing the authentication app in mobile with email account to complete this process.
What Needed to Configure?
You just need to do two important steps to use two-factor authentication with your SeekaHost Business Email Hosting.
1. First, install an authenticator app on your mobile:
- Google Authenticator app or Duo Mobile app -> For Google Android and Apple iOS devices or Blackberry.
- Authenticator app or the Azure Authenticator app -> For Windows Phone and other Microsoft Windows-based devices.
2. Second, you need to scan and update the six digit code to enable two-factor authentication for the account in webmail.
Note: This Two-factor authentication will not work if you have configured your mail account in Gmail, Outlook, or another provider, that does not have any 2FA feature. This 2fa will work only with the mail application support.
Let’s guide you with process to enable two-factor authentication for SeekaHost Business Email Hosting.
How to Login to Mail Account from Client Area:
Step 1: Login to your SeekaHost client area.
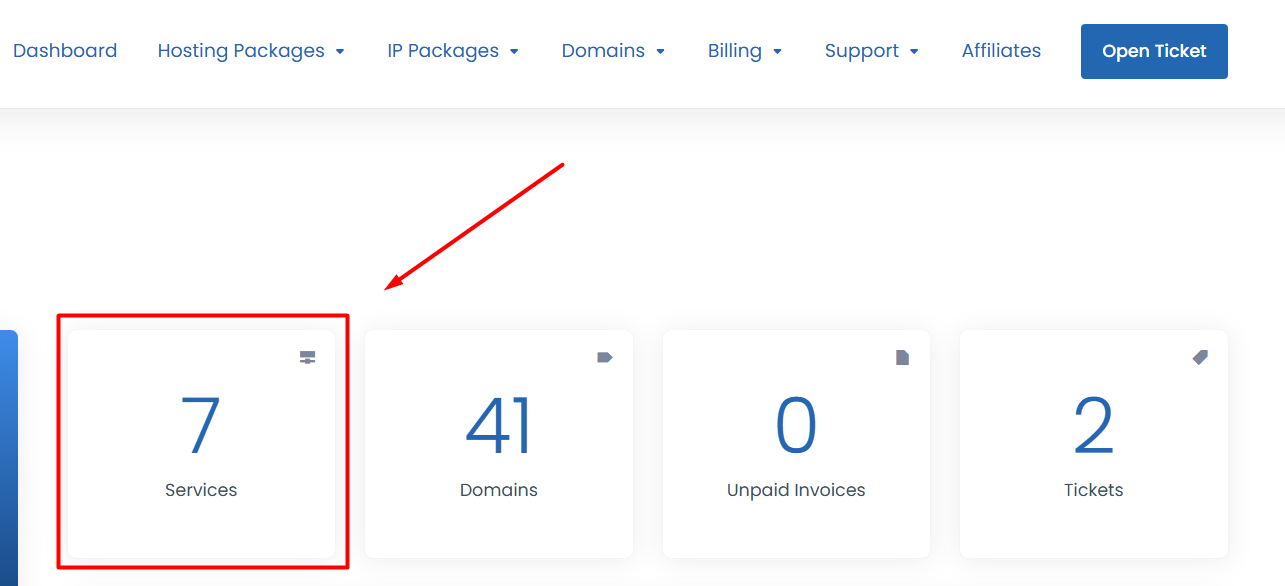
Step 2: Click “Services” section in the dashboard page.
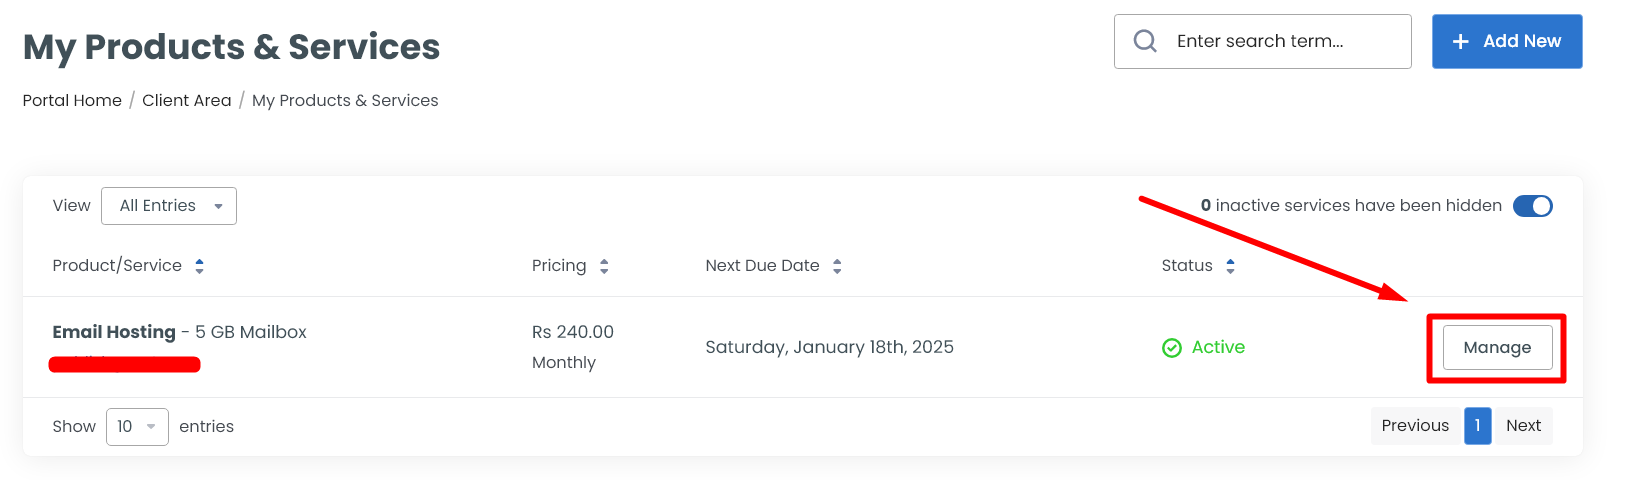
Step 3: Click ‘Manage’ button near the email hosting plan name.
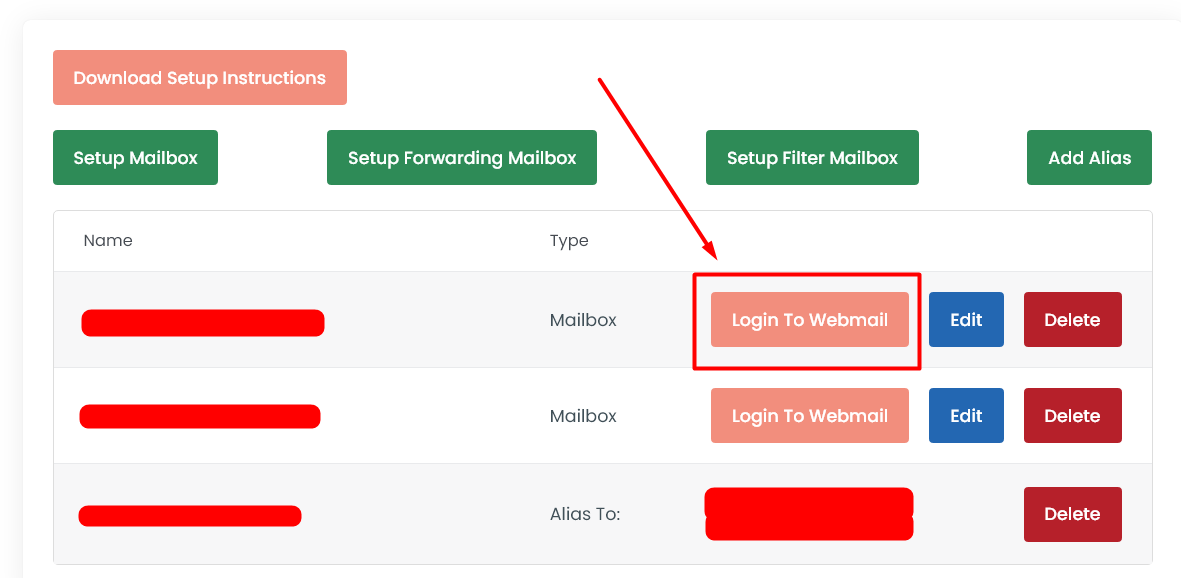
Step 4: Scroll down to the bottom of the page. Click “Login to Webmail” button near the email account for which you want to enable two-factor authentication.
Step 5: Now, enter the email address and password to login.
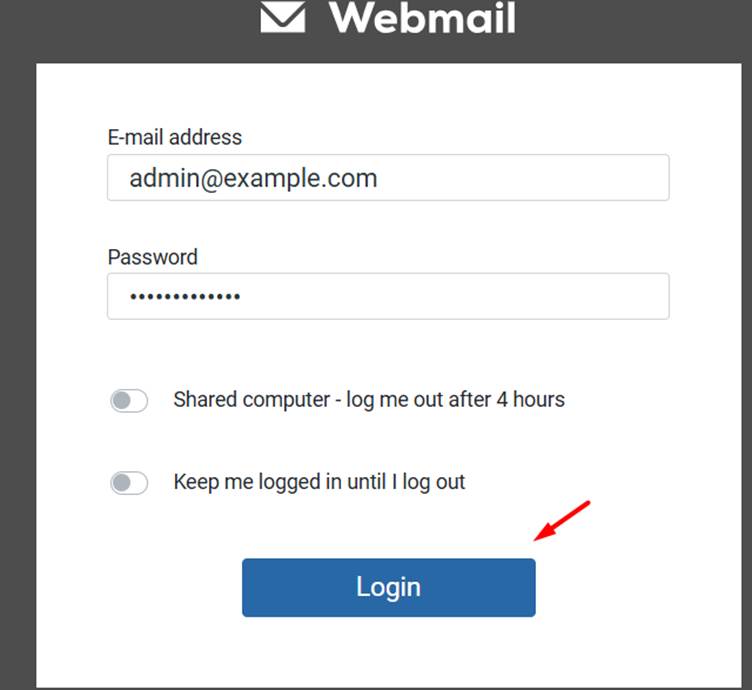
Step 6: You can also login to webmail account without accessing the client area using the URL – https://mail.hostedemail.com/ and enter the login details.
Methods to Enable Two-factor Authentication:
1. Through Mobile App
2. Through SMS based authentication
1. Through Mobile App
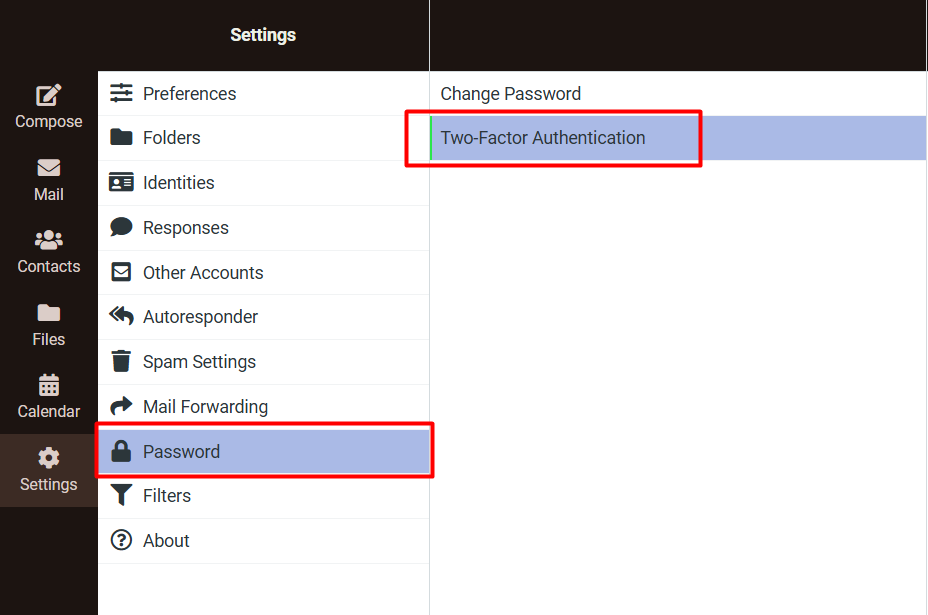
Step 1: After login to webmail account, click “Settings” option on the left sidebar -> Password -> Two-Factor Authentication
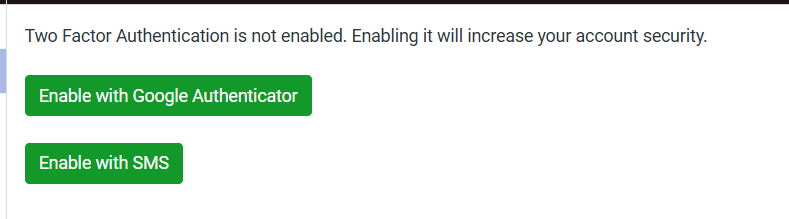
Step 2: Choose any one of the 2fa Authentication methods Via authenticator app. Here, we choose type as “Enable with the Google Authenticator” option.
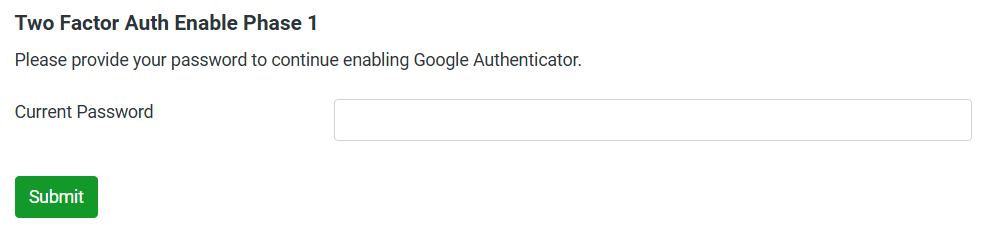
Step 3: Enter the email account password again and click “Submit”.
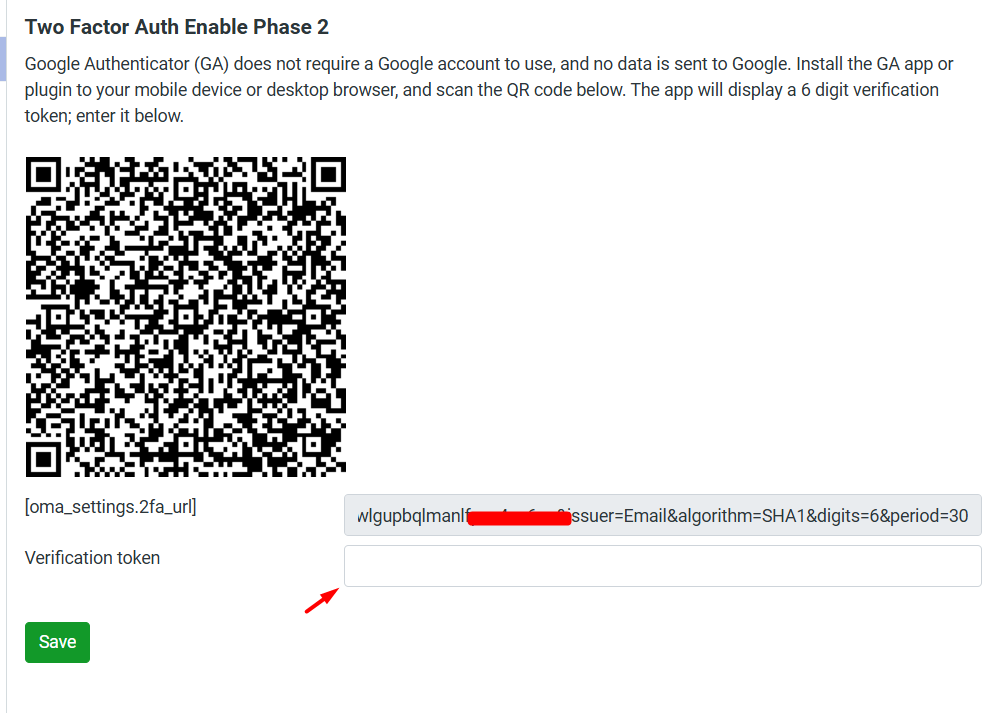
Step 4: Scan the QR code and enter the 6 digit code in the verification token. Click “Save” Button.
Step 5: Now you will be automatically logged out. Once you enter login details to login webmail, you will now be requested to enter the six digit code from authentication app.
2. Through SMS based authentication
Step 1: After login to webmail account, click “Settings” option on the left sidebar -> Password -> Two-Factor Authentication
Step 2: Choose type as “Enable with SMS” option.
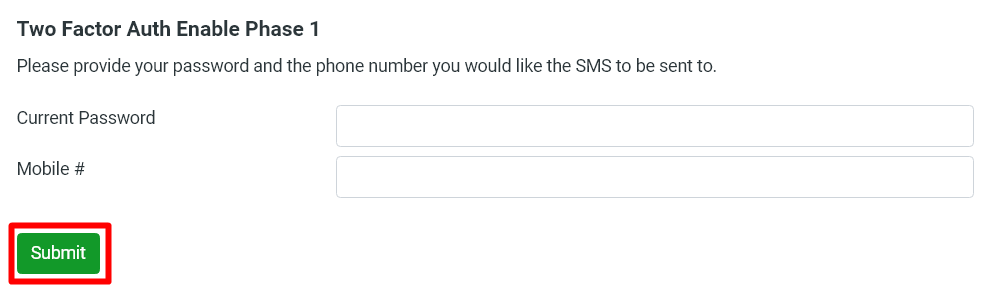
Step 3: Enter the email account password again with phone number you will be configuring and click “Submit”.
Note: When providing the phone number, please include the country code as a prefix.
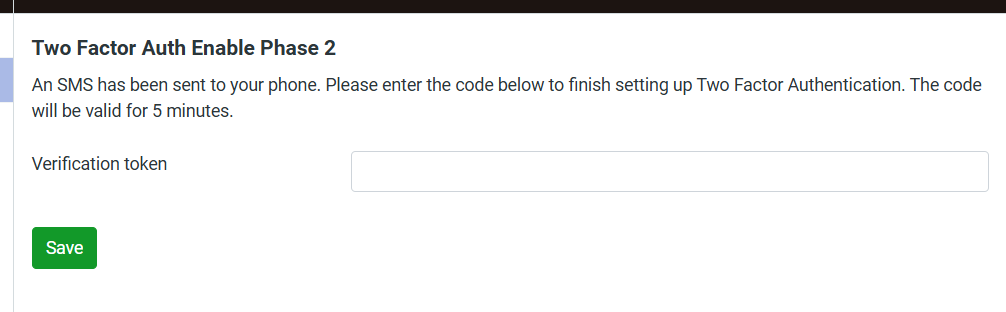
Step 4: Once the authentication code is received through SMS, enter the six-digit code. Click “Save”.
Step 5: Now you will be automatically logged out. Once you enter login details to login webmail, you will now be requested to enter the six digit code from authentication app.
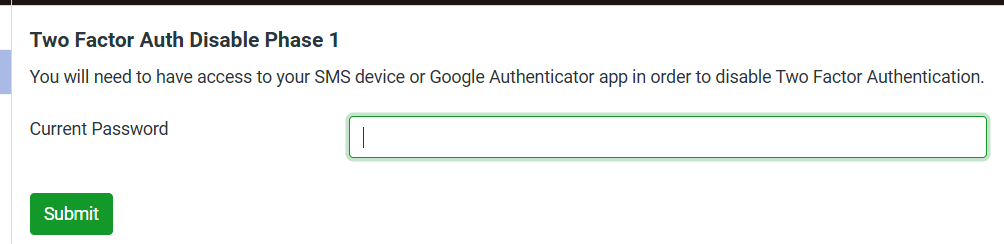
How to Disable the Two-Factor Authentication:
Step 1: After login to webmail account, click “Settings” option on the left sidebar -> Password -> Two-Factor Authentication
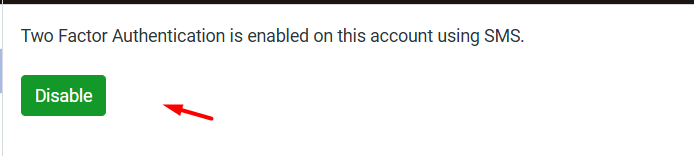
Step 2: Click ‘disable’ button.
Step 3: Enter your mail account password and click enter.
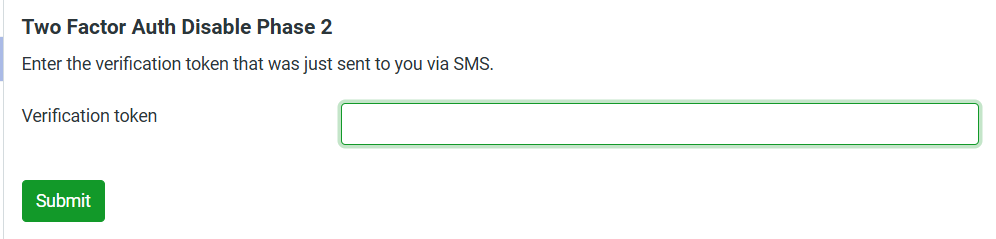
Step 4: Enter the verification code you received from via Google authentication or SMS
Additional Related Resources:
2. Configure Email Records in Domain
3. Configure Email Records in cPanel
4. Setup DKIM record for the domain
That’s all to know about disable or Enable Two-factor Authentication for SeekaHost Business Mail.