 SeekaHost.com Client Area
  SeekaHost.app
  SeekaHost.co.uk
  SeekaHost.in
How to Set/Modify NameServer in Namecheap?

Hosting is the base for a website and it is important to choose the reliable hosting provider for your website. If you are hosting your domain somewhere then the hosting provider will give you the IP Address and Name Server Details to update in your domain. If you are hosting the PBN’s then you will be provided with private nameservers. Here i have explained how to set the private name server in Namecheap Account.
- Sign-in to Namecheap Account with your Login Details
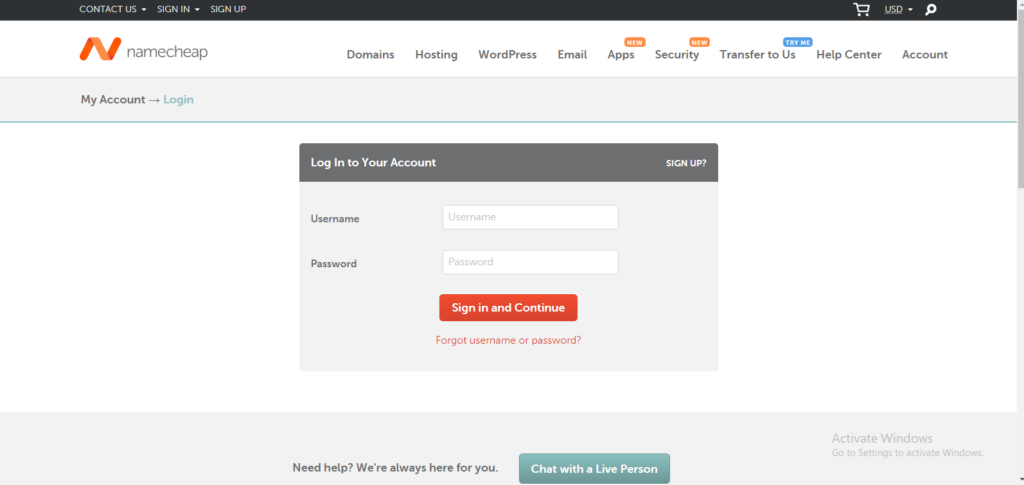
- After Successful Login, you will be redirected to Account Dashboard.
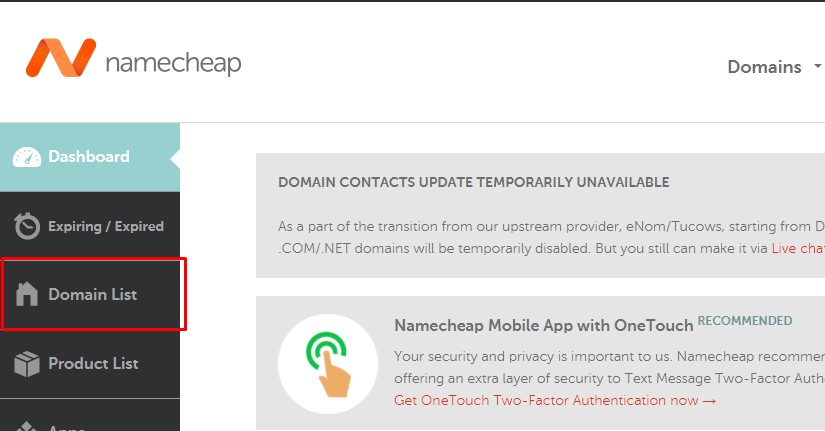
- Click on Domain List on the left side bar as shown in the below image.
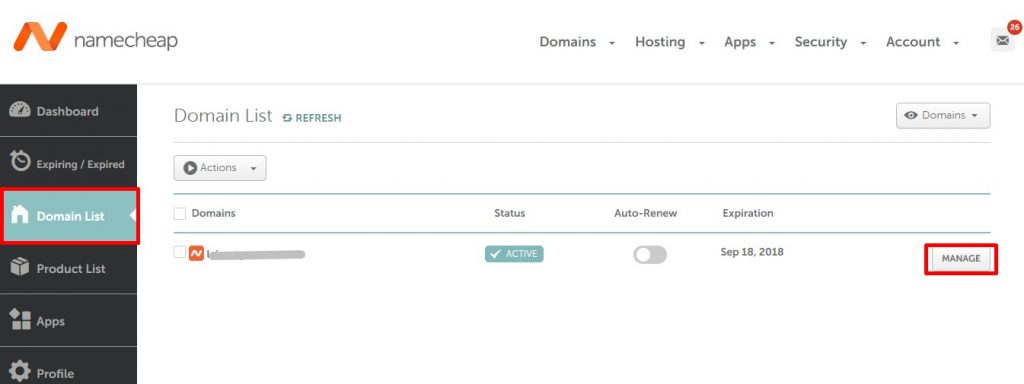
- Click on the Manage button next to your domain name.
- Go to Advanced DNS as in the below image.
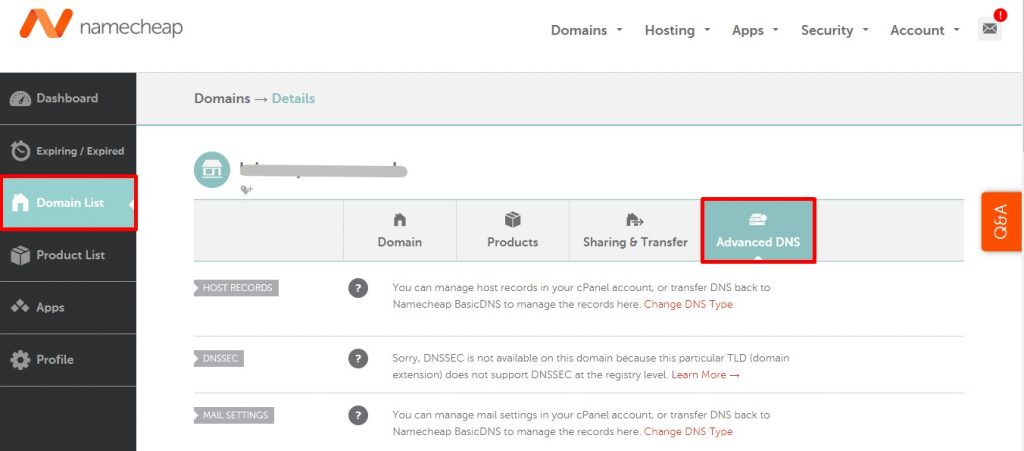
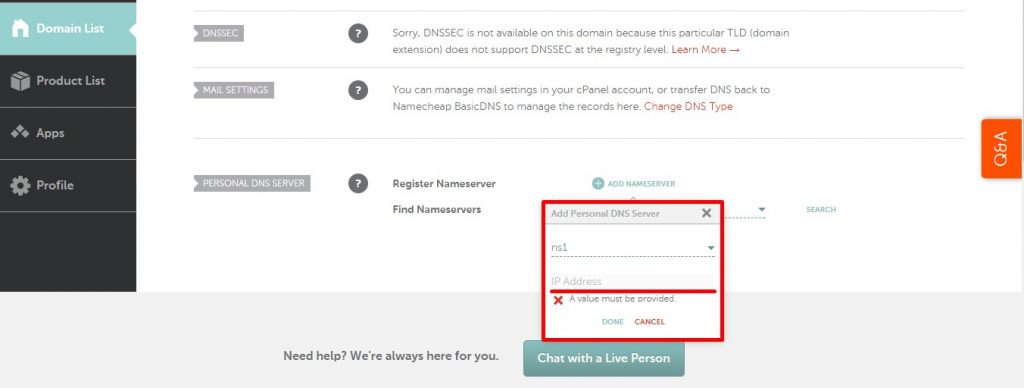
- Under Personal DNS Server click on “+ADD NAMESERVER” and choose ns1 and enter the respective ip address. Follow the same to add other nameserver details.
- After entering the IP Address click on done.
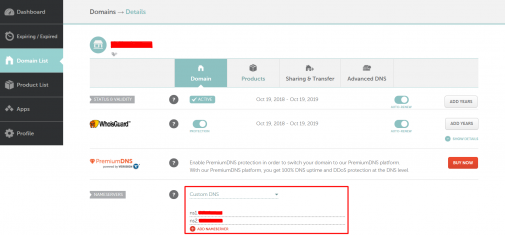
- Under “Domain” section you can see an option as Nameservers, select Custom DNS in the drop down and update the given name server as shown in the image.
NOTE: Namecheap does not accept private nameservers for .de domains. Please check with their support team regarding this issue. In the meantime, you can update DNS records to connect with your hosting.
Read more to set private nameserver in Godaddy