

How to Start a Blog with Seekahost?

Are you interested in Creating your Own Blog? then that’s the right idea to do it. But when you search over the web to do it, then everyone will be confusing with their own ideas and thoughts. During the start, i too felt the same and it is a great learning too. But anyway, it’s the right idea to start your blog with Seekahost.
Step By Step Guide to Get Started with Seekahost Blog
Before getting started you must know few things like what’s the basic need to create a Blog. To create a Blog, you must have a Domain Name, Content Management System and Hosting.
- To Register a New Domain, Visit->seekahost.com/register-domain
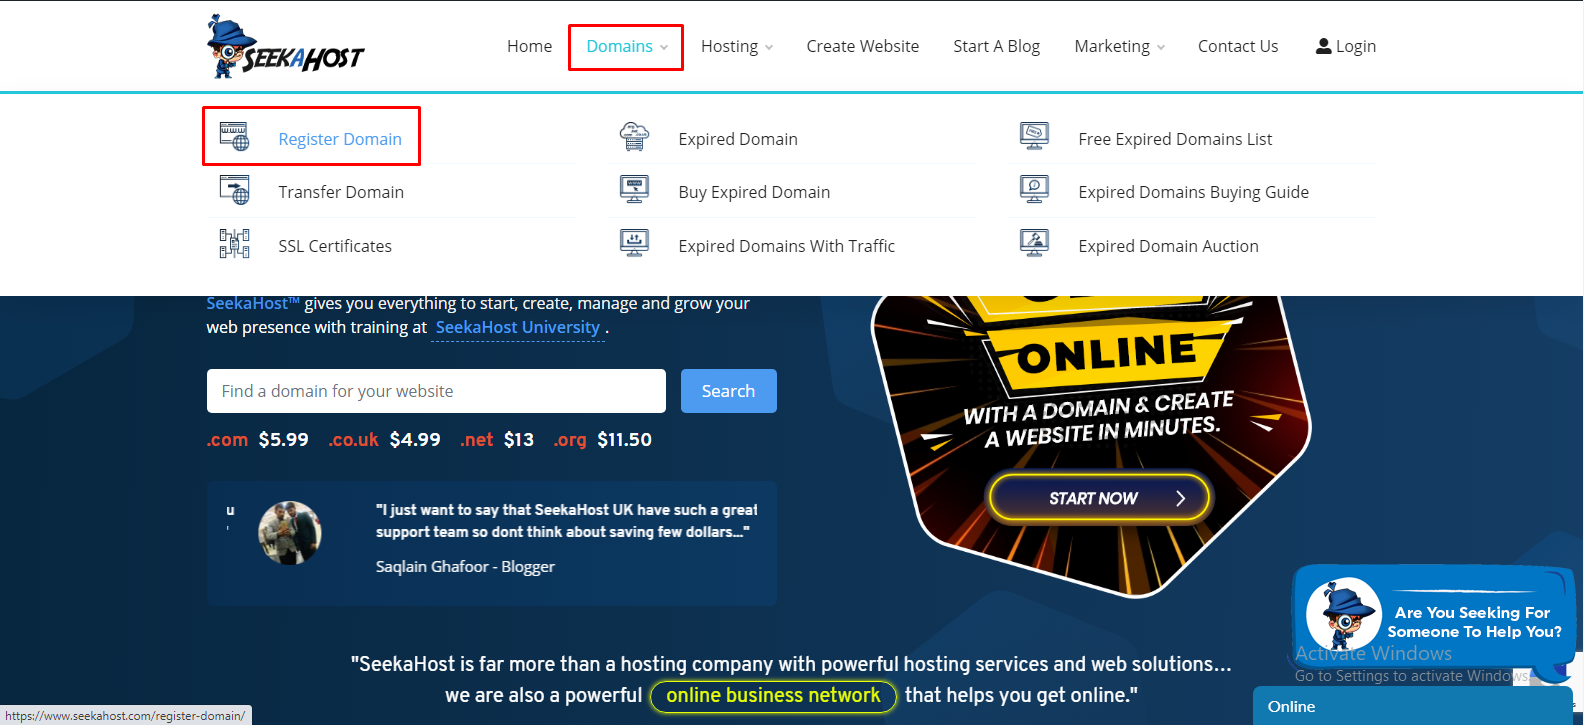
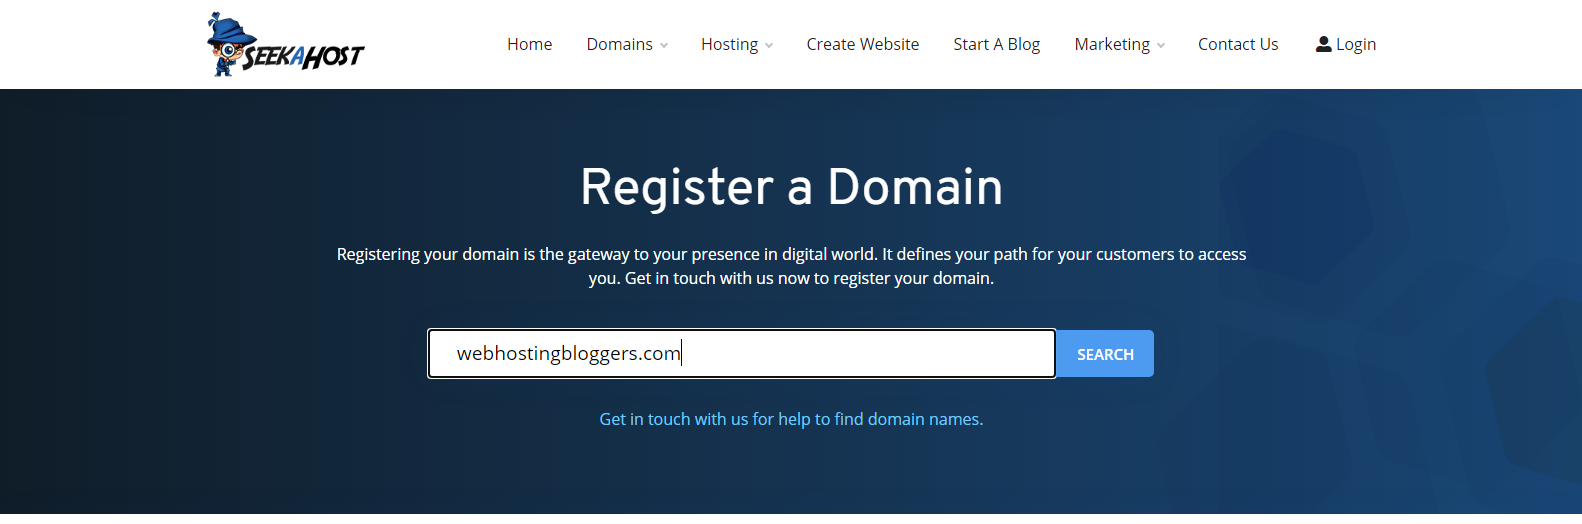
- Search the domain name that you have chosen to create a blog under that name.
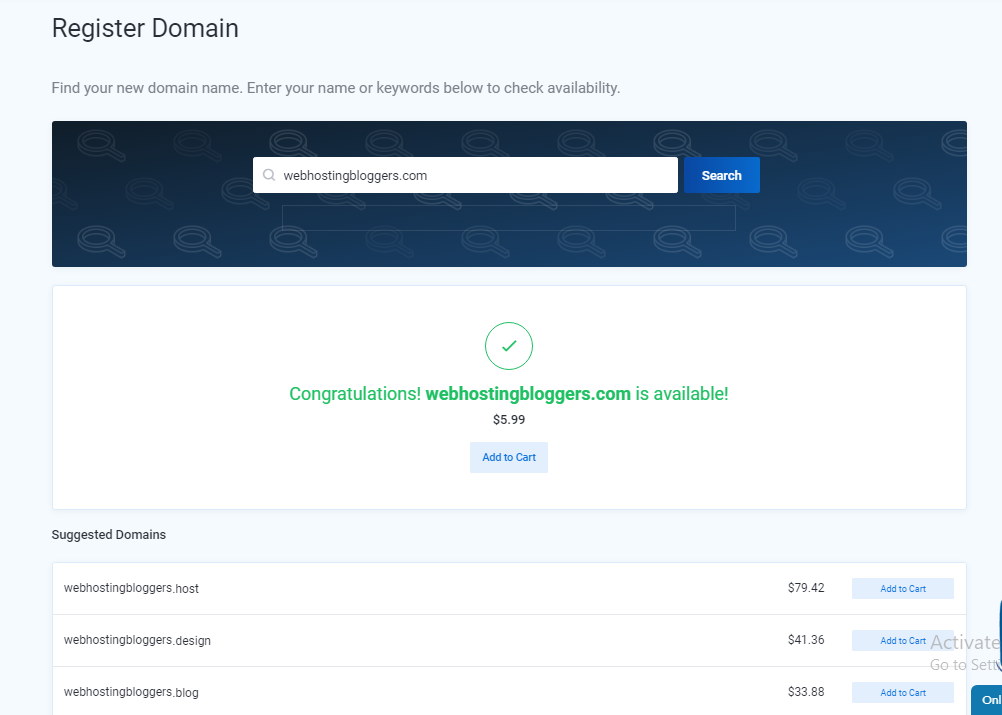
- If suppose the domain name is chosen, then it will show you some alternative and most relevant domains. If you are interested in one of that then just select the domain and click on “continue”.
- After choosing the Domain Name, it will show you the Domain Configuration details like Hosting, Registration Period & Addons as shown in the below image.

- You can choose the Add Ons, which is available for Free & Paid, and click on “continue”.
- After that, you can review your domain and check it out.
Choose Your Hosting
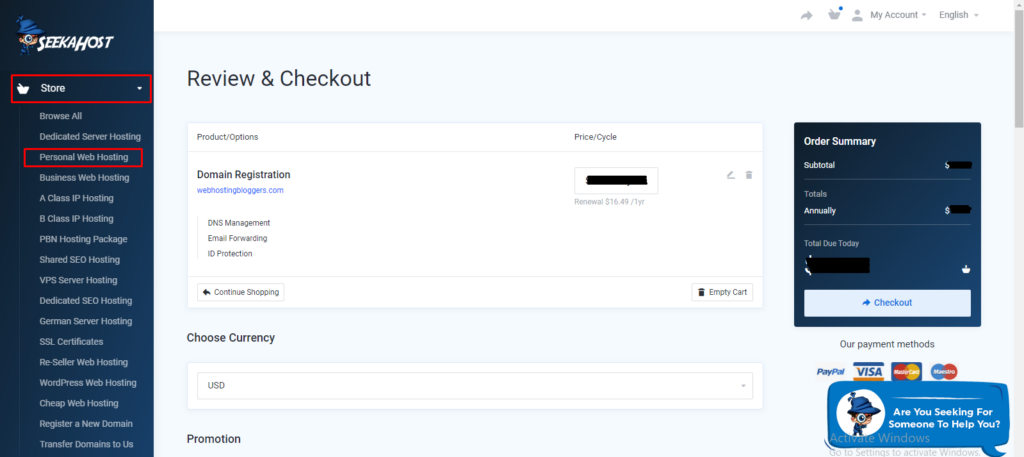
- As you didn’t choose the hosting plan yet, Click on Store then click Personal Web Hosting.
- You can see Various Personal Web Hosting Packages as shown in the below image.
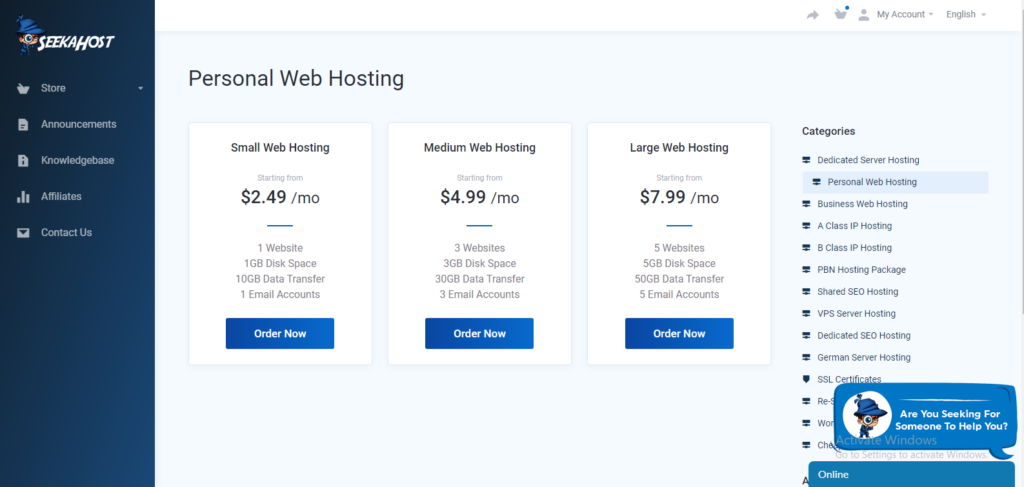
- If you are looking for Business Hosting, then click on “Business server Hosting” below Categories & Choose the one that you wish.
- After Choosing the Plan you will be requested to choose the Domain to be hosted in Seekahost as mentioned below.
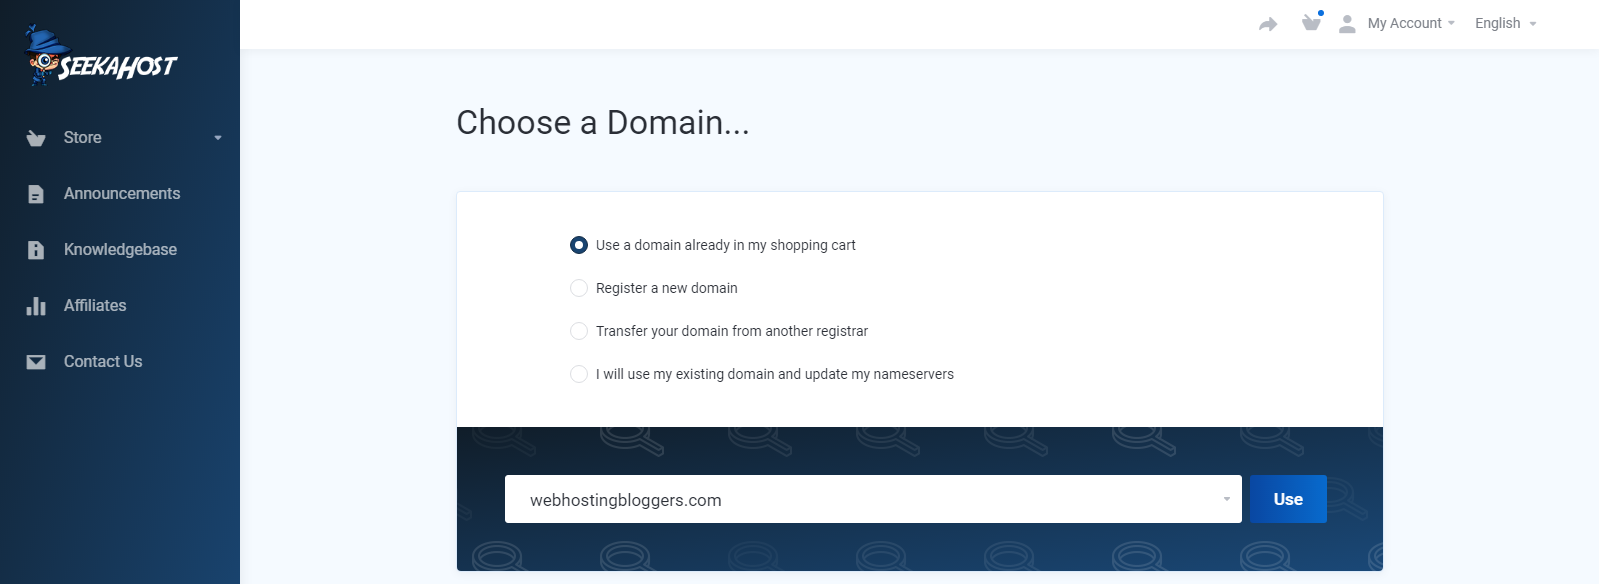
- Choose the exact selection and click on “Use”.
- You will be requested to choose the billing cycle for the web hosting.
- Once after choosing the comfortable billing cycle, click on “Continue”.
- Once again You can Choose & Verify the Add Ons on the Domains Configuration page, then click on “Continue”.
- Click on Continue and at the final step, you will be requested to submit your details to make checkout.
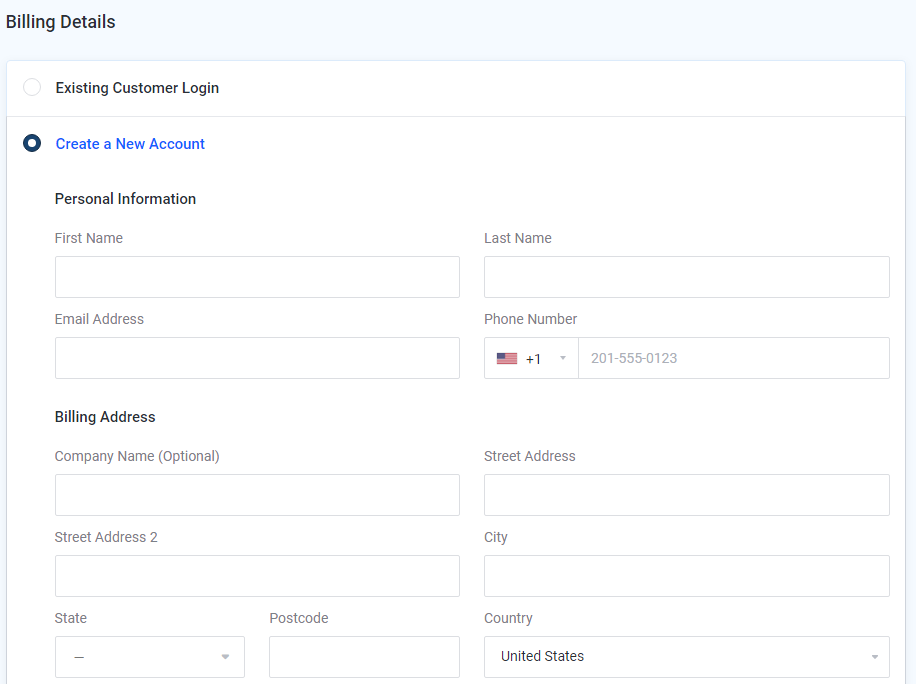
- After filling the details, choose the payment method. If you have any special promotional code, then just make use of it to get best offers.
- Finally, you will receive the Order Notification through the mail with all your Account Details.
Read More About -> How Startups Benefits with Business Web Hosting?