
 Client Area
  SeekaHost.app
  SeekaHost.co.uk
  SeekaHost.in
How to Change Nameservers on SAV.com

Table of Contents
If you have purchased domains from Sav.com, then there are two ways to change the nameservers. By default, SAV’s Domains use Sav’s free Custom DNS, powered by Cloudflare. In this article, we will guide you through the steps to configure DNS if you want to update the private/child nameservers as well as custom nameservers on SAV.com.
Change Nameservers on SAV.com:
1. Configure DNS for Private Nameserver Domains
2. Configure for Custom Nameserver Domains
1. Configure DNS for Private Nameserver Domains
If you have purchased PBN Hosting or SEO Hosting, then Private nameserver will be configured for your domains. In that case, you cannot update, or it will not work in Sav. Instead, you can directly point with an A record in their DNS management for your domains.
Step 1: Log in to your Sav account.

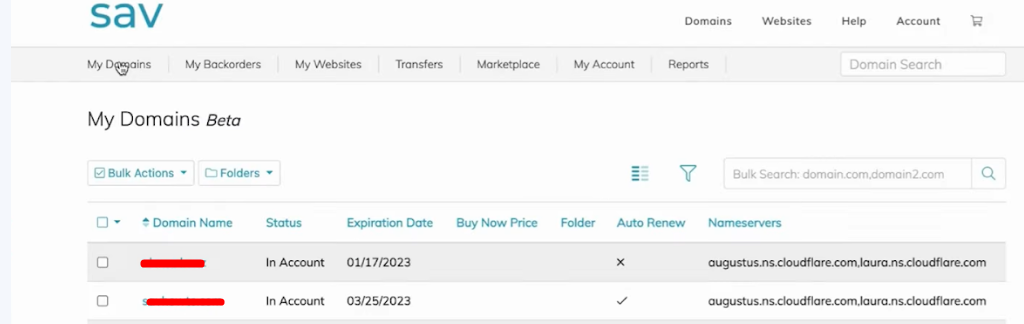
Step 2: Navigate to “My domain” section on top. Click on the domain name in which you would like to add the DNS records.
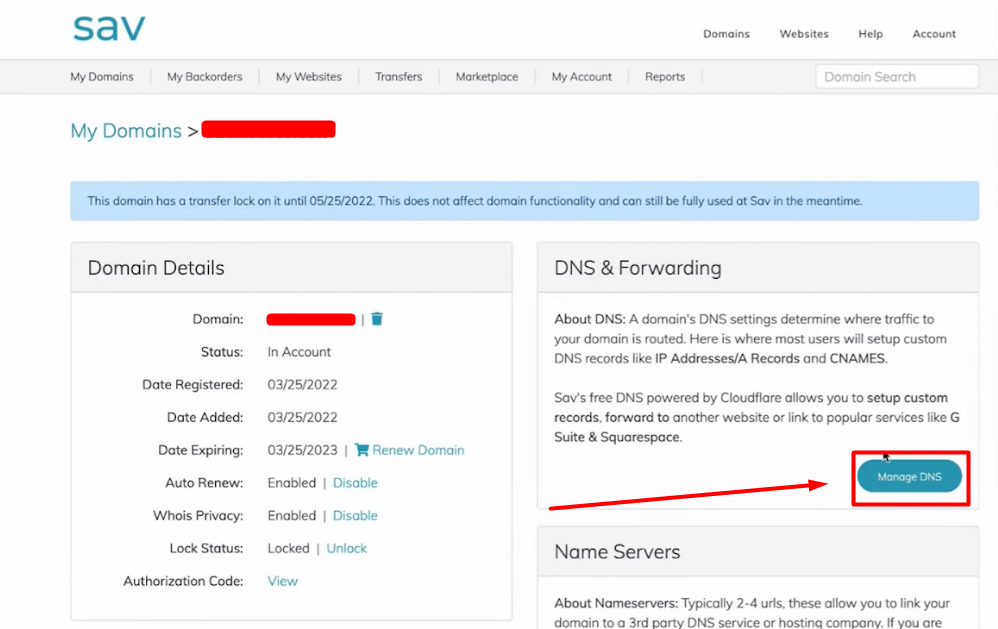
Step 3: Click “Manage DNS” button on right side of the domain details.
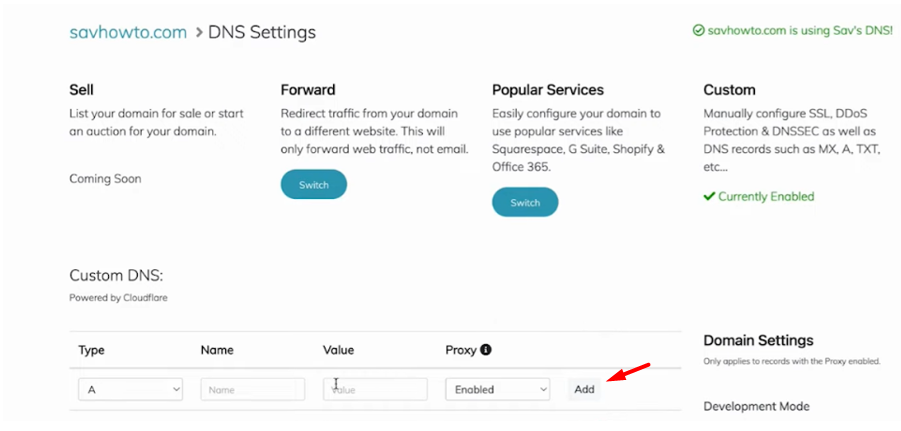
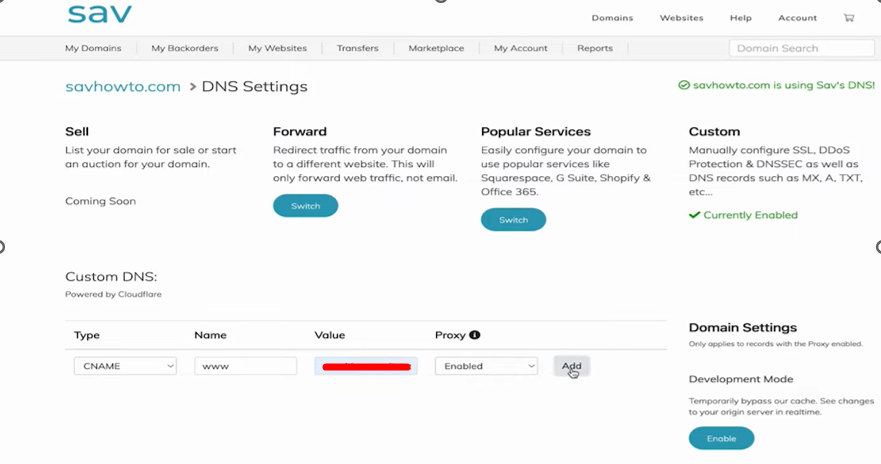
Step 4: Update the A Record as follow and click “Add” Button to update the record.
Type: A
Name: Enter – @
Value: Enter the IP Address allocated for the website.
Step 5: Update the CNAME Record as follow and click “Add” Button to update the record.
Type: CNAME
Name: Enter – WWW
Value: Enter the domain name.
2. Configure for Custom Nameserver Domains
Instead of PBN Hosting if you purchase any shared hosting, then you will be allocated with custom nameservers.
Step 1: Log in to your Sav account.
Step 2: Navigate to “My domain” section on top. Click on the domain name in which you would like to change nameservers.
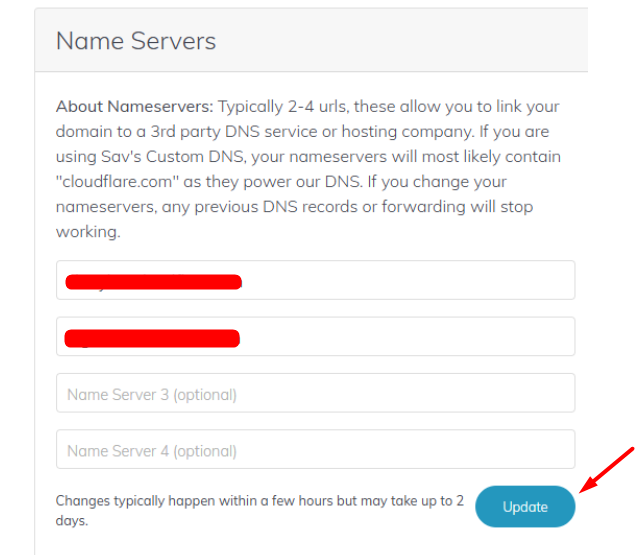
Step 3: Enter the custom nameserver and click “Update” button.
Hope this article guide you in both ways of updating the nameserver for your domains.