
 SeekaHost.com Client Area
  SeekaHost.app
  SeekaHost.co.uk
  SeekaHost.in
How to Verify Account with PIN on Live Chat in SeekaHost Client Area

By Robert Mills
SeekaHost has brought yet another new implementation to bring down customer waiting time through ticket and as well to ensure authorized person initiate live chat to request and process any account related information.
With Chat Verification PIN option, customers can easily verify their account with SeekaHost support team and process most of their concern or tasks through live chat.
Let’s guide you step by step how you can initiate live chat to successfully verify the pin for the account.
Steps to Get Chat Verification PIN:
Step 1: Login to SeekaHost Client Area Account
Step 2: On the dashboard, scroll down a bit and you can see Chat Verification PIN section with 6 digit PIN number visible.
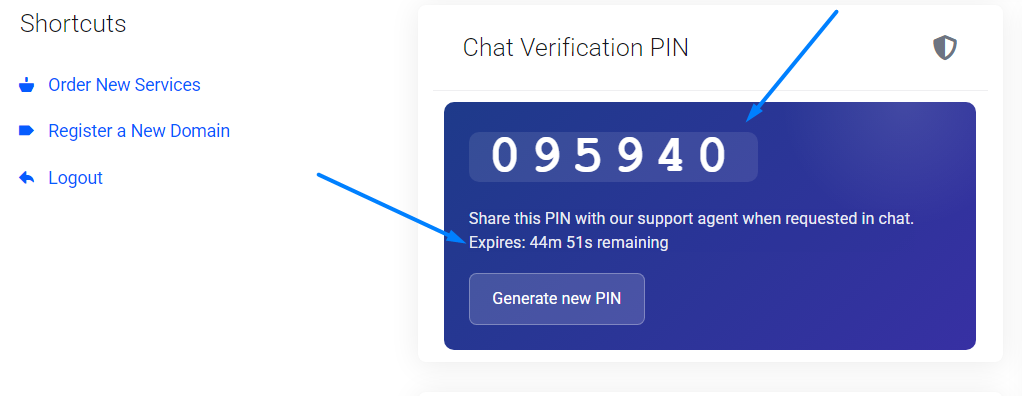
NOTE: The Verification PIN will be active only for 1 hour. You can check expiring time as well.
Step 3: Click the Verification PIN to copy the code for sharing in the live chat with the agent.
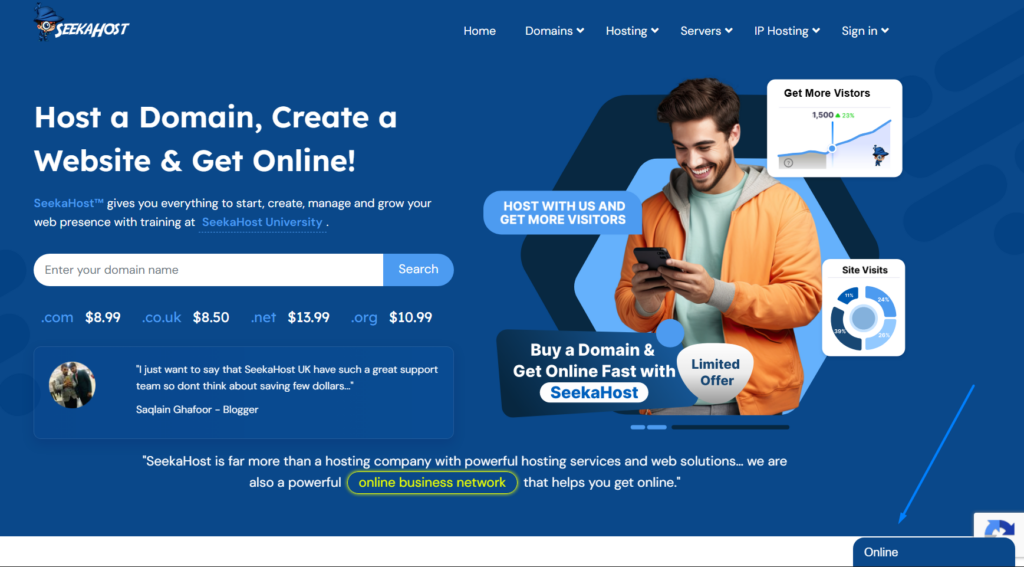
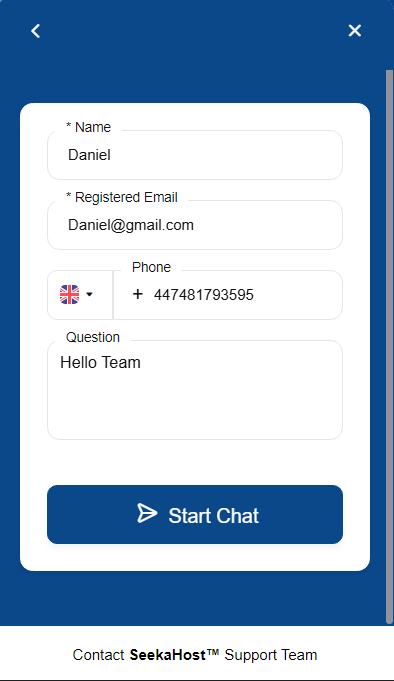
Step 5: Enter your account login details registered with SeekaHost. Click “Start Chat” button.
Step 6: Once chat initiated after sharing your concern, support agent might ask for Verification PIN generated in your client area. Share the copied code with them
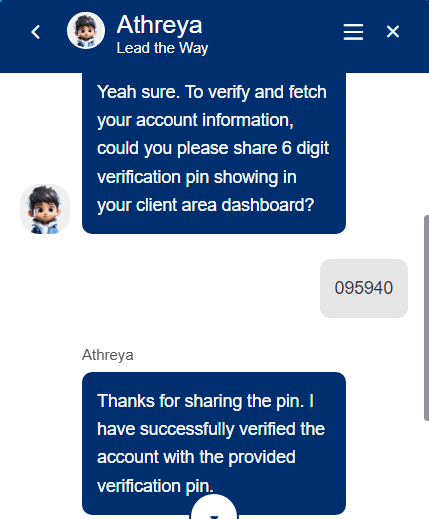
Step 7: Once verified, your query will be further investigated and processed by our support agent.
Step 8: On your next chat initiate, you can see your existing PIN is already active. So you do not need to verify your account again in live chat. You can click “Show New PIN” if you want to generate new pin.
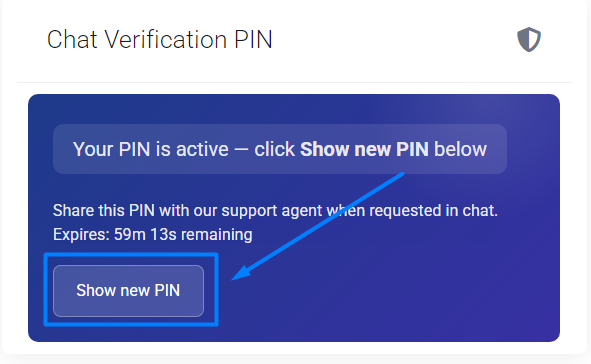
Step 9: If you start a new chat after one hour from your last live chat, click “Show New PIN” to share the updated Chat Verification PIN from your dashboard.
This is to ensure our client account information data are kept secured and only authorized person are allowed to share or get sensitive information through our support agent. It will also help customer quickly process their query from live chat instead of raising ticket which our team will raise on your behalf about the conversation.