
 SeekaHost.com Client Area
  SeekaHost.app
  SeekaHost.co.uk
  SeekaHost.in
Change Nameserver Squarespace: Register Child Nameservers

By Robert Mills
Table of Contents
You can change nameservers in Squarespace for a domain you have purchased to connect it to a hosting service. But what if you want to update child or private nameservers in Squarespace?
This article guides you through the process and helps you connect your Squarespace domain to your hosting service.
If you are looking for a hosting solution for your website, explore our web hosting plans to find an option that suits your requirements.
Process to Update Nameserver (Child) in Squarespace:
Step 1: Get Your Hosting Nameserver Details
Get your hosting nameserver for the domain including the IP address. You will need these details to register your private nameservers in Squarespace.
For example,
ns1.squarespace.net -> 198.128.162.10
ns2.squarespace.net -> 198.128.162.10
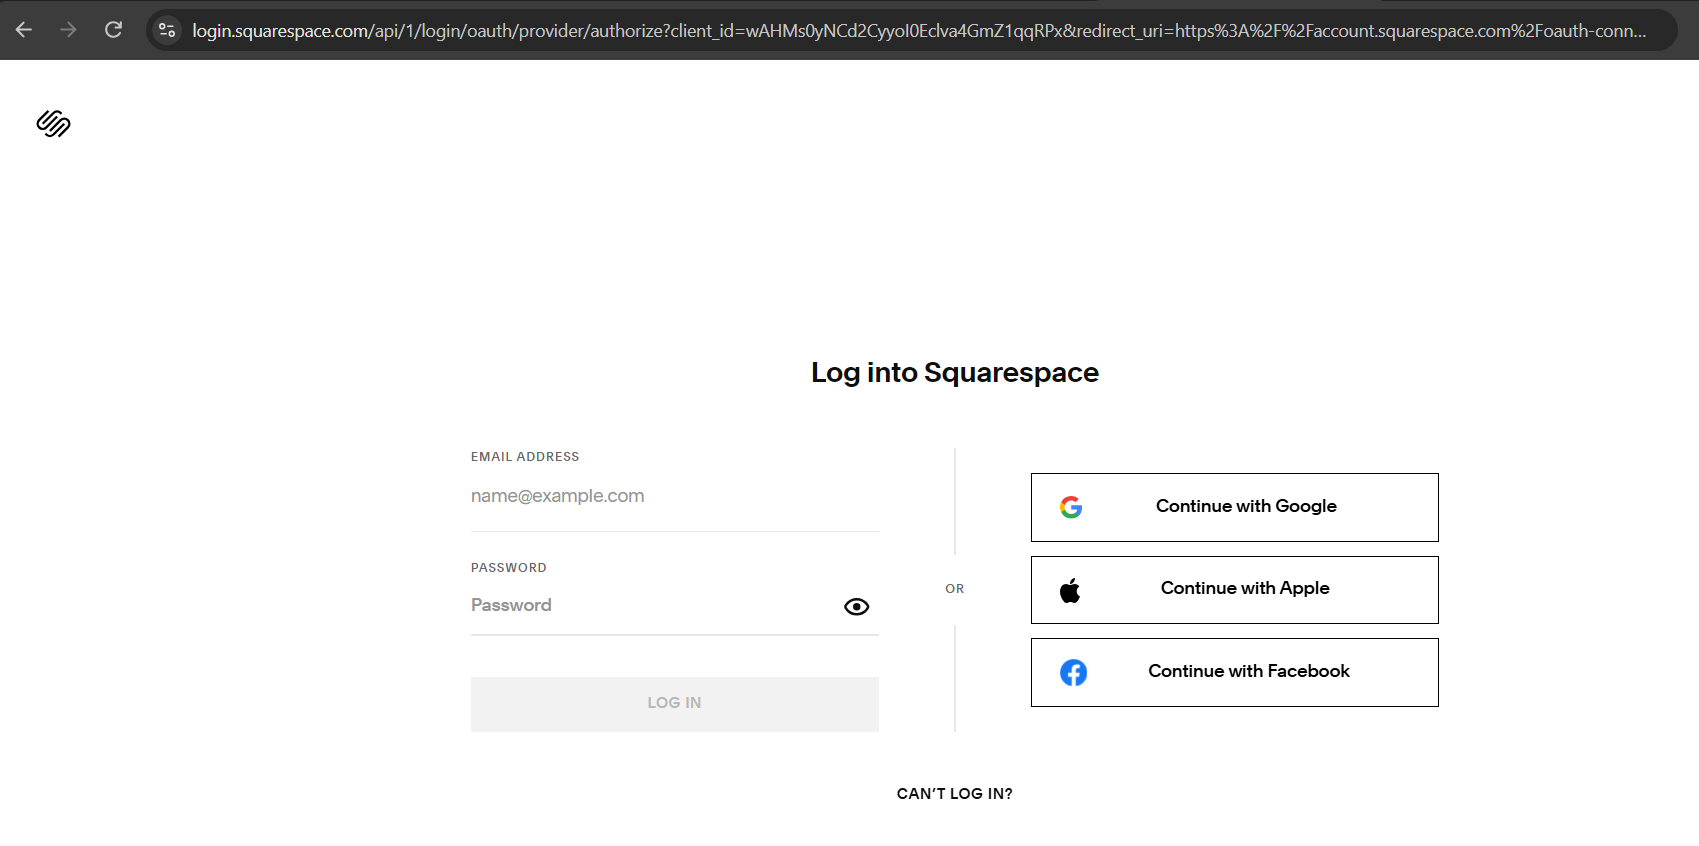
Step 2: Log In to Your Squarespace Account
Visit Squarespace and sign in to the account associated with the domain you want to configure.
Step 3: Open Your Domain Settings
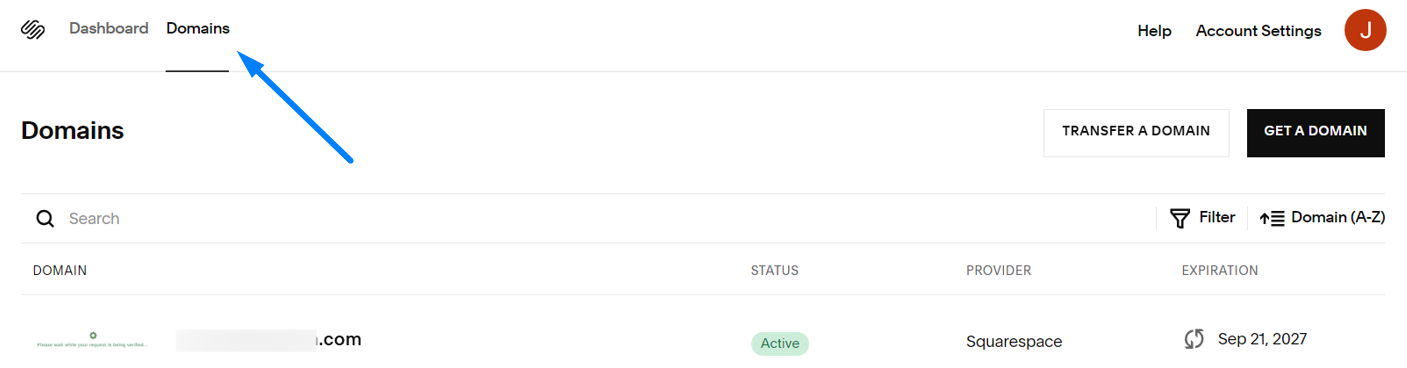
On top click “Domains” tab and click the domain where you want to update the nameserver.
Step 4: Open the DNS Settings
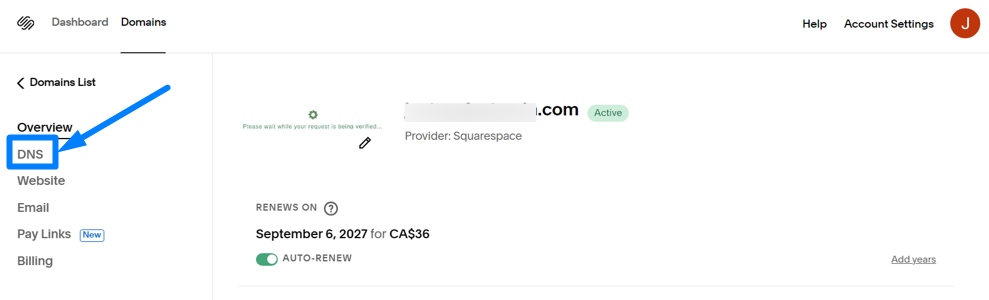
Click “DNS” option on left side
Step 5: Register Child Nameservers in Squarespace
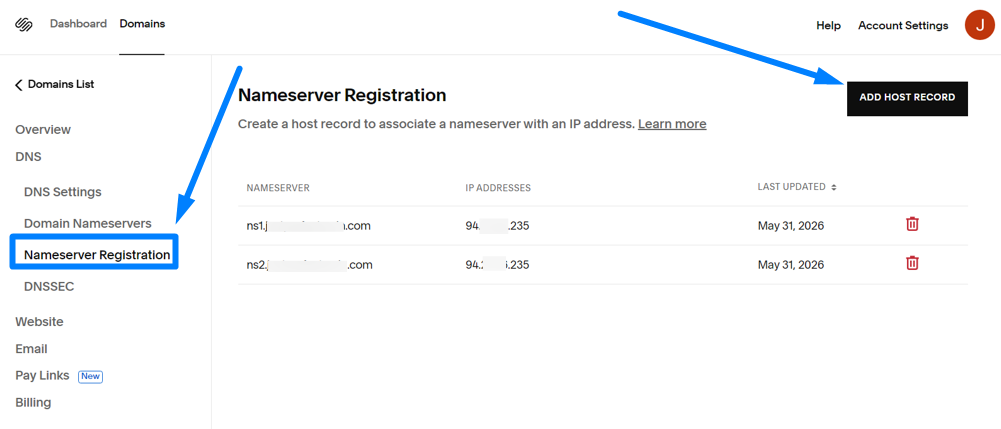
Under the DNS, select “Nameserver Registration” to update the IP address for the ns1 and ns2 records first. Here click “Add Host Record” button on right top corner.
Step 6: Open the Domain Nameserver Settings
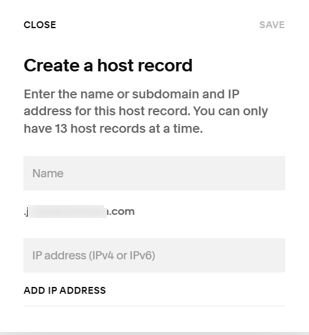
Now enter ns1 and its IP address for the domain.
Enter the required information:
- Name: Enter ns1
or the appropriate host label for your nameserver. - IP Address: Enter the IP address assigned to that nameserver by your hosting provider.
Save the host record and repeat the process for ns2 using its corresponding IP address.
After adding both records, verify that each nameserver is associated with the correct IP address.
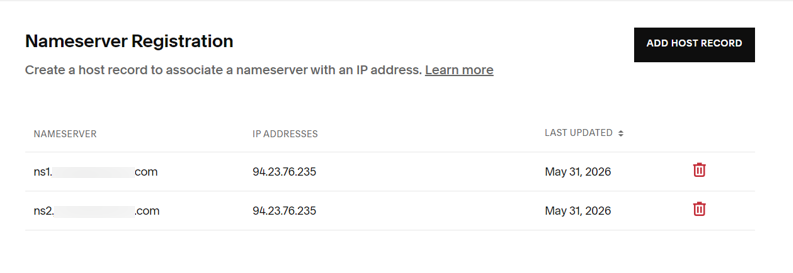
Once updated, you can see both ns1 and ns2 allocated to their respective ip address as shown in image.
Step 7: Open the Domain Nameserver Settings
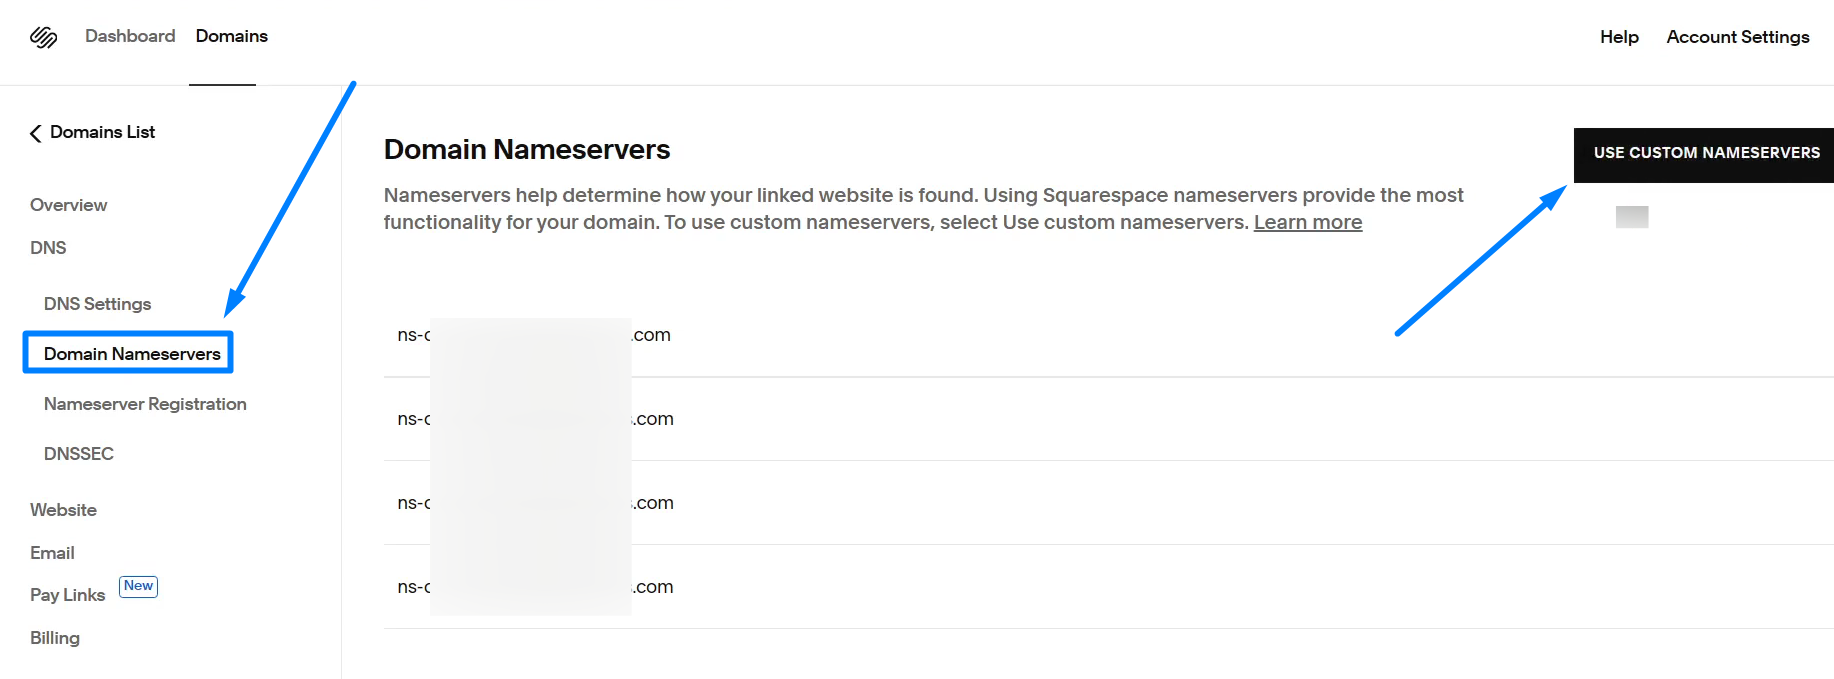
Now select “Domain Nameservers” option on left side and click “Custom Nameservers” on right corner.
Step 8: Update Custom Nameservers in Squarespace
Now update the provided nameserver for the domain in custom nameserver fields. Click “Save” button once updated.
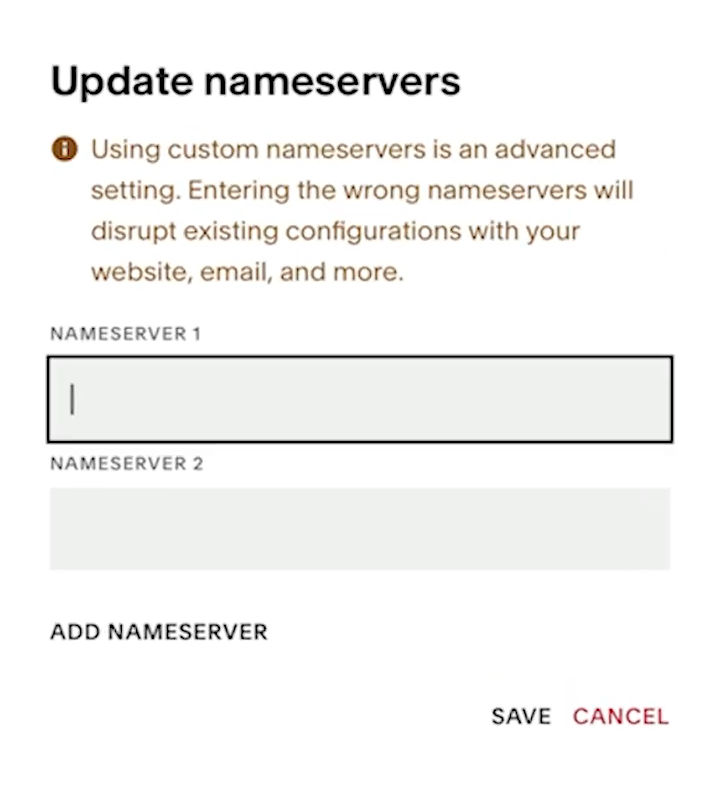
That’s it you have successfully updated the child nameserver for the domain in squarespace.