 SeekaHost.com Client Area
  SeekaHost.app
  SeekaHost.co.uk
  SeekaHost.in
How to Install and Customize GeneratePress Premium in your WordPress Blog?

By Ryan Bradman
GeneratePress is a lightweight, easy-to-use, and flexible WordPress theme. For those who want to launch an SEO-friendly and fast page-loading website, GeneratePress is the best choice.
The theme is available in both free and premium versions. The GeneratePress premium is a plugin that works with the GeneratePress theme.
The theme and the plugin are compatible with other page builders like Elementor, Beaver Builder, etc.
The theme can be installed and activated from the WordPress library. But for the GP premium license, you need to purchase the license, download it, and install it inside your WordPress admin dashboard.
In this tutorial article, we will see how to install GeneratePress premium and customize it.
How to Install GeneratePress theme?
For the GeneratePress premium, you need the GeneratePress theme. Follow the steps to install the GeneratePress theme.
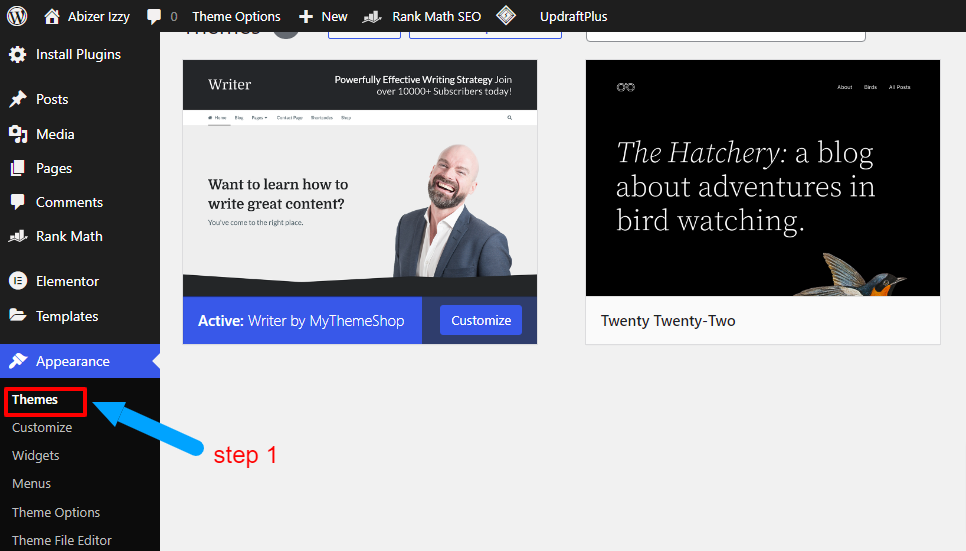
Step 1: Go to WordPress admin > Appearance > Theme
Step 2: Click on Add New button on the top to search for the GeneratePress theme.

Step 3: In the search box, type GeneratePress, and the system searches for the GeneratePress theme from the WordPress library.

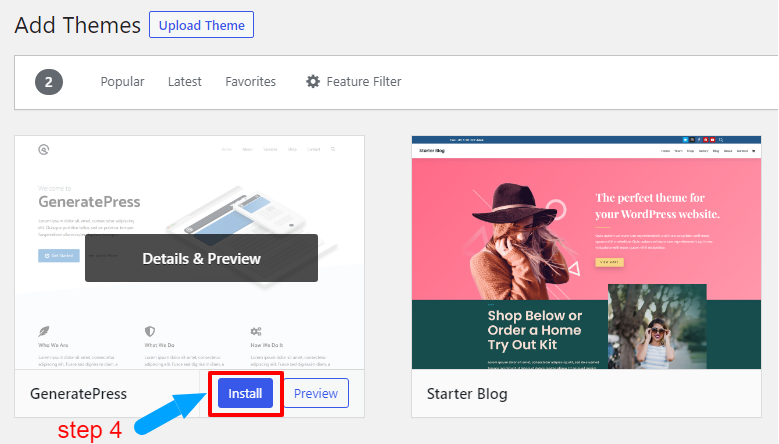
Step 4: Move your cursor over to the GeneratePress theme, and you will see the Install button highlighted. Click on the Install button to install the GeneratePress theme.
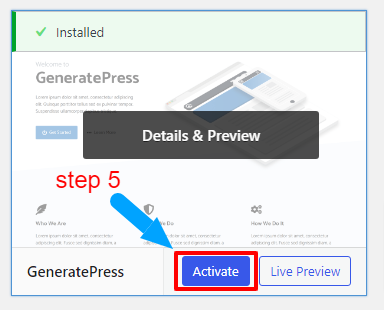
Step 5: In a few seconds, the theme gets installed. Now for the changes to take effect, you need to activate the theme. So Click on the Activate button.
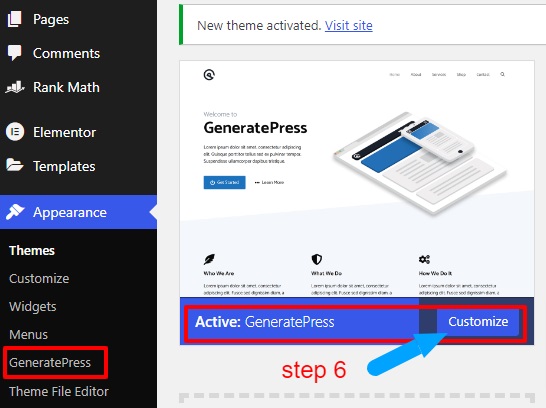
Step 6: You can now see that the GeneratePress theme is activated on your WordPress site. You can start customizing your site with the free version.
To get more control over your WordPress site, we would recommend you to purchase GP premium.
Let us check out the steps to purchase the GP premium license.
How To Purchase GeneratePress premium?
Step 1: Go to GeneratePress’s official website.

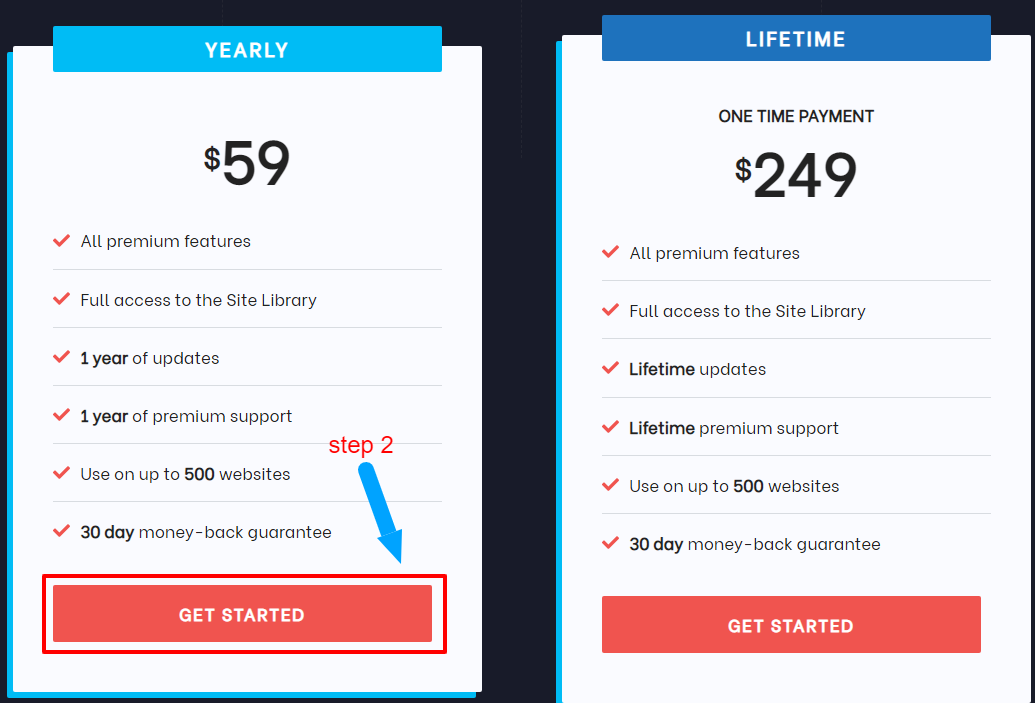
Step 2: Scroll down and you will find two pricing packages. The first one is annual pricing starting at $59 per year. The other is a lifetime package starting at a $249 one-time payment.
Click on the Get Started button.
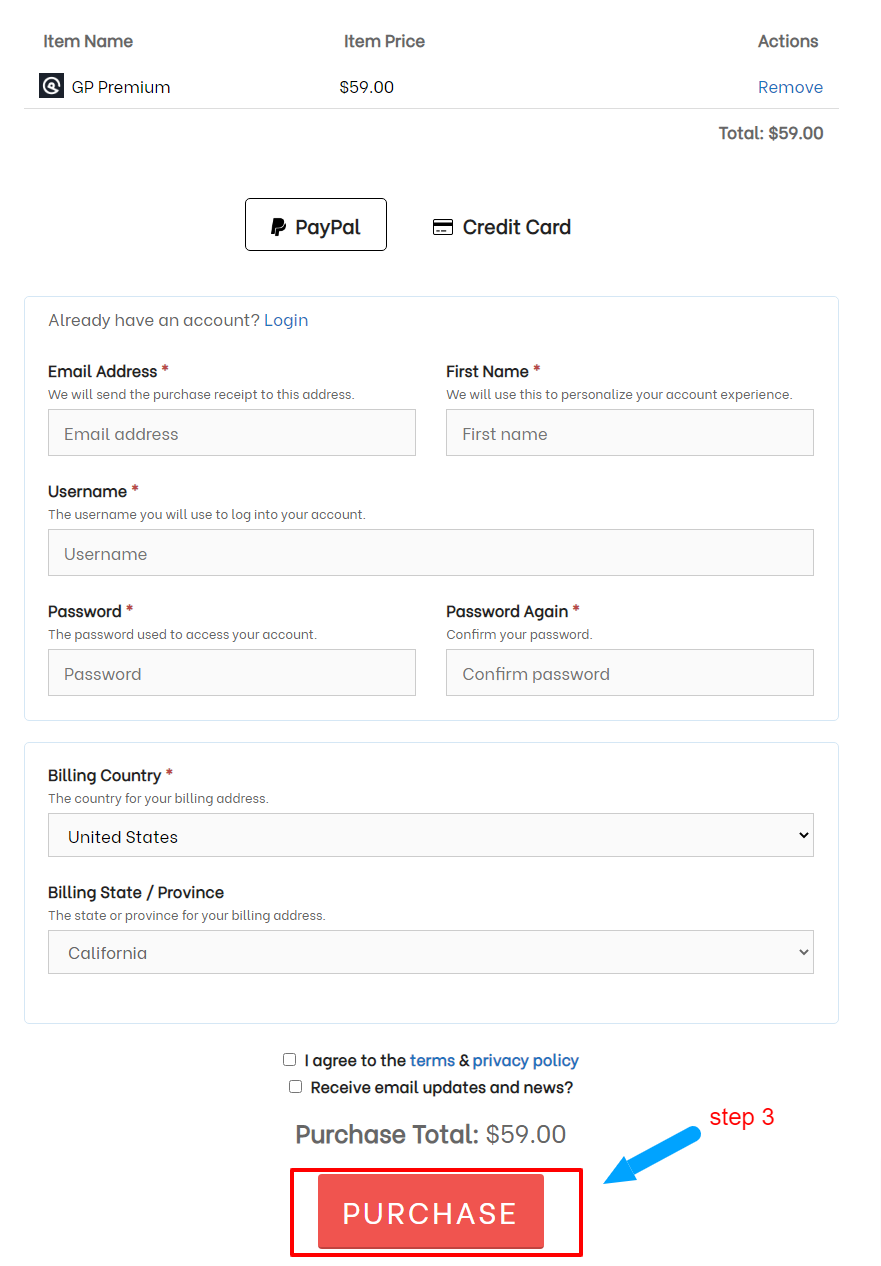
Step 3: You can check the total billing. Since you are buying the plugin for the first time, you need to create a new account.
Fill up your Email address, First Name, and Username, and choose a password to log in.
Then choose the billing country and state. Check the terms and conditions, and click on the Purchase button.
Step 4: Complete the payment via PayPal or credit card as chosen in the previous step. Once your payment is confirmed, you will receive an email confirmation of the same.
You can now download the GP premium plugin zip file.
Now that you have the GP premium plugin file, we will show you how to install it inside your WordPress dashboard.
How To Install GeneratePress premium?
To install GeneratePress premium, you need the plugin zip file.
Step 1: Go to WordPress admin > plugin > Add New
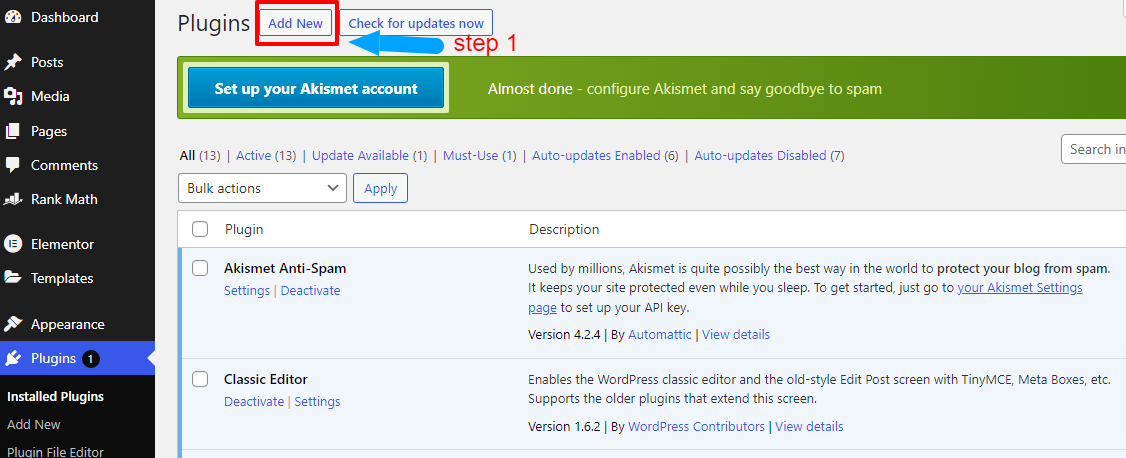
Step 2: After clicking on Add new button, click on the Upload Plugin button. You can now browse the GP premium plugin from your stored location.
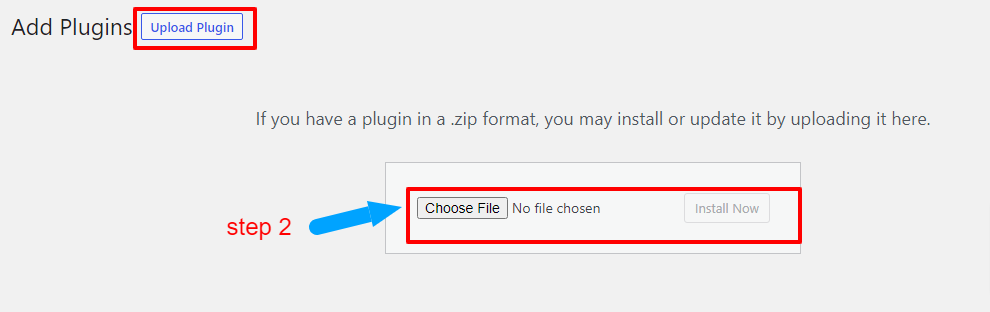
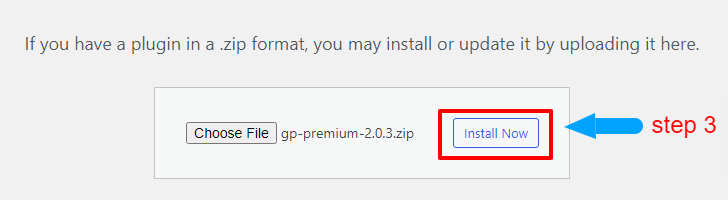
Step 3: Now browse the zip file and click on Install Now.
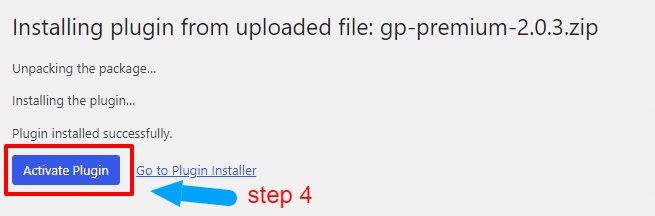
Step 4: After the installation gets completed, you can proceed with the plugin activation. To activate the plugin, click on Activate Plugin.
Step 5: Once the plugin gets activated, you can start customizing your WordPress site. To customize your WordPress site, first go to GeneratePress options.
How To Customize GeneratePress Premium in your WordPress site?
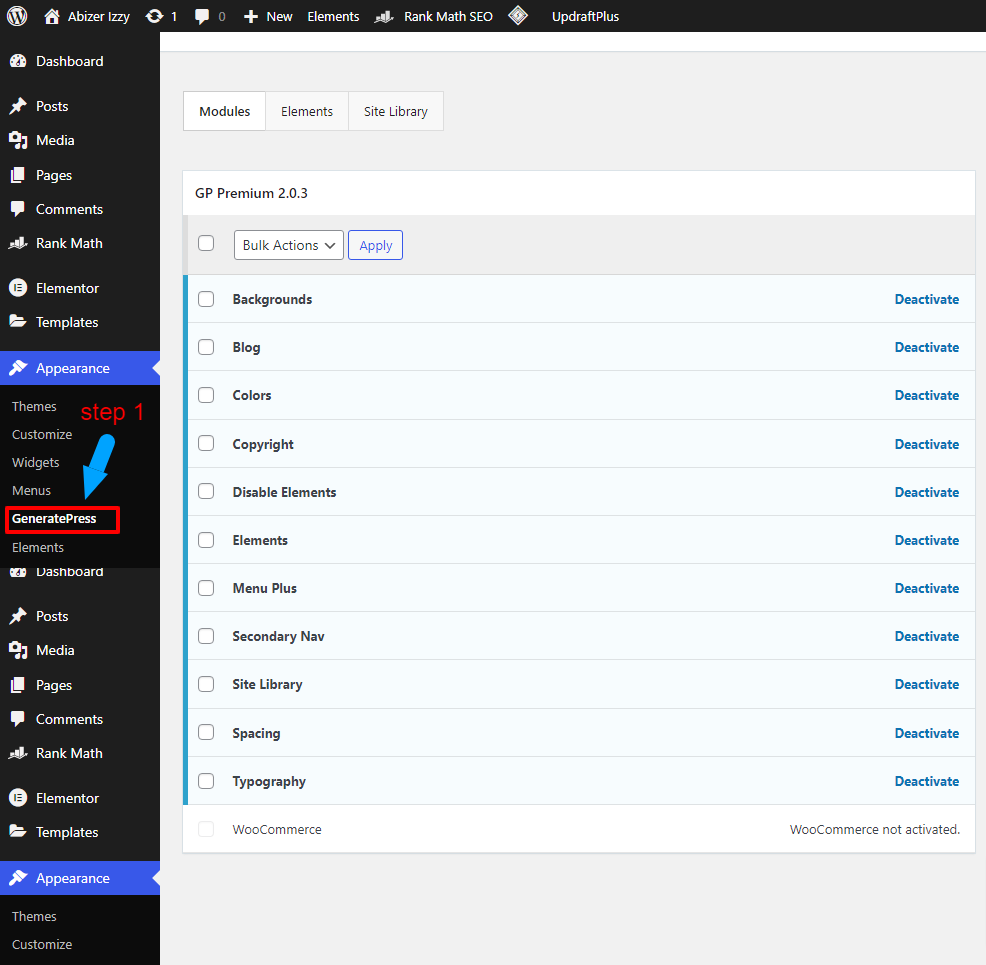
Step 1: Go to Appearance > GeneratePress, and ensure to activate the features you want.
By default, all the premium features get activated after plugin activation. Only the WooCommerce feature is deactivated. To enable the WooCommerce feature, you need to install the WooCommerce plugin.
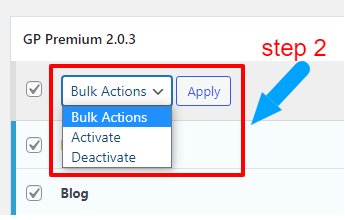
Step 2: Using the Bulk Actions, you can activate or deactivate all the features at once instead of doing it individually.
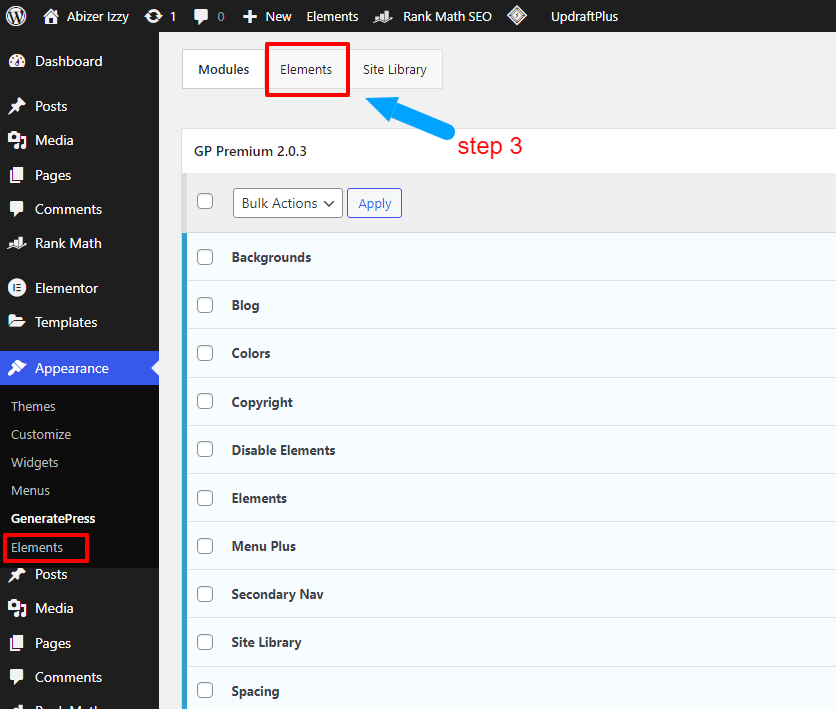
Step 3: Elements is a powerful feature in GeneratePress premium. To customize the Elements section, click on Elements.
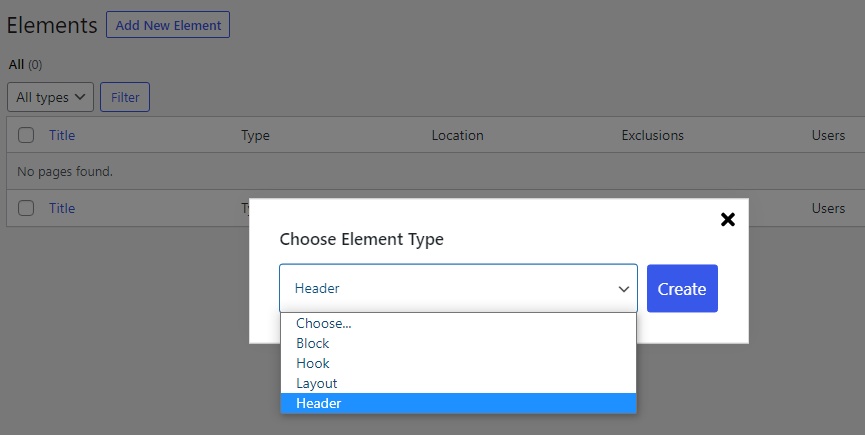
Step 4: To add a new element, click on Add New Element.

Step 5: Now you can choose the element you want to customize. There are four options to choose from. These would be Block, Hook, Layout, and Header.
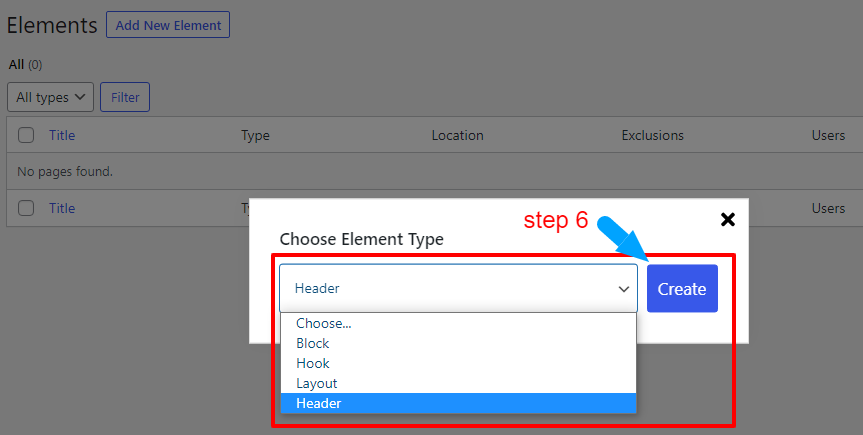
Step 6: To customize the header of your WordPress site, choose Header, and click on Create button.
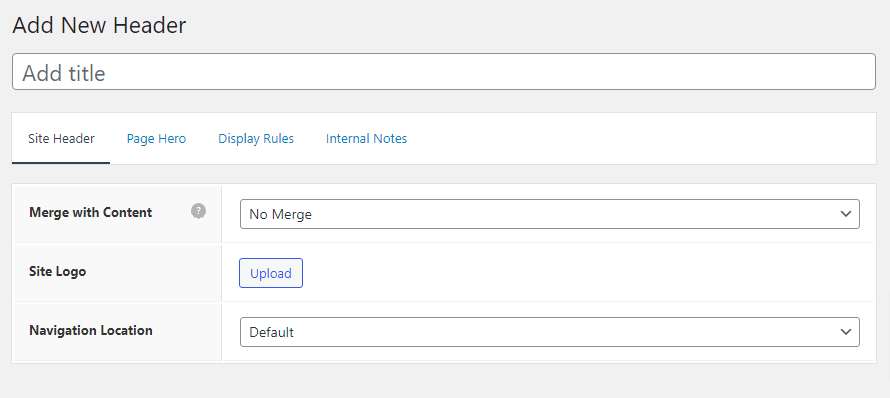
Step 7: Customize your WordPress site using the Page hero option only if you are a developer and have good knowledge of HTML.
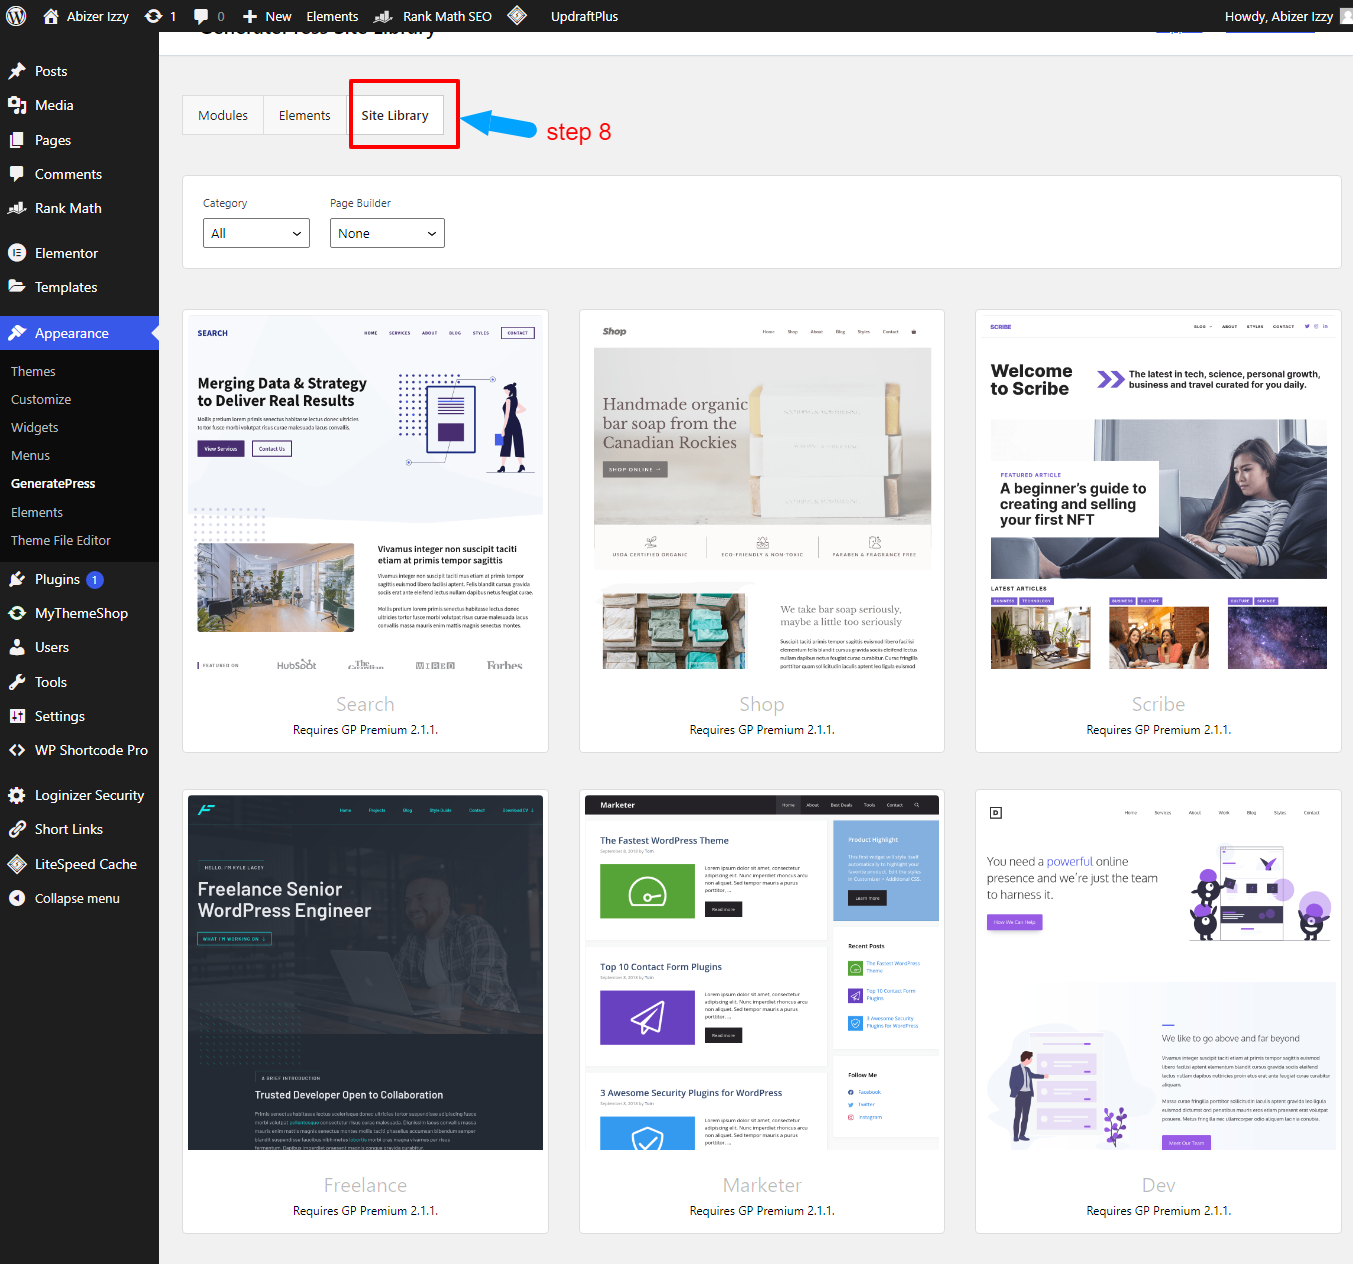
Step 8: GeneratePress premium offers an extensive site library with premade templates. You can choose any template as per your niche and get your site up and running in minutes.
To choose a template go to GeneratePress > Site Library.
Step 9: Now choose a template and import complete settings. This saves tons of hours from designing your site from scratch.
You can now edit the colors, texts, and images, and start writing your first post for a niche blog.
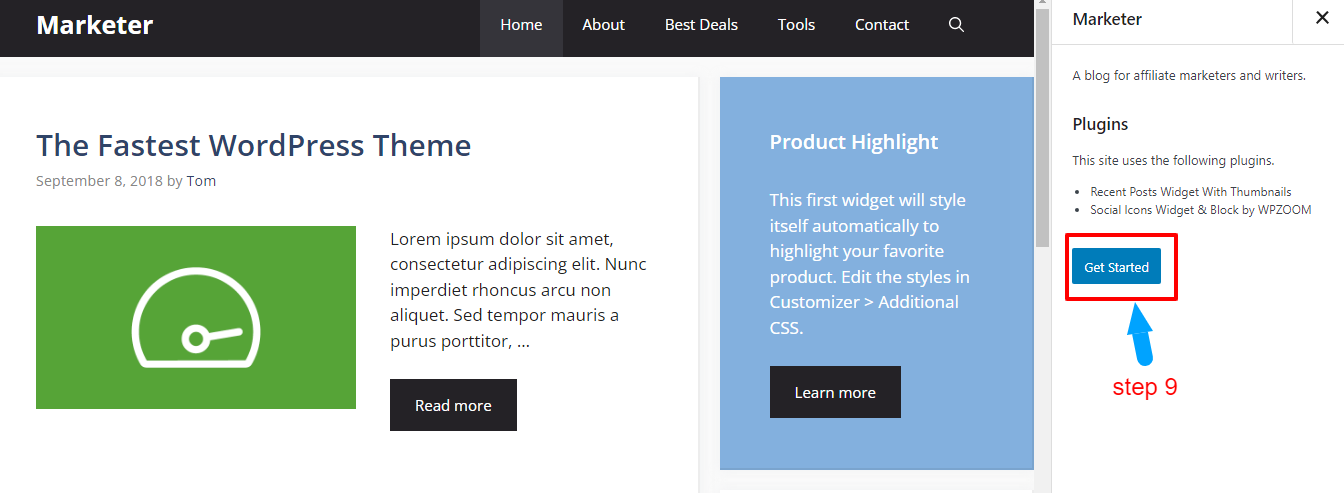
Here, we choose the Marketer template. So, click on it and then click on Get Started.
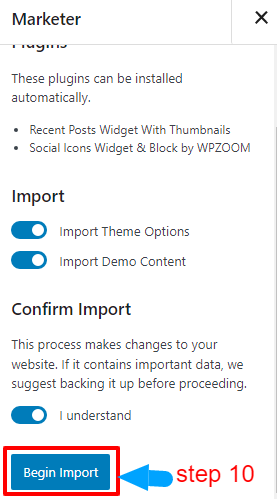
 Step 10: The plugin will gather the required information and will ask you to import theme options and demo content. Once you confirm the settings, click on Begin Import.
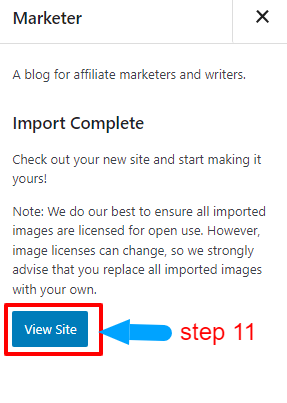
Step 11: In a few seconds, all the settings will get imported. You can now view your site by clicking on View Site.
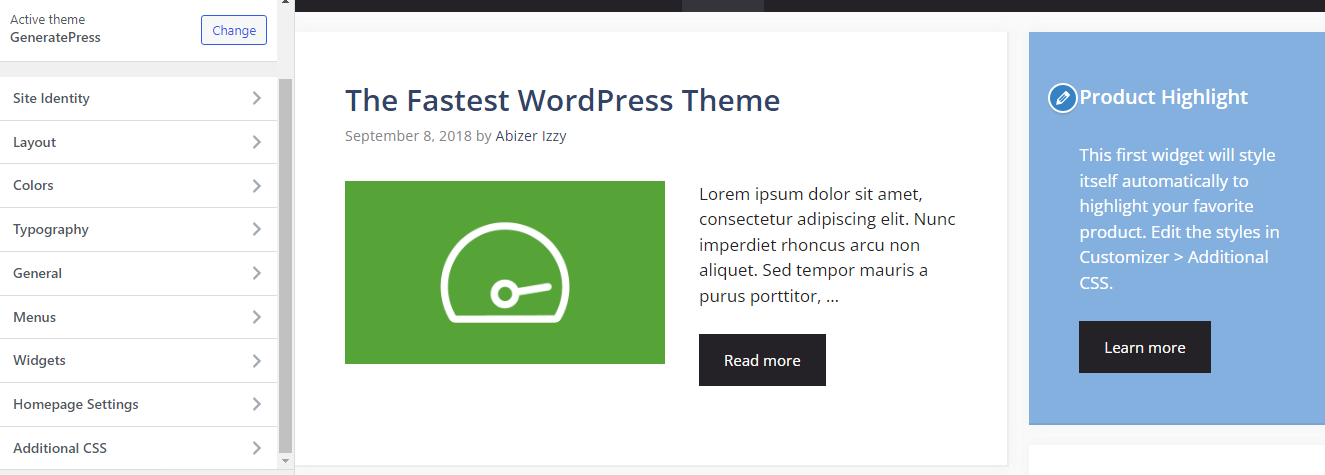
Step 12: To customize the site identity, menus, logo, widgets, typography, layout, and more, go to Appearance > Customize.
Conclusion
We hope you had a good idea on how to install and customize GeneratePress Premium on your WordPress site. You can ask us any questions related to site customization in the comments section.