
 Client Area
  SeekaHost.app
  SeekaHost.co.uk
  SeekaHost.in
How to Install WP Rocket on your Site to Improve Page Speed Score?

By Ryan Bradman
WPRocket is the #1 WordPress cache plugin that improves your site page speed score. Want to know how you could install and set up the WP Rocket plugin on your WordPress site?
There are a plethora of free WordPress caching plugins out there. Choosing one is not easy. Many newbies are unaware of the set of tools that WPRocket offers.
This tutorial shares a guide to installing WP Rocket and customize the plugin to improve page speed score.
Why Should You Choose WP Rocket?
WP Rocket is the fastest WordPress plugin that requires less or no configuration. This will help you focus more on your business and leave the headache of site performance issues.
No Coding
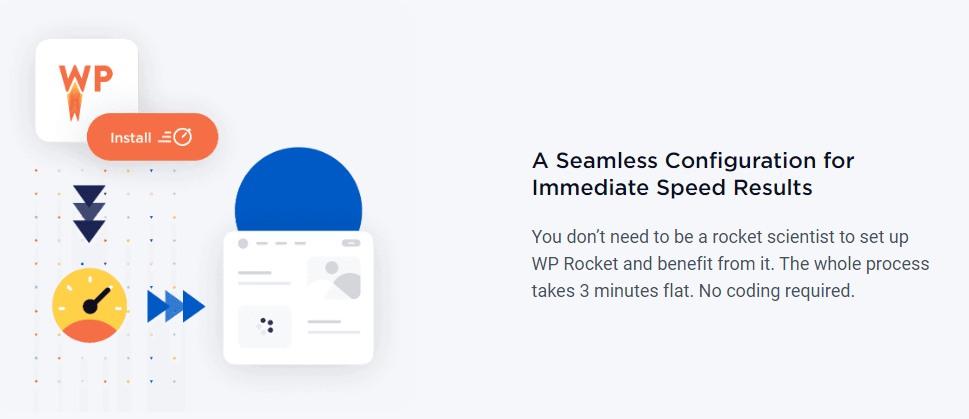
You don’t need brainstorming to set up WP Rocket on your WordPress blog. In less than 3 minutes. No coding skills are required as everything happens in a snap.
Compatibility
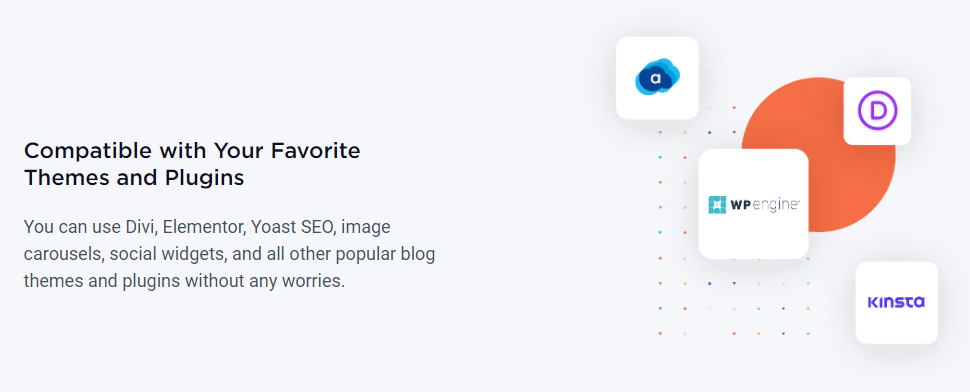
WP Rocket is compatible with popular WordPress themes and plugins. The plugin works seamlessly with different landing page builders, SEO plugins, and premium themes.
Lazy Loading
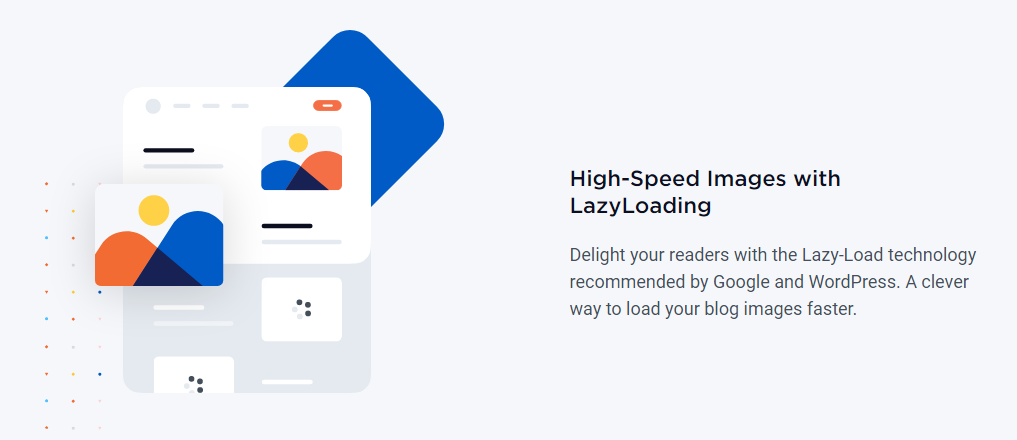
The lazy loading feature makes your site load faster and is recommended by Google and WordPress. With the lazy loading technology, images load as the user scrolls down your site. This makes your site load faster.
Support
Whenever you need support, you can refer to WP Rocket documentation, watch tutorials or contact the support team.
Other Salient Features:
- WP Rocket is WebP compatible and serves a separate cache file for browsers.
- You don’t need to cache your site as WP Rocket does that manually. Whenever you make any changes to your site, WP Rocket caches your content, so visitors enjoy speedier content.
- Automatically optimizes CSS and JavaScript, removing unwanted elements and loading files faster.
- Whichever CDN you use, WP Rocket is compatible with every CDN. You can activate CDN with just one click.
- You no longer have to worry about browser caching for Google analytics and Facebook pixel.
How To Install WP Rocket and Customize?
Unlike other free plugins that are available in the WordPress database, WP Rocket isn’t available. You need to purchase a WP Rocket premium plan.
Even if you purchase the lowest plan, you will still get all the features. The lowest plan works only on one site.
Step 1: Go to the WordPress admin area, and click on Plugins > Add New. You should have the WP Rocket plugin file with you.
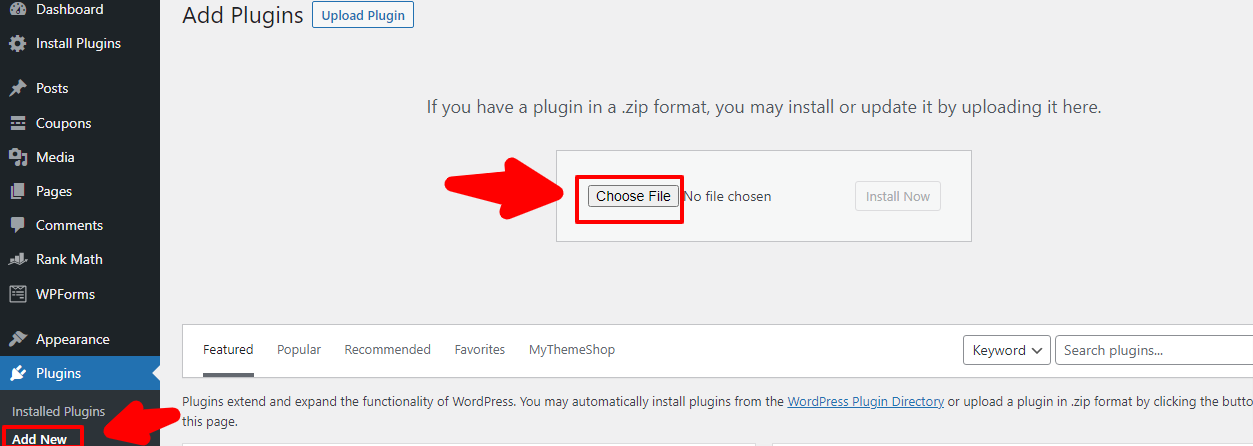
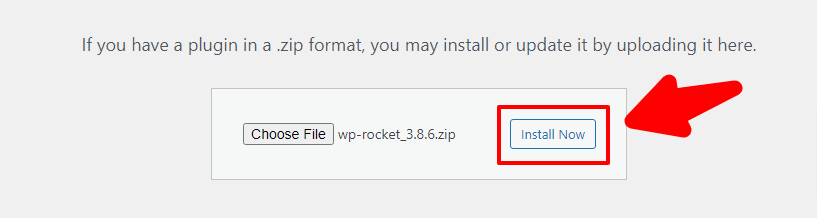
Step 2: Click on Upload Plugin > Choose File and browse the file from your computer. Click on Install Now.
Step 3: In seconds, the plugin gets installed. Now activate the plugin.
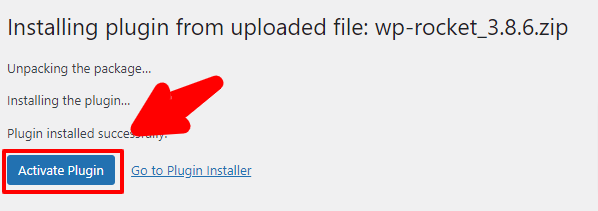
Once the plugin gets activated, it will automatically start caching your site.
You can additionally get RocketCDN which is a premium subscription.
This is what the WP Rocket dashboard looks like.
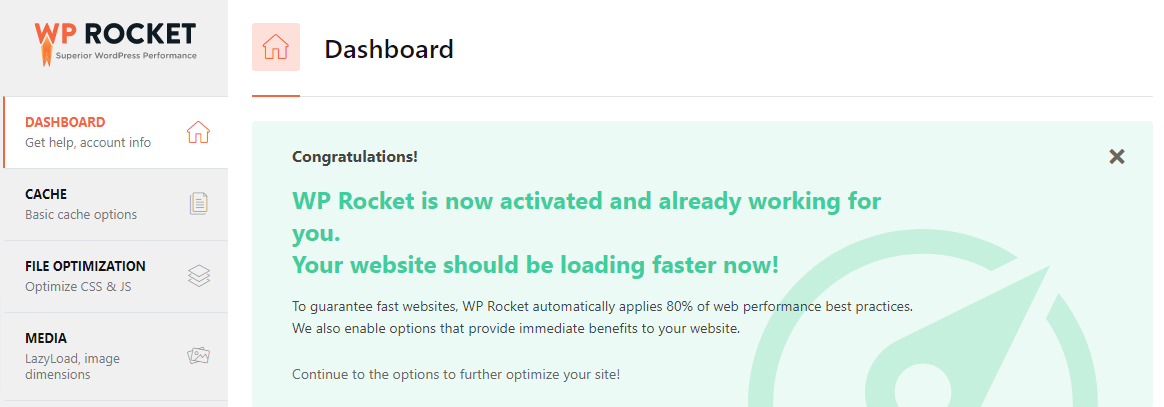
You can now customize the WP Rocket plugin for the best SEO results.
Step 4: There are three different cache settings available.
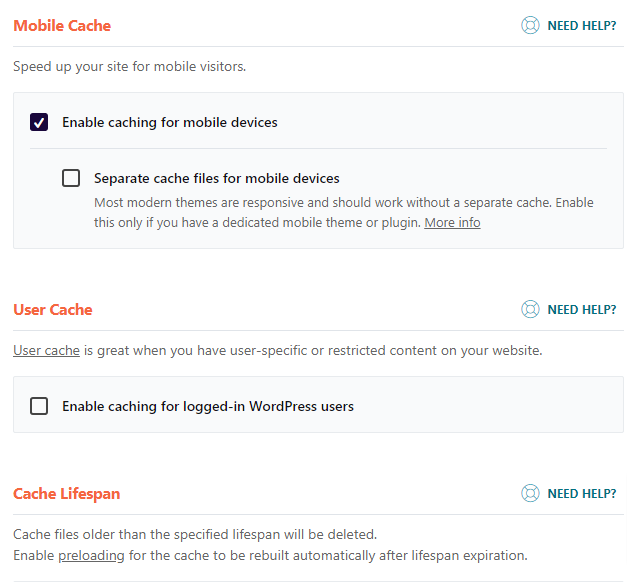
Mobile Cache: The first one is mobile cache. This option is by default enabled. Since most of the themes and plugins are responsive, this option is enabled by default.
But if you have a theme or plugin specific for mobile, you should enable a “separate cache files option.
User Cache: Certain websites like eCommerce websites require users to log in to their account. In such cases, where you have a WooCommerce or a membership site, you should “Enable caching for logged-in WordPress users.”
Cache Lifespan: The default cache time is set to 10 hours. If your site faces issues, you can change the time and set it below 10 hours. This would delete the cache files older than the specified lifespan.
Click on the Save Changes button once you have done the settings.
Step 5: File Optimization
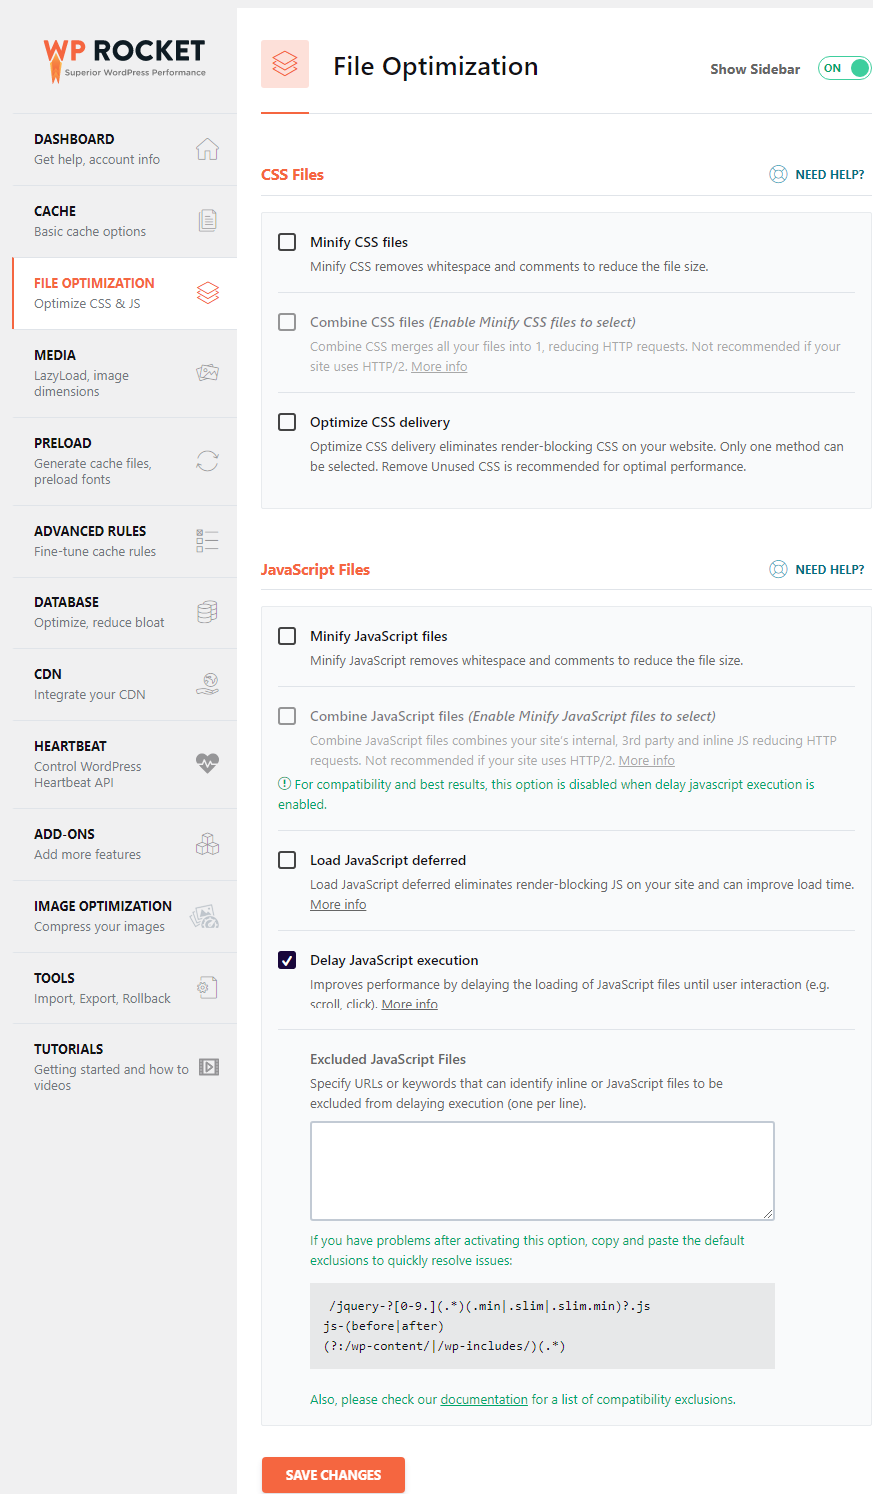
In the file optimization tab, you can minify CSS and JavaScript files. By default, the Delay JavaScript Execution is enabled. This feature delays the loading of JavaScript files until the user clicks or scrolls, thereby improving the performance.
By minifying the CSS and JavaScript files, the file size reduces, and your site loads faster.
Step 6: Media
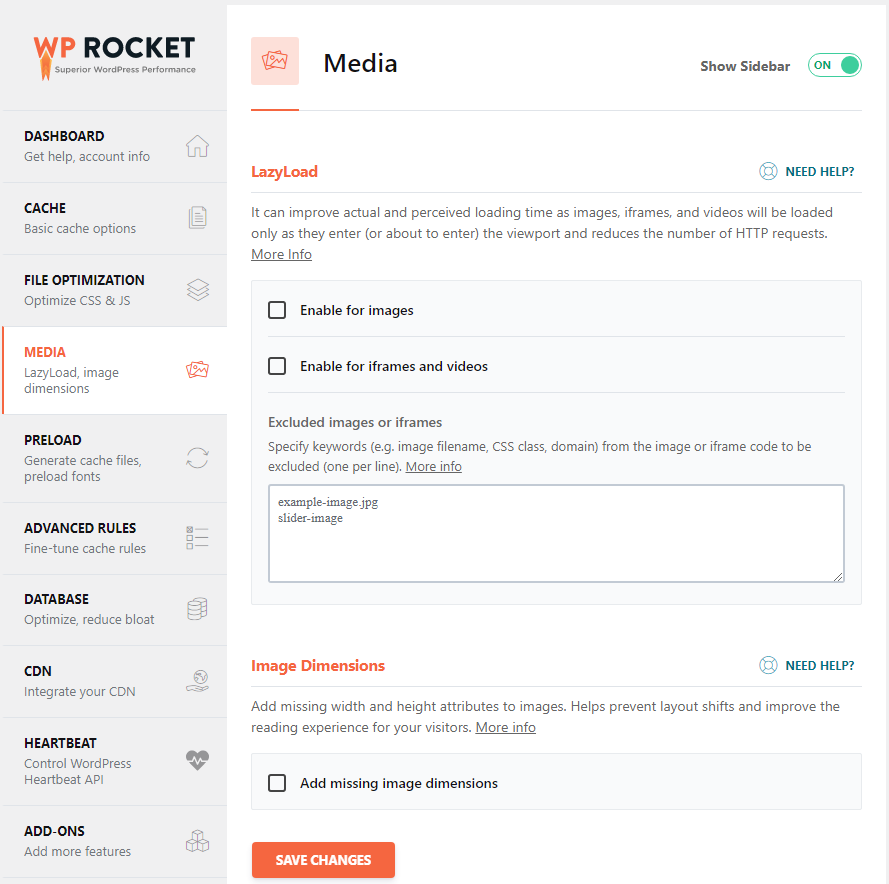
The number of HTTP requests will reduce by enabling lazyLoad for images, iframes, and videos.
The LazyLoad feature loads only the images that are visible on the screen. It does not load all the images at once. This improves (TTFB), i.e., Time To First Byte.
When you enable the LazyLoad feature, you should optimize images.
Step 7: Preload
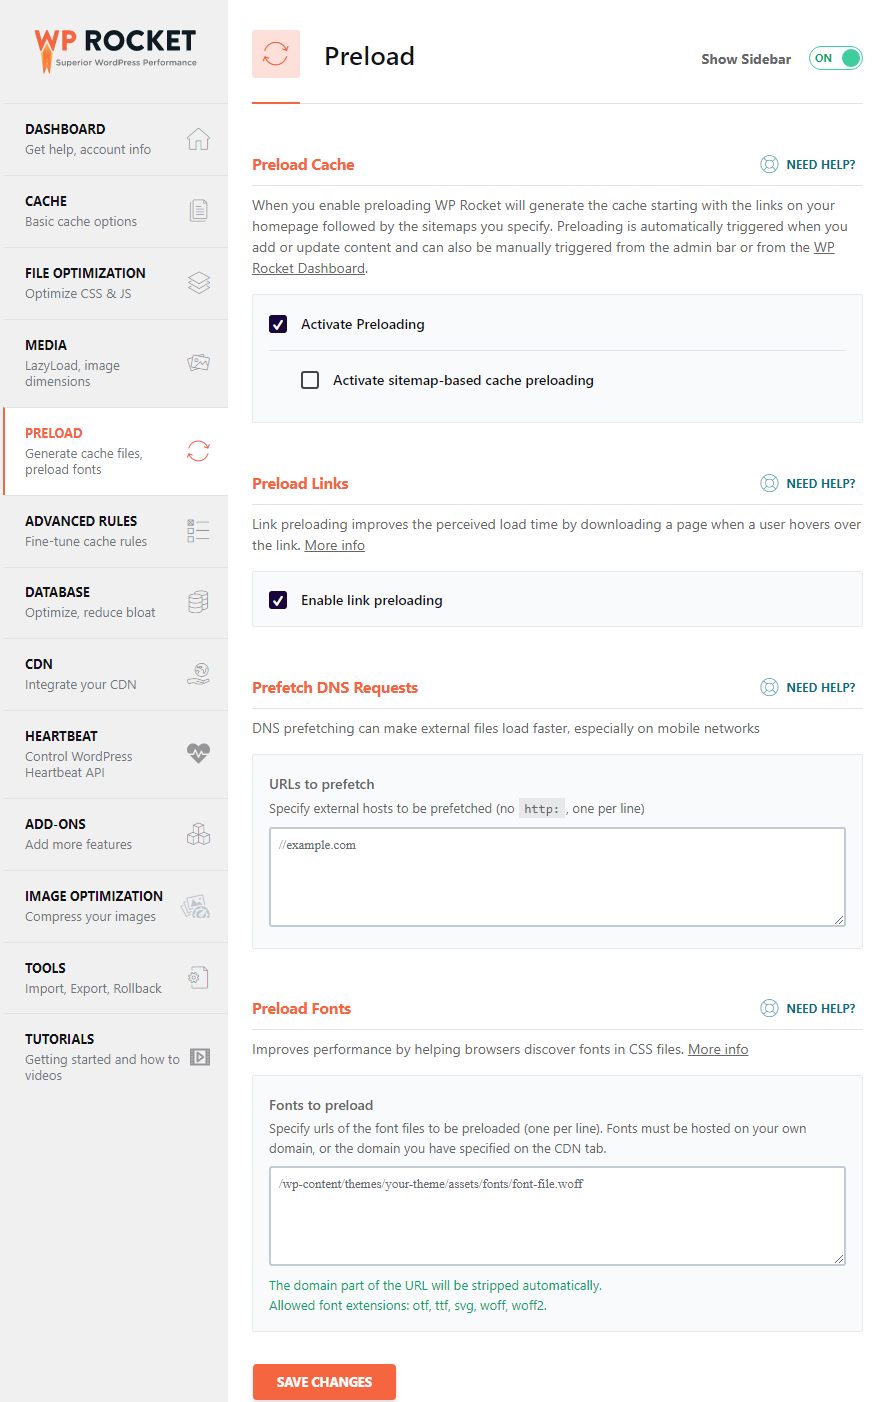
Preloading is by default enabled. What it does is it automatically caches the content whenever you make any changes in your site content. You can also trigger it manually from the WP Rocket dashboard.
You can also enable link preloading to improve the perceived load time. To help browsers discover fonts in CSS, you can enable font preloading by entering the URL.
Click on Save Changes when you are done with the settings.
Step 8: Advanced Rules
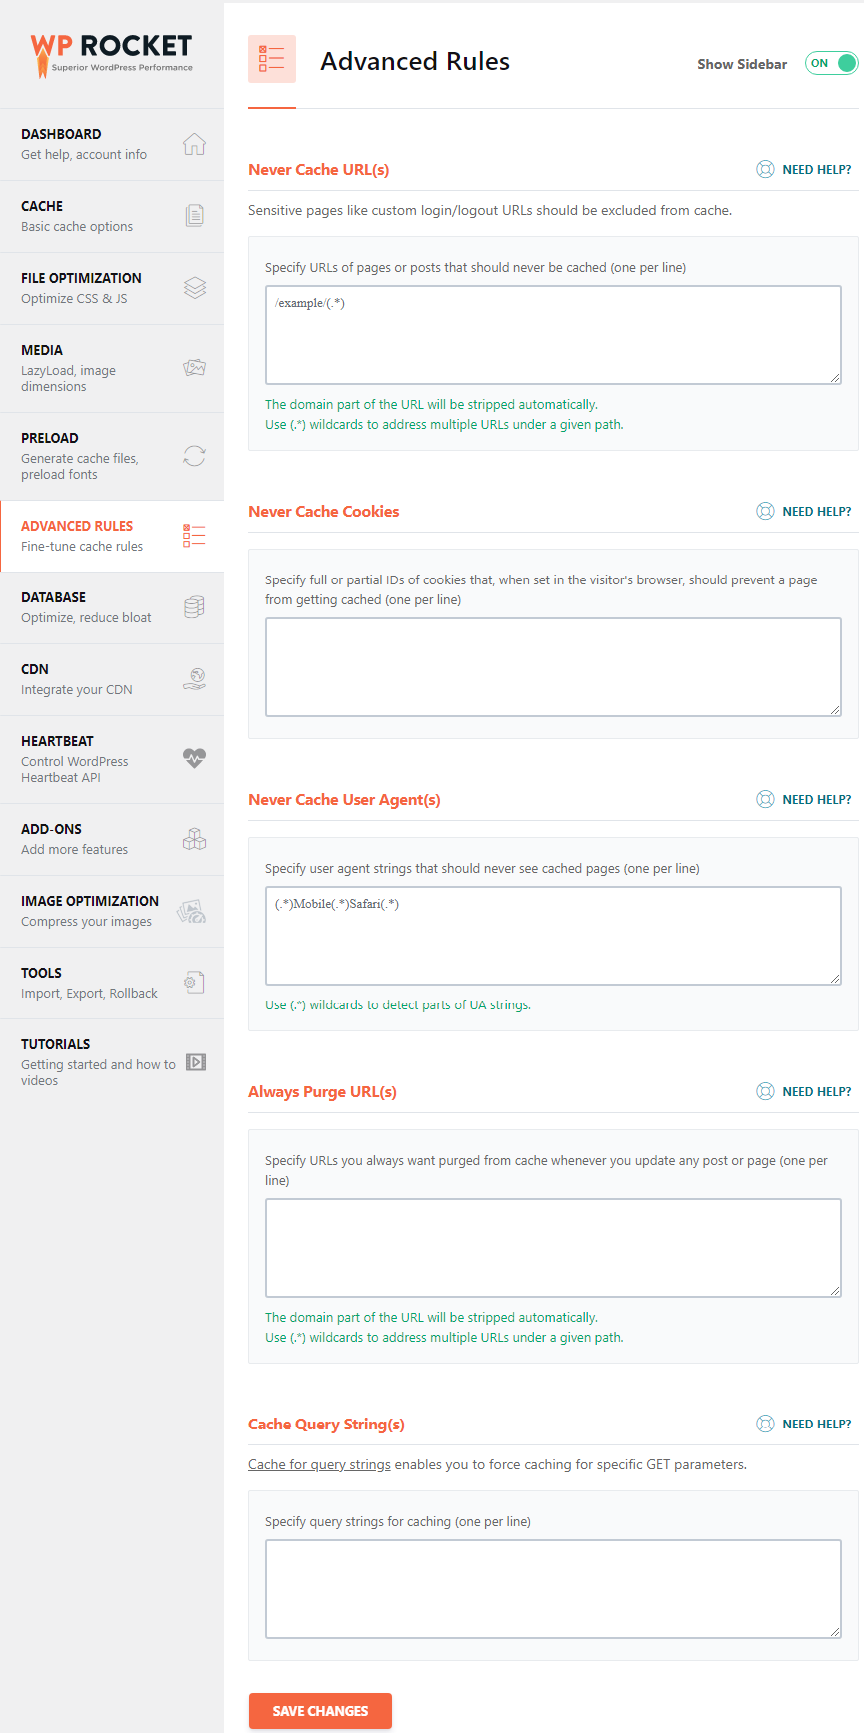
You can set up advanced caching rules like excluding some pages from caching. You can also specify cookie IDs and prevent a page from caching.
Purge URLs whenever you update any post or page.
Step 9: Database Cleanup
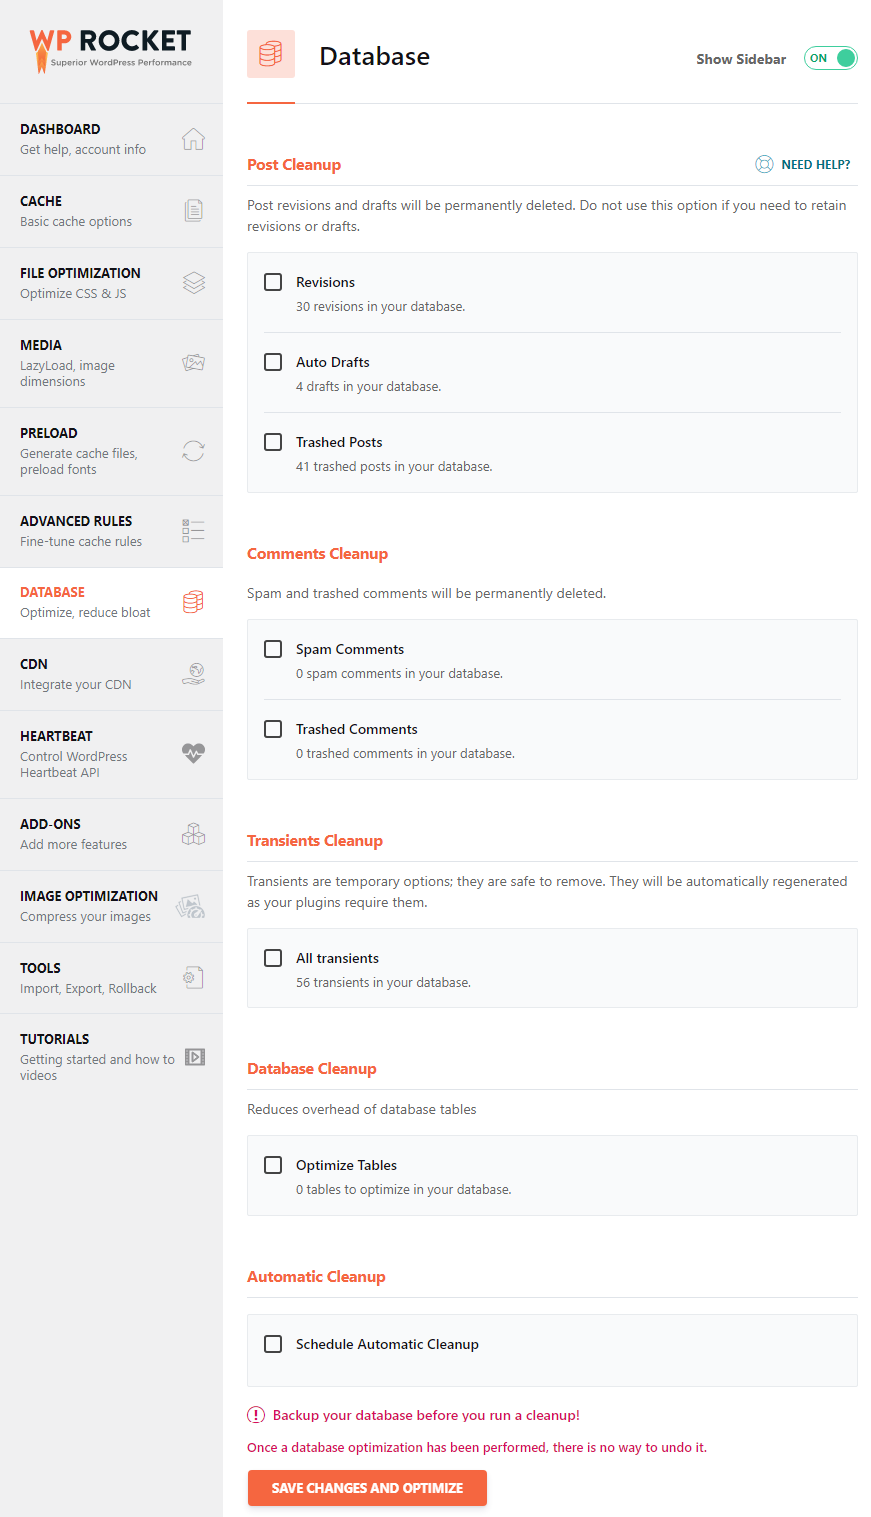
Database cleanup automatically speeds up your WordPress site. This includes deleting the auto drafts, revisions, and trashed posts. Do not enable these options if you wish to retain the content.
All the comments that are trashed and spammed will also be deleted. This saves your manual time.
You can also enable transient cleanup, optimize tables, and schedule automatic cleanup.
Click on Save Changes and Optimize.
Conclusion
WP Rocket has endless features. You can control WordPress heartbeat API and save server resources.
If your site doesn’t use any CDN, you can get RocketCDN configured automatically.
One-click add-ons like Varnish and WebP compatibility can also be turned on. TO optimize site images, WP Rocket created Imagify. You install Imagify to compress images and load your site faster without compromising image quality.
Finally, you can export WP Rocket settings or import the settings.