 SeekaHost.com Client Area
  SeekaHost.app
  SeekaHost.co.uk
  SeekaHost.in
How To Create Sub-Accounts In SeekaHost?

Table of Contents
This article guides you on how to create a Sub-account in SeekaHost Client Area. Before creating it, you must have a registered account in SeekaHost. Basically, the sub-account is used for receiving details to the second person, who can also receive details of all the updates sent from SeekaHost which were received by the primary registered person. If you would like to restrict, then check only the required details to be received to the sub-account at the Email Preferences section. Now, let’s follow the below the mentioned steps to create a sub-account.
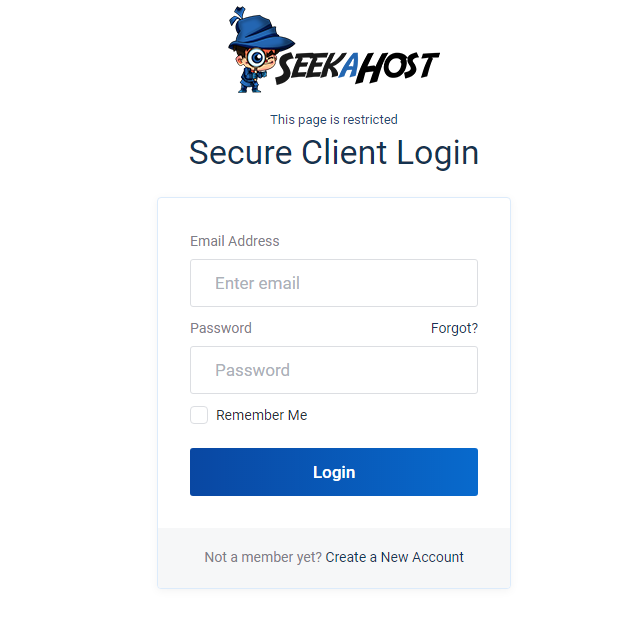
STEP 1: Login
Firstly, log in to your client area.
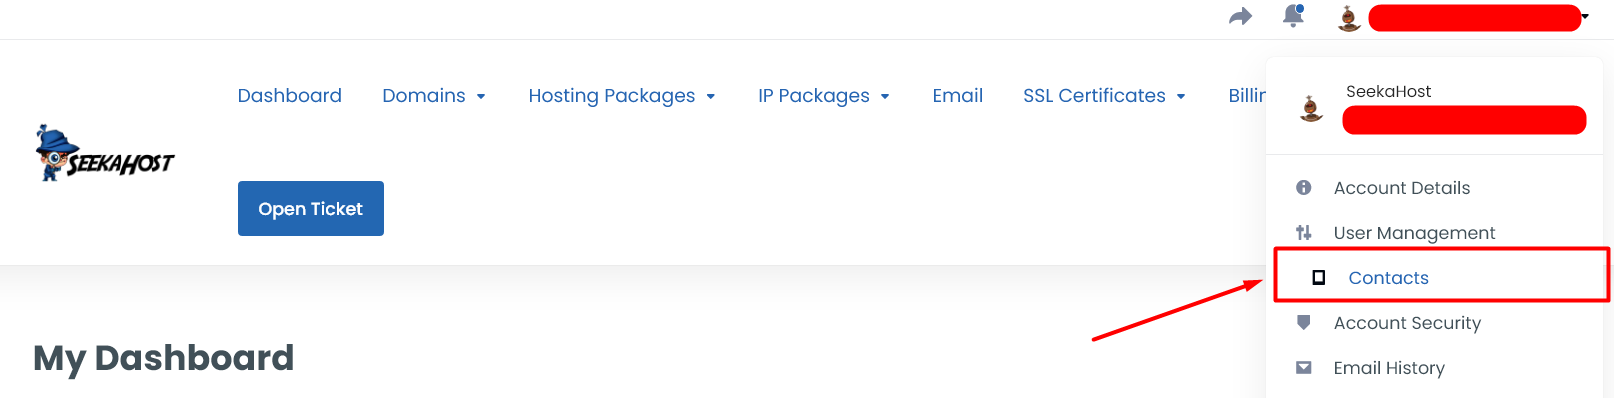
STEP 2: Contacts
Scroll the mouse over your name at the top right corner of the dashboard page and click on ‘Contacts’ from the list of option under your name.
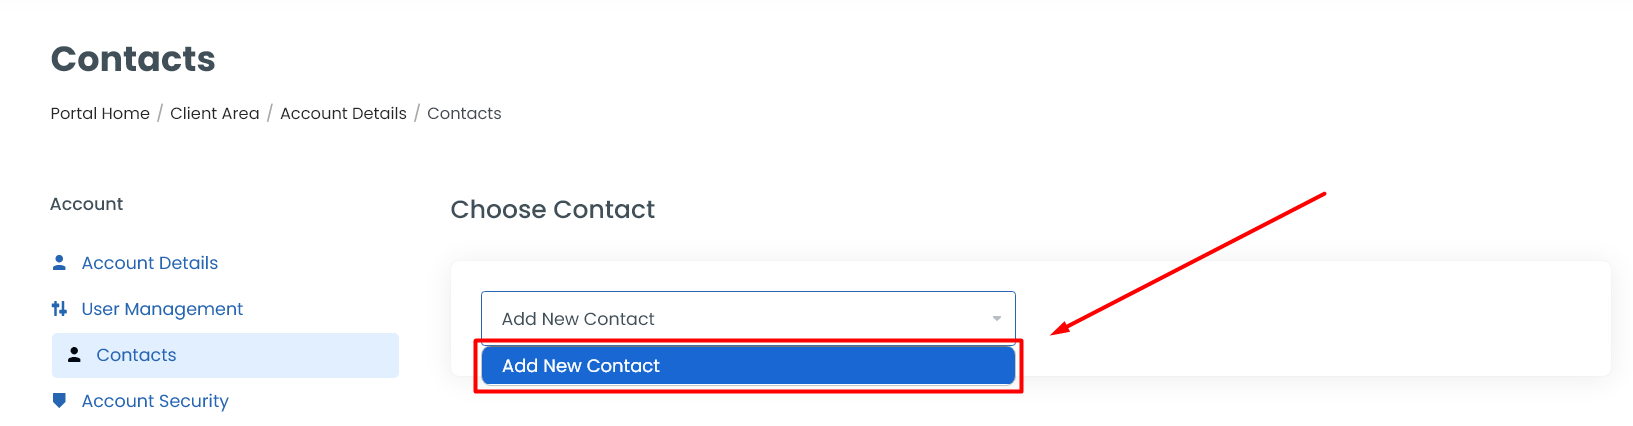
STEP 3: Add New Contacts
Click “Add New Contacts” option from the drop down.
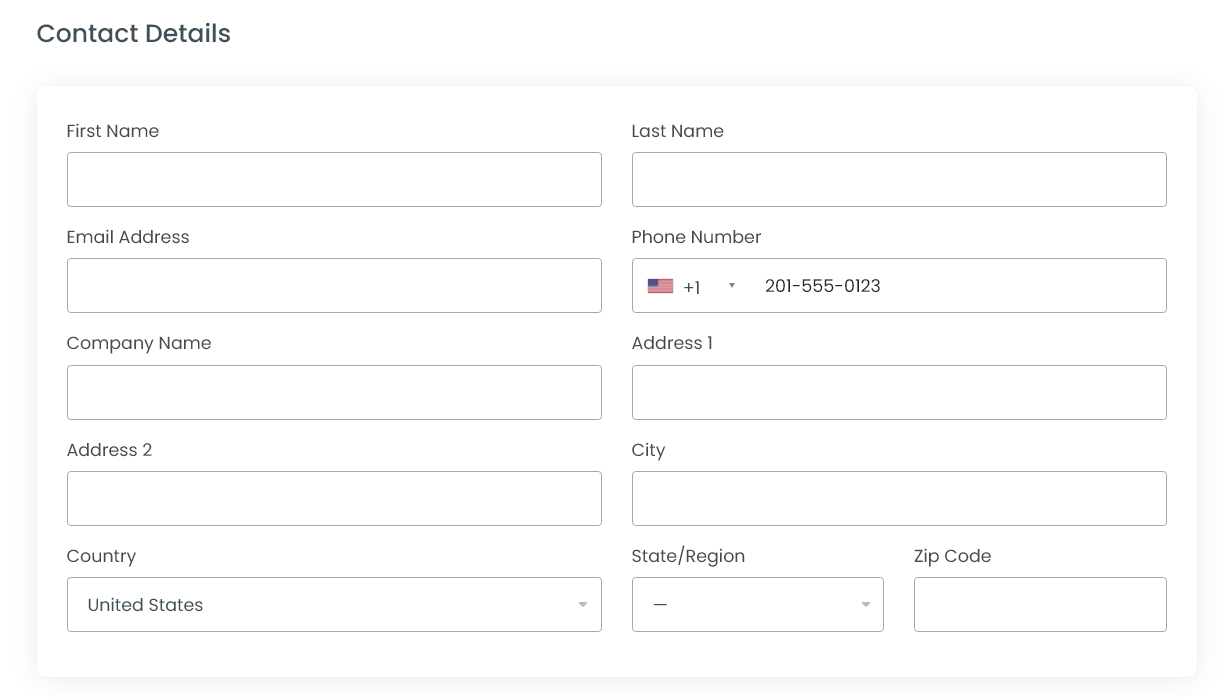
STEP 4: Fill the Contact Details
Enter the contact details of the person you wish to add as contact user. It should be valid and correct to keep the account validated.
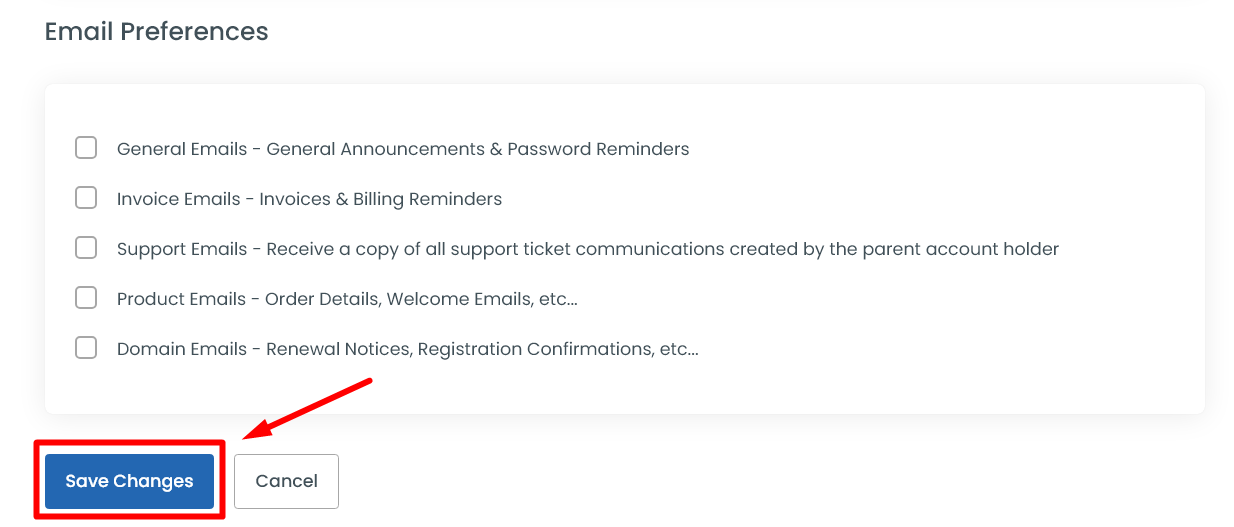
STEP 5: Email Preferences
Click the Checkbox for which you want to give the access or receive emails to the contact email address. Then click “Save Changes”.
STEP 6: Contact User Login
You can login with your main account access and manage the contact user from client area.
STEP 7: Add New User and Login
If you wish to login with the secondary user account, then you can add them as new user and login with their credentials.
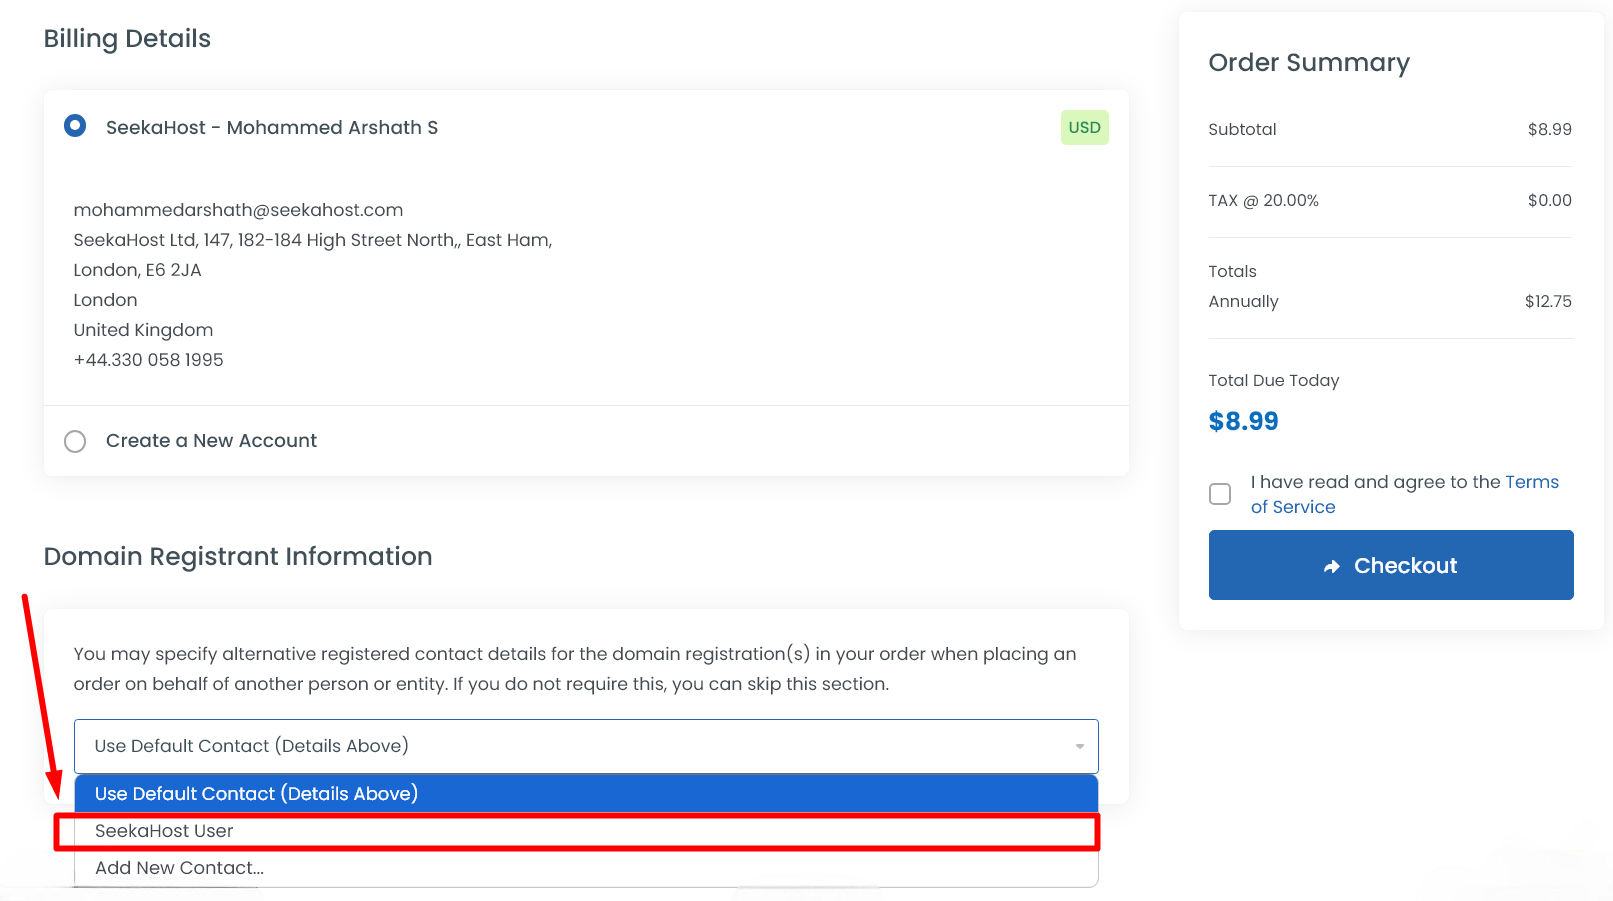
STEP 8: Register Domain with Contact User Details
To register domains under a different user or an existing contact, add them as a contact. Then, select the contact from the dropdown menu at the “Review and Checkout” page in the Billing Details section.
Additional Helpful Resources:
1. Purchase Domain or Hosting.
3. Add New User
4. Enable Two Factor Authentication
5. Add and check Available Funds in Account
7. Account Email Verification at SeekaHost
Finally, you have created a contact user account from the SeekaHost Client area.
[Tweet “How To Create Sub-Accounts In SeekaHost?”]
If you are a registered user in SeekaHost and have any queries to be clarified or issues to be sorted, you can raise a ticket through client area dashboard or email to support@seekahost.com. For immediate interaction or guidelines, contact our support team available in LiveChat at the right bottom corner of the website.