 SeekaHost.com Client Area
  SeekaHost.app
  SeekaHost.co.uk
  SeekaHost.in
How to Create WordPress Staging Site in SeekaHost?

By Aslam Saah
Are you looking to create a staging site on your website? But don’t you know how to do it?
Here is the solution for your quires. First, see what is staging site is and the importance of creating a staging website.
What is a Staging Site?
A staging site is the test site that is used to test your website before it goes live on the server.
If you make any changes to your website, unfortunately, it crashed your website. This will really hard and take more time for you to make your website as before.
So if you’re having one staging website, then you can make any changes to that site and can test it without worry. Simply, you will have a chance to test the changes before releasing the live website.
Benefits of WordPress Staging Environment:
- It helps you to solve the Plugins problem without affecting the live website.
- The negative impact of a crashed website on conversion and sales is eliminated when you use a staging site.
- In general, it is used for safer coding practices.
Steps to create WordPress Staging Site:
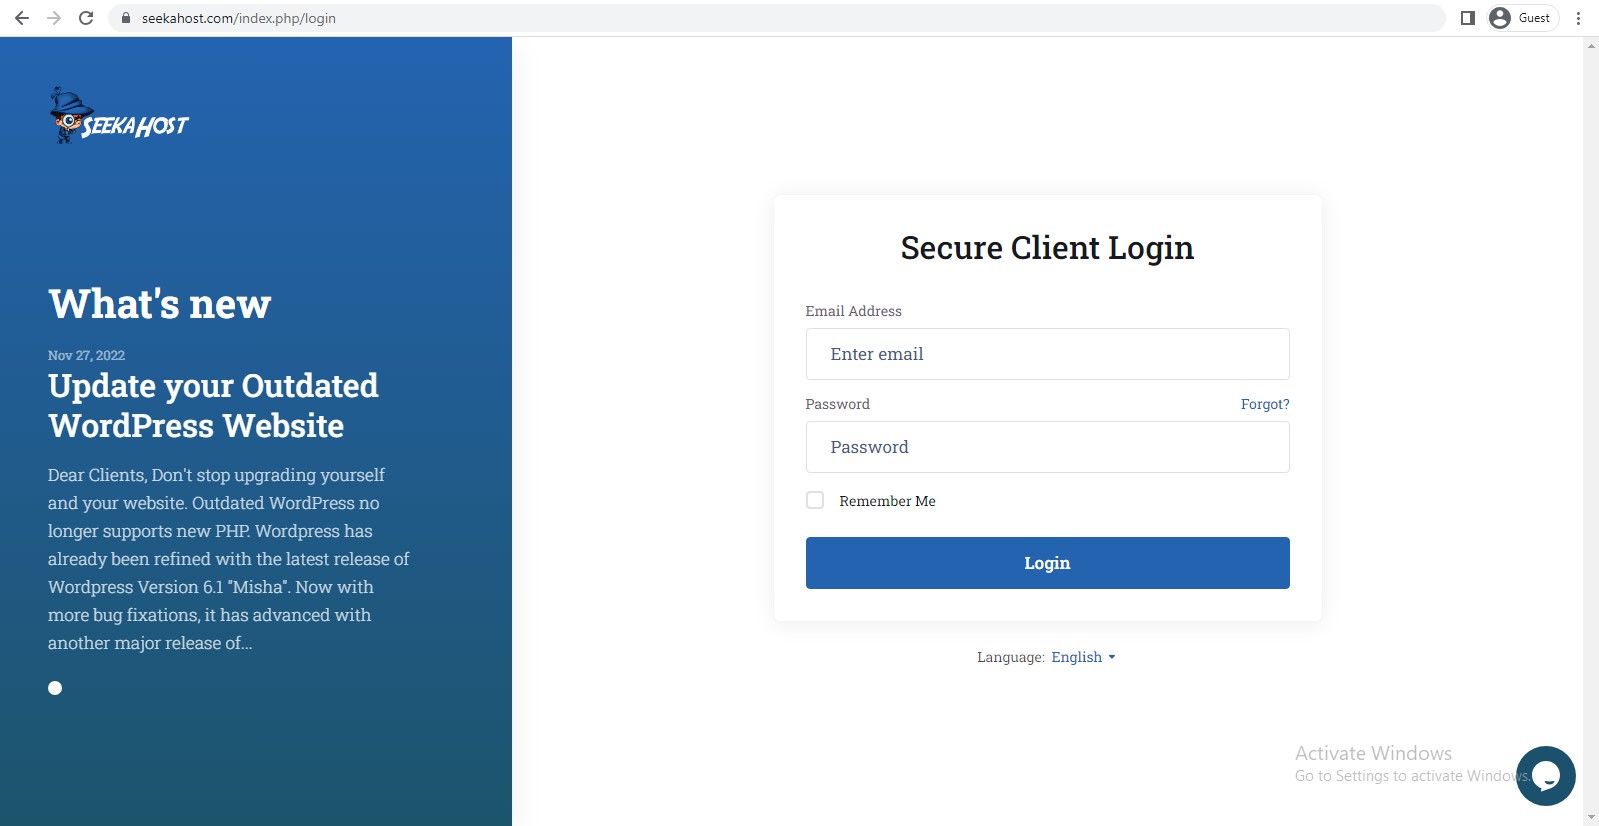
Step1: Login to your SeekaHost Client area account, you can manage your WordPress from there.
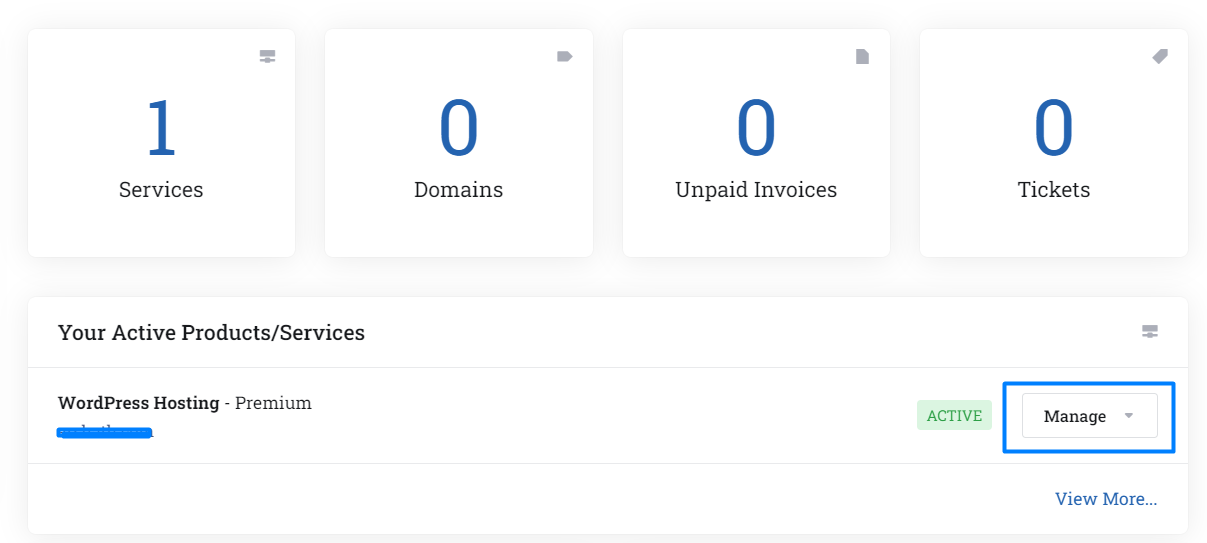
Step2: Go to the Services, Select the package from “My Products & Services”

or select the package directly from the active products shown in the dashboard.
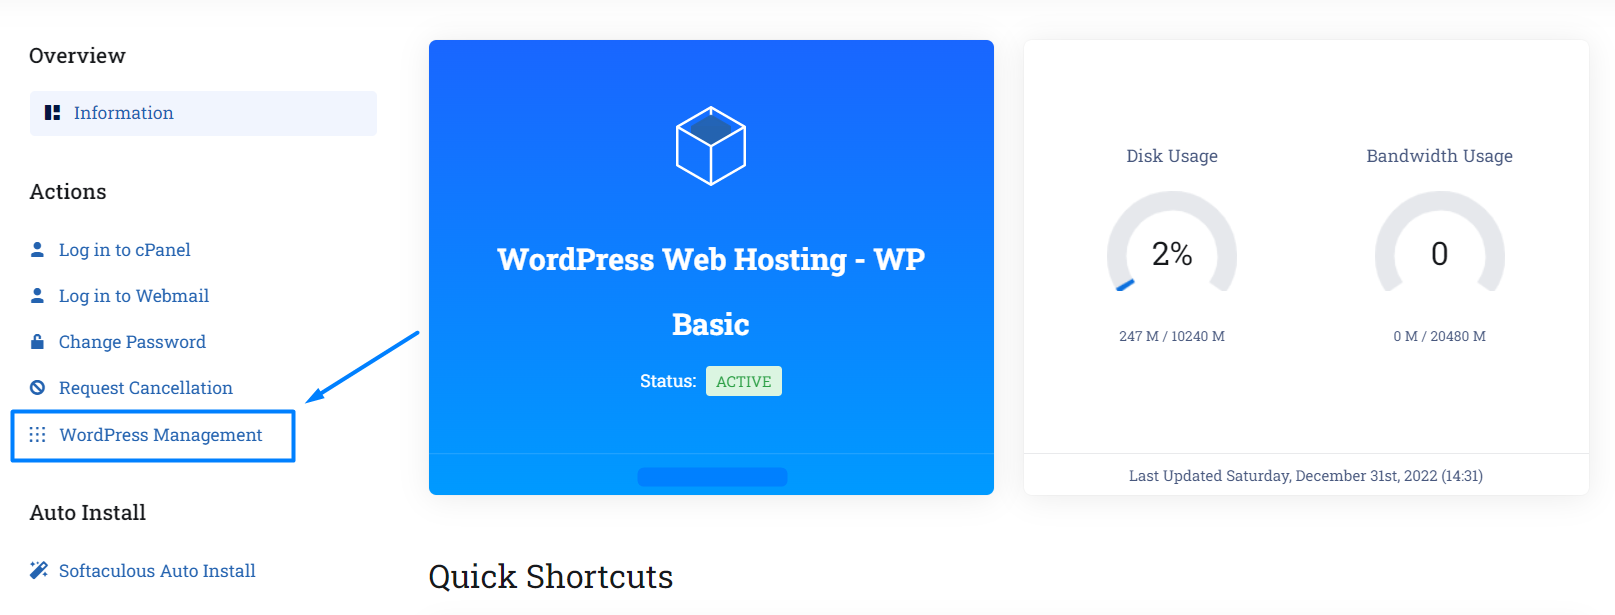
Step3: The “Managing Basic WordPress Hosting” page will display. There Click the WordPress Management as shown in the below image.
Step 4: Inside the WordPress manager, you will see the product name and Installation URL there. Then, click the Edit symbol which is on the right-hand side of the page.
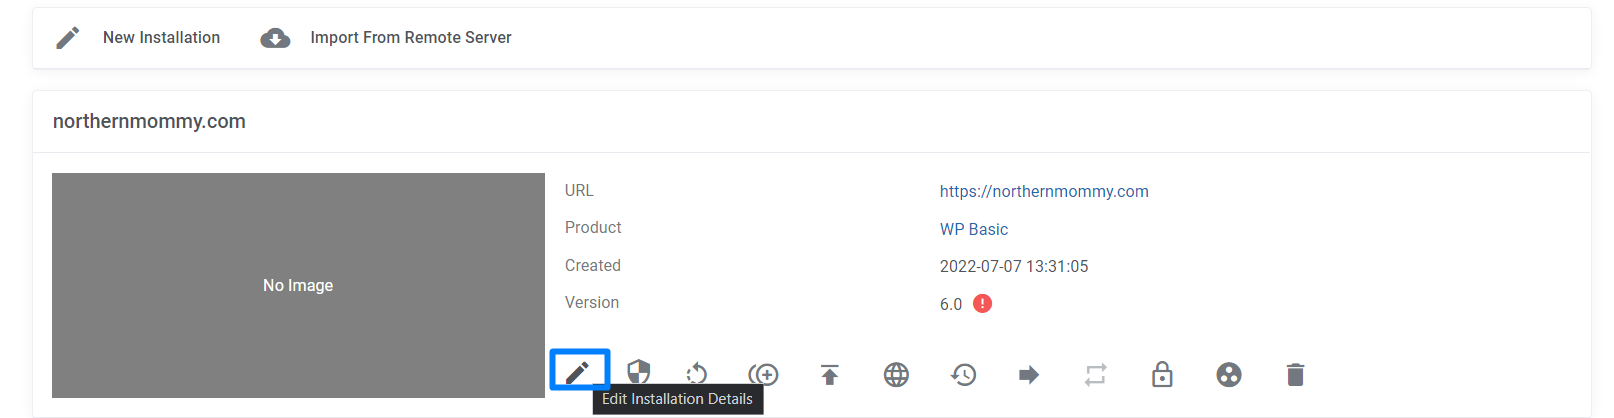
Step 5: Next, you will see the Installation details inside that. Under the “Actions” click “Staging” to start the process.
Step6: A new window will open. Enter the required details for the staging process.
Protocol: Select the type of protocol that you want to create for your staging website (http://, https://, http://www, https://www).
Domain: Type in the domain on which WordPress will be installed. So, enter your domain name here.
Directory: Enter the directory name on where the WordPress will be installed. For example “WordPressclonesite” or default name,
Database Name: Type the database name for this installation. For example, CloneDB or default name
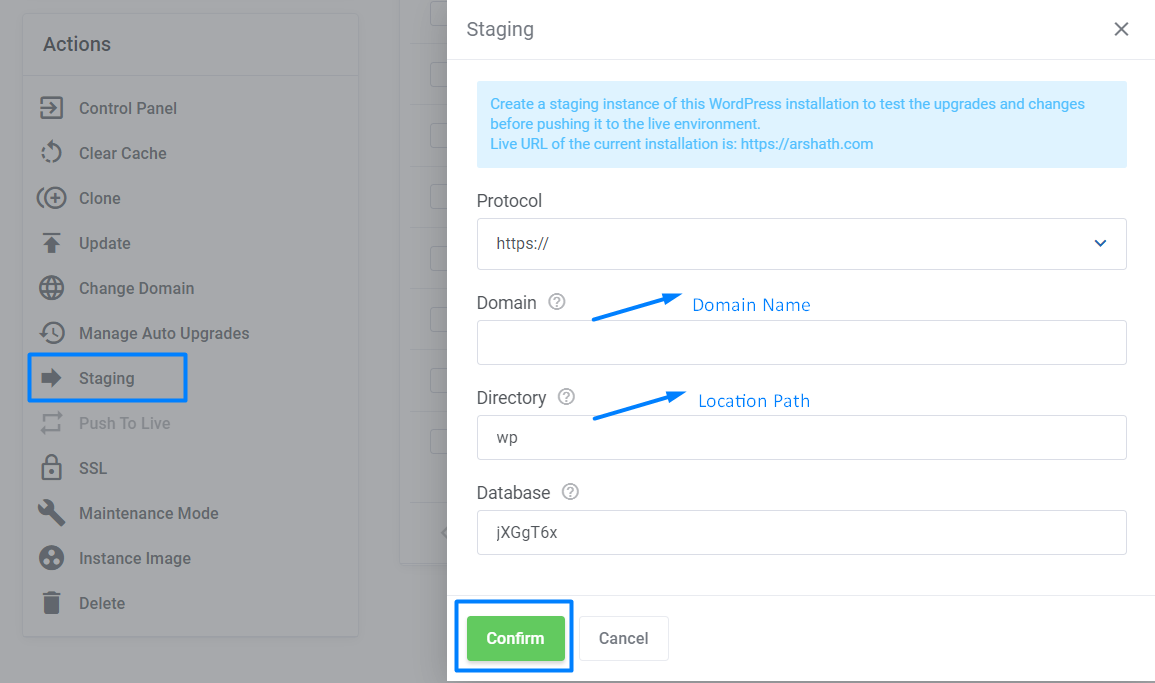
Step 7: At last, Click confirm to finish the staging process.
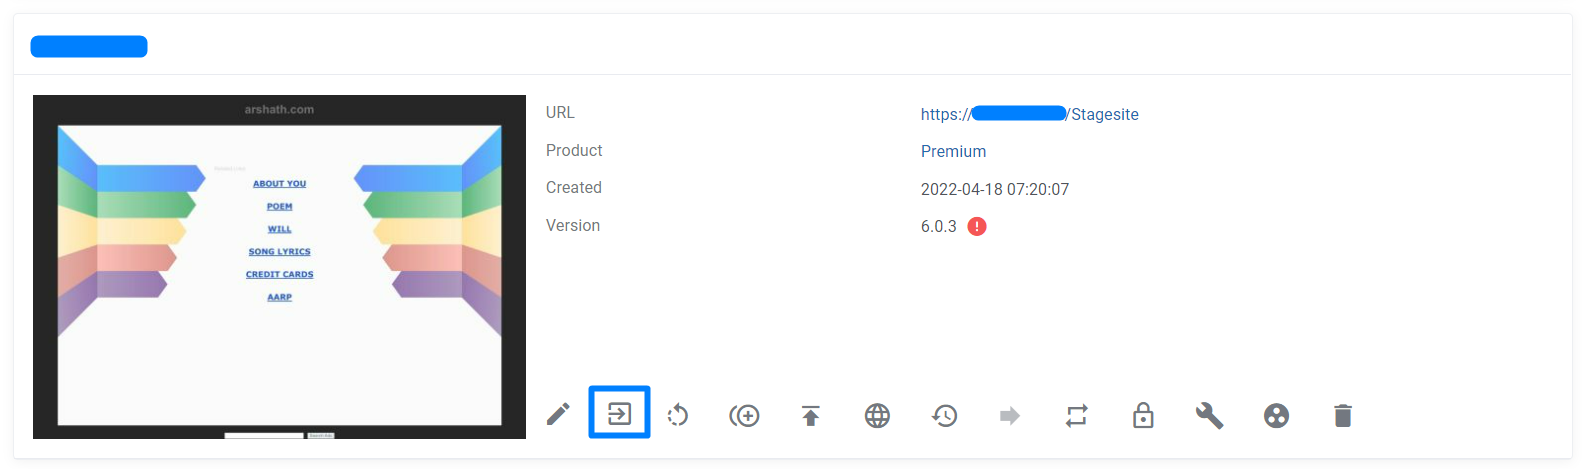
Now you have successfully created the staging environment for your WordPress website. You can see the folder in the File Manager section.
Go to the WordPress manager section. There you can see the staging installation details. Click login to control panel option directly from here.
You will get the Installation details through the mail. If suppose you didn’t receive any mails for 5 mins, check the spam folder and contact our support team via live chat or ticket.
If you are a registered user in SeekaHost and have any queries to be clarified or issues to be sorted, you can raise a ticket through the client area dashboard or email to support@seekahost.com. For immediate interaction or guidelines, contact our support team available in LiveChat at the right bottom corner of the website.