 SeekaHost.com Client Area
  SeekaHost.app
  SeekaHost.co.uk
  SeekaHost.in
How to Manage WordPress website in SeekaHost WordPress Hosting?

Table of Contents
Manage Your Website through SeekaHost WordPress Hosting
WordPress is a free open-source Content Management System(CMS). It is used to manage your website and its content easily. In SeekaHost, you can manage WordPress Websites without login into the WordPress Dashboard.
If you have bought WordPress hosting package in SeekaHost, then you are eligible to utilize the topmost features which is never been an option in other hosting providers.
Below we will show you how to manage a WordPress website,
WordPress Manager Options,
- Take backups
- Install/Manage Theme
- Install/Manage Plugins
- Manage WordPress config file
- Website Cloning
- Staging/Development Website
- Clear Cache
- Enable SSL
- Manage Auto Upgrades
- WordPress Update
Let’s see the features one by one below.
1. How to Manage Website in Seekahost Client Area
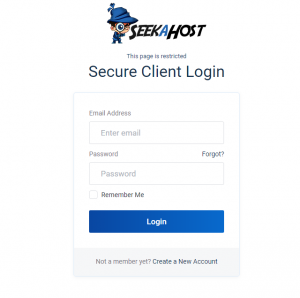
Step1: Login to your SeekaHost Client area account, you can manage your WordPress from there.
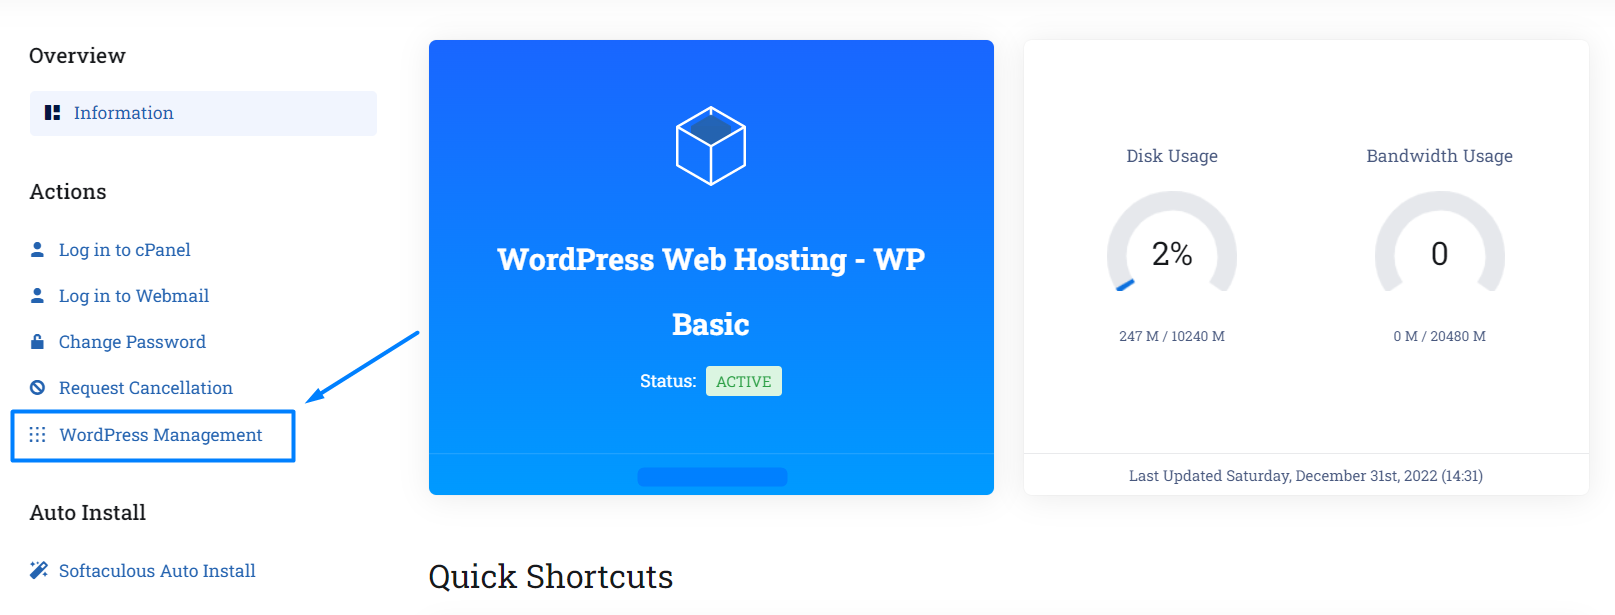
Step2: Go to the Services, Select the package from “My Products & Services”.

Step3: The “Managing Basic WordPress Hosting” page will display. There Click the WordPress Management as shown below image.
Step 4: Inside the WordPress manager, you will see the product name and Installation URL. Then, click the Edit symbol which is on the right-hand side of the page.
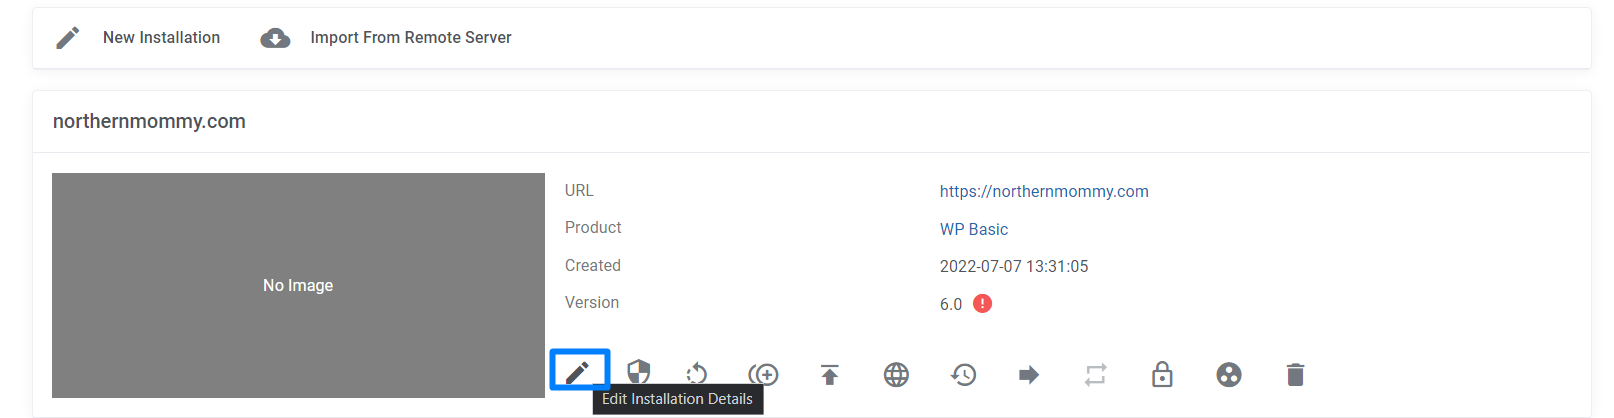
You can manage your WordPress website here
2. Take Backups:
Backups are the most important ones when it comes to websites. If you have website backup, you can easily restore it, if anything happens to your website.
- Click the “Backup” option on the WordPress Management page. Press the “Create backups” button as in the image.
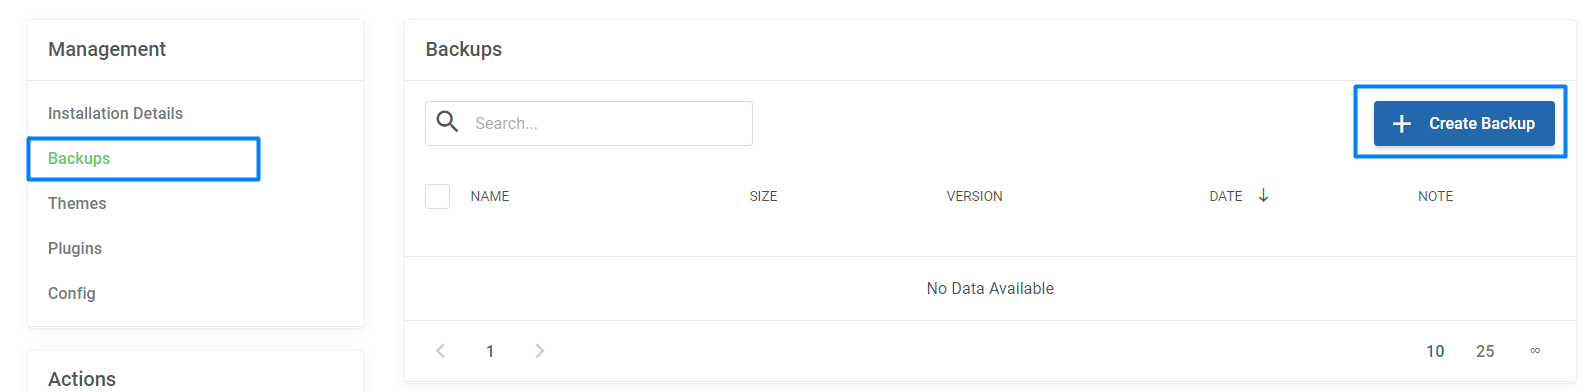
- Select the file that you want to take a backup. and location to where you have to store this backup. After selecting, click “Confirm”.
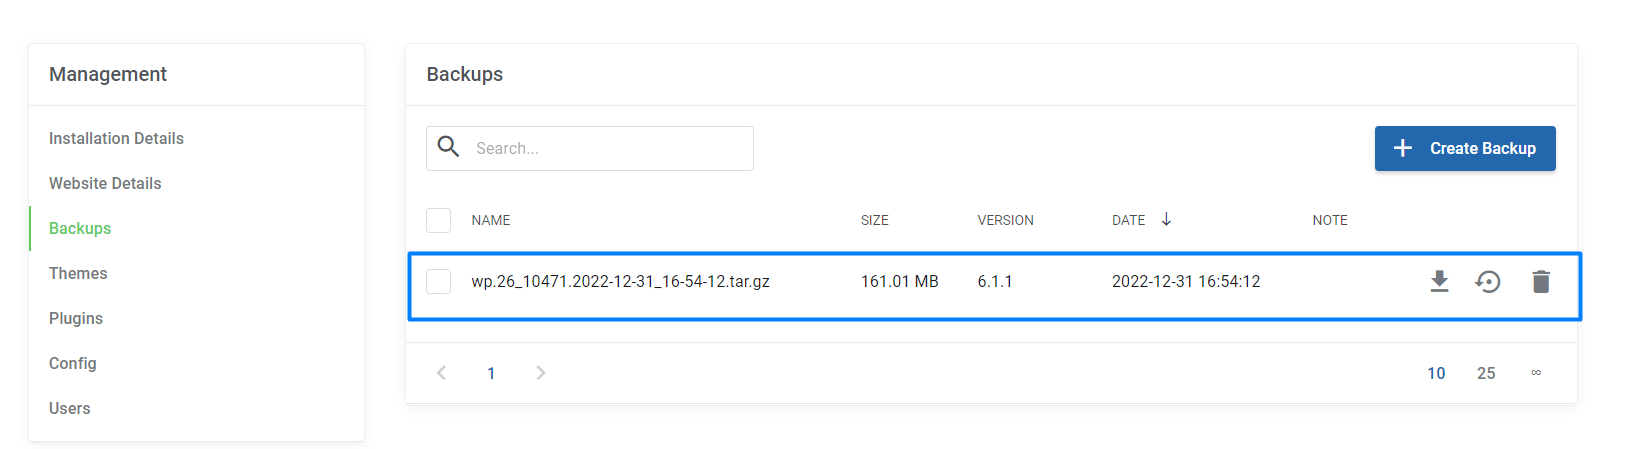
- After few seconds refresh the same page, it will display the backup details for you. You can see the option for the backup download, can delete the unwanted backups, even you can restore the website backup in one step by clicking the restore icon.
2. Install/Manage Theme
The theme is the face of your website. While installing WordPress, it will come with the default theme. You can change that theme to match your website needs. WordPress Theme change will not affect your website content. It will just change the display of your website to the visitors.
- Click the “Theme” option on the management page, It will display the already installed themes on your website.
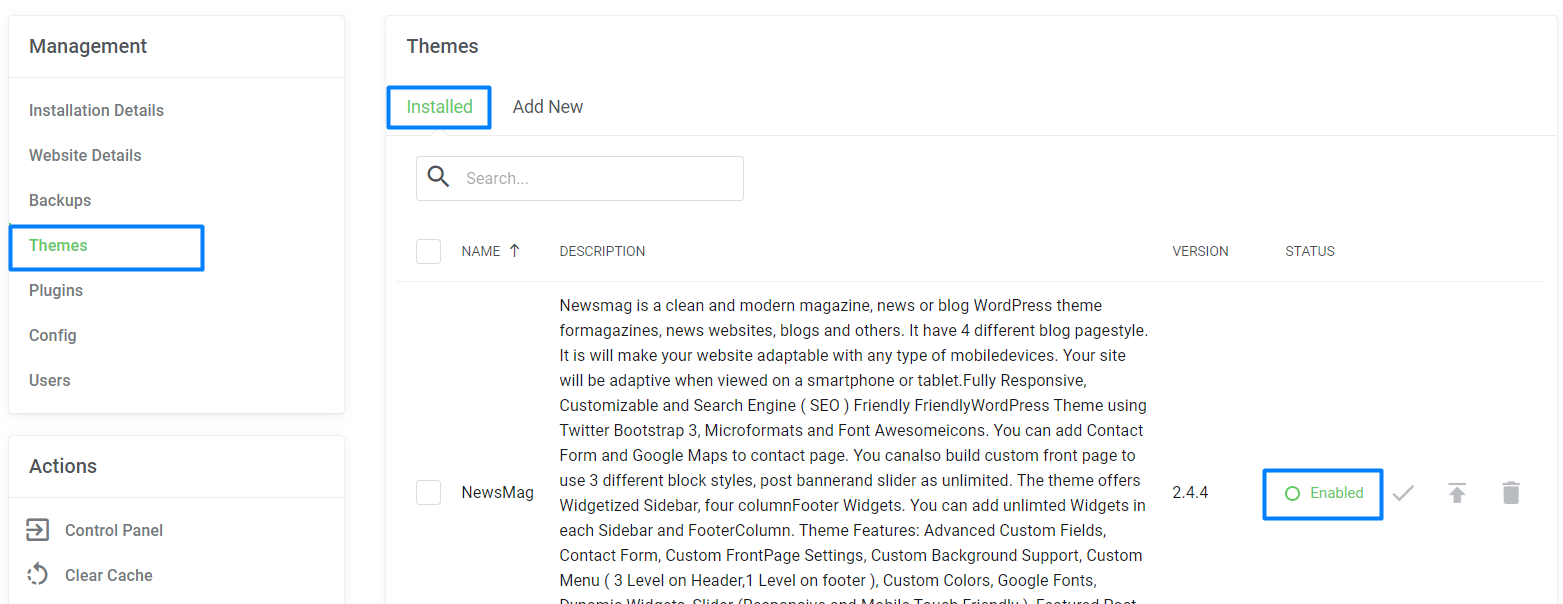
- If you want to add a new theme to your website, Click Add new option at the top.
- Search the required theme and click “Install”.
- Go to the installed option and you can see the installed theme. Enable the active button to activate the currently installed theme.
- It will ask for confirmation so, click “Confirm” once again.
- Now you have activated the new theme.
3. Install/Manage Plugin
Plugins are software, that is used to add additional features and functions to your website. There are a lot of WordPress plugins are available. The plugin allows you to create any type of website.
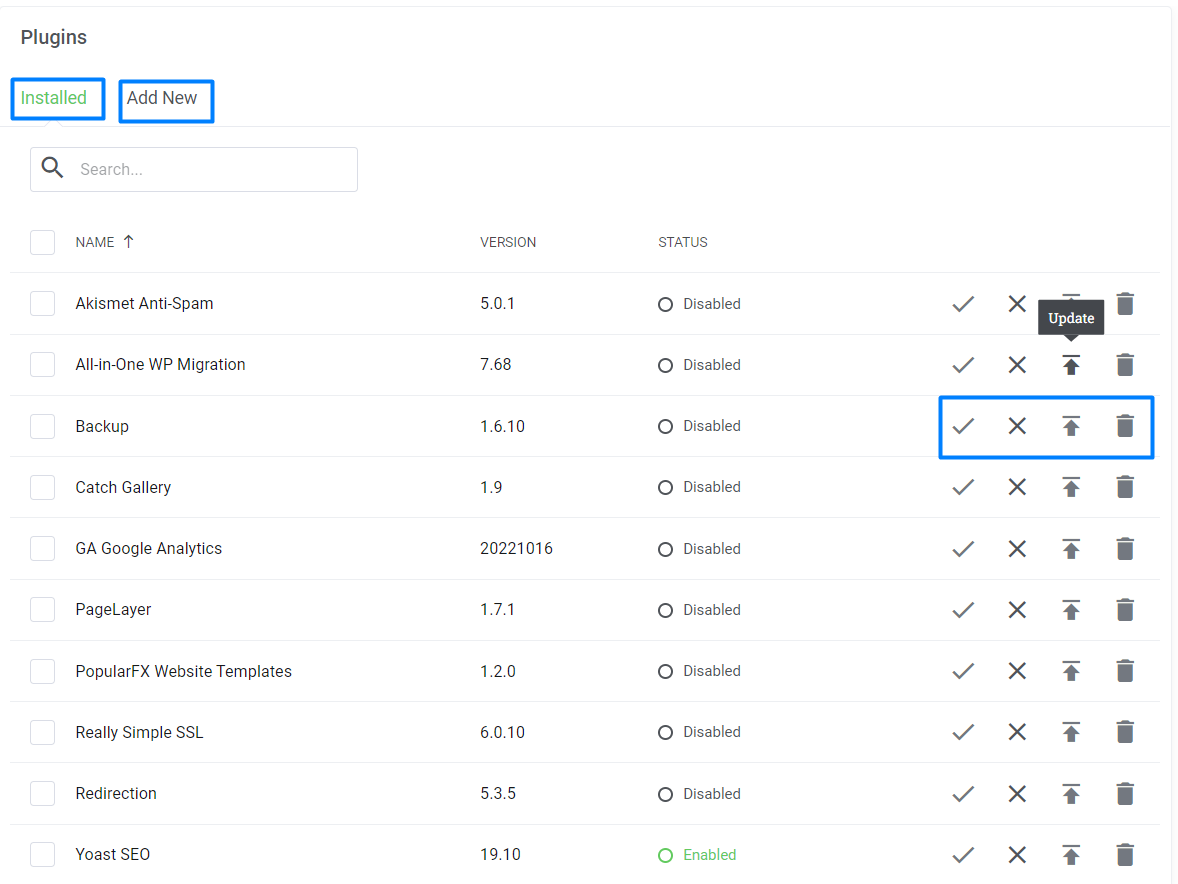
- Click the “Plugin” option on the management page, It will display the already installed plugin and its version of your website.

- If you want to add new plugins, then click Add new. In the search field, enter the plugin name that you want to install now and click the show details (i) icon on the right-hand side.
- A pop-up window will open. Click “Install”.
- Go to the installed option and you can see the installed plugin. You can delete the unwanted plugin, update it to the latest version and deactivate the plugin as per your wish.
4. Manage WordPress config file
- Click the “Config” option on the management page. This contains all the information same as the wp-config file which is the public_html folder.
- You can edit or delete any details from here. You can manage your WordPress database username, password easily here.
- If you have your database outside, you can change the Host from here itself.
5. Website Cloning
Website cloning is just taking a copy of your existing website files, content, and themes to create a new website. It allows developers to create a new website without the need to create from the scratch.
Nowadays, a lot of plugins are available to clone a WordPress website. But in Seekahost, You can clone your WordPress website within a minute. You don’t need to install a separate plugin for this.
Click the Clone option on the Seekahost WordPress management page.

Next, enter the required information for the process. Click “Confirm” to clone your website.
For more detailed instructions refer here -> How to Clone a WordPress Site in SeekaHost?
6. Staging/Development Website
A staging site is the test site that is used to test your website before live on the server.
If you have created a staging website, it will be very helpful for you. You can easily find the error or bug and test it before publishing your website.
You’re able to find the plugin issues on your website.
Click the Staging option on the Seekahost WordPress management page.
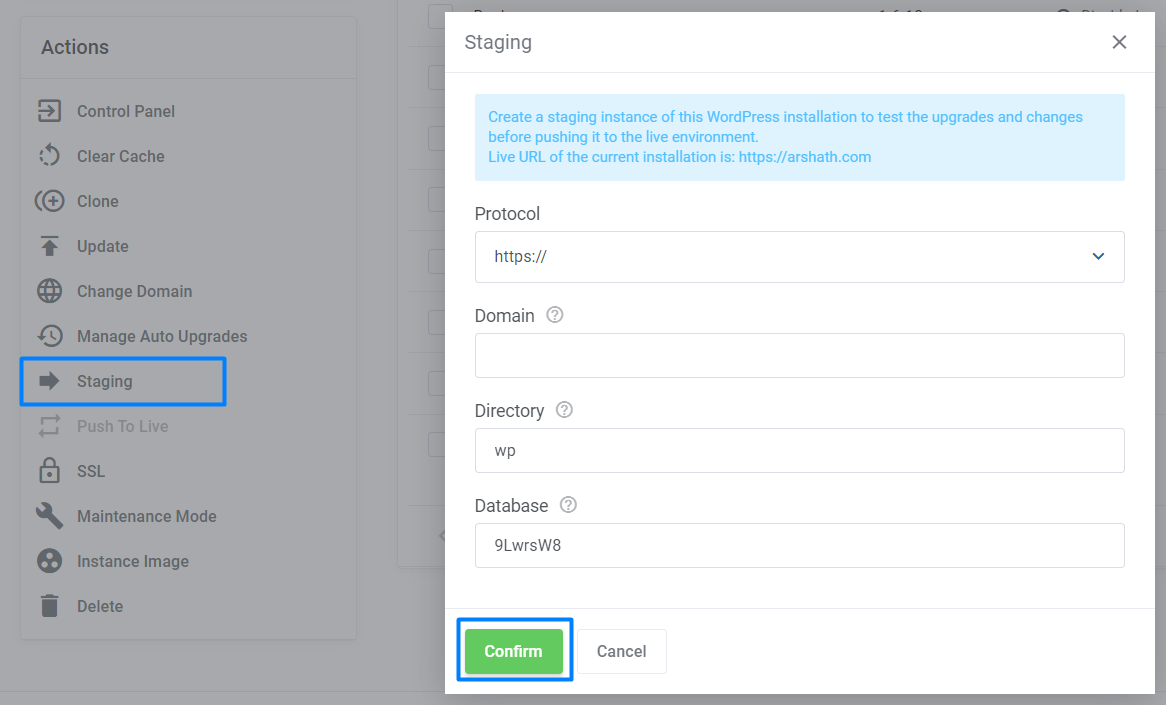
Next, you have to enter the details to create the WordPress stage site.
To get step by step guide, check here -> How to Create a WordPress Staging Site in SeekaHost?
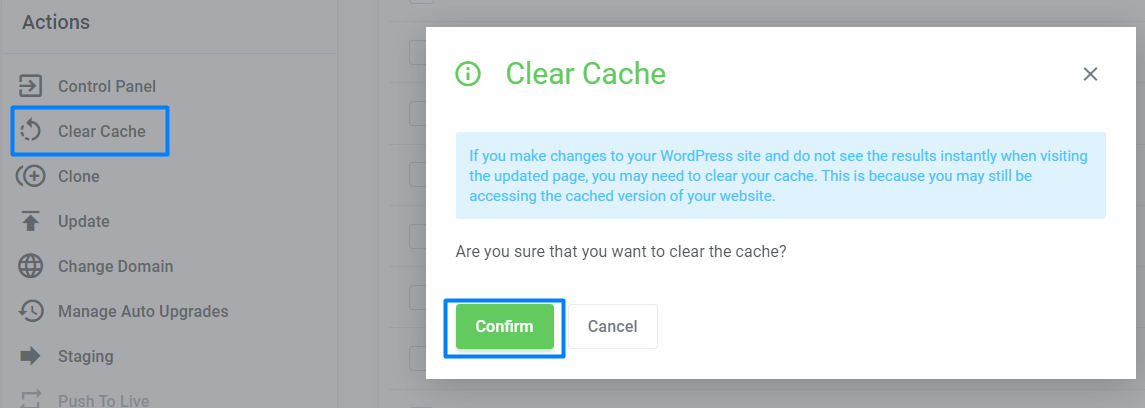
7. Clear Cache
You should hear about cache a lot of times while working on the website. When you open a website in a browser, it will store the website information in temporary files.
If you make changes to your WordPress site and do not see the results instantly when visiting the updated page, you may need to clear your cache. This is because you may still be accessing the cached version of your website.
Click the “Clear Cache” option to clear the website cache.
8. Enable SSL
If you have enabled an SSL certificate on your website, it builds trust in your website for the user.
The Most 5 important benefits of using SSL certificates on your website.
- SSL Protects Data
- SSL Affirms Your Identity
- SSL Helps You Satisfy PCI/DSS Requirements
- Better Search Engine Ranking
- SSL Improves Customer Trust
You can simply enable the Free SSL on your website in the Client area.
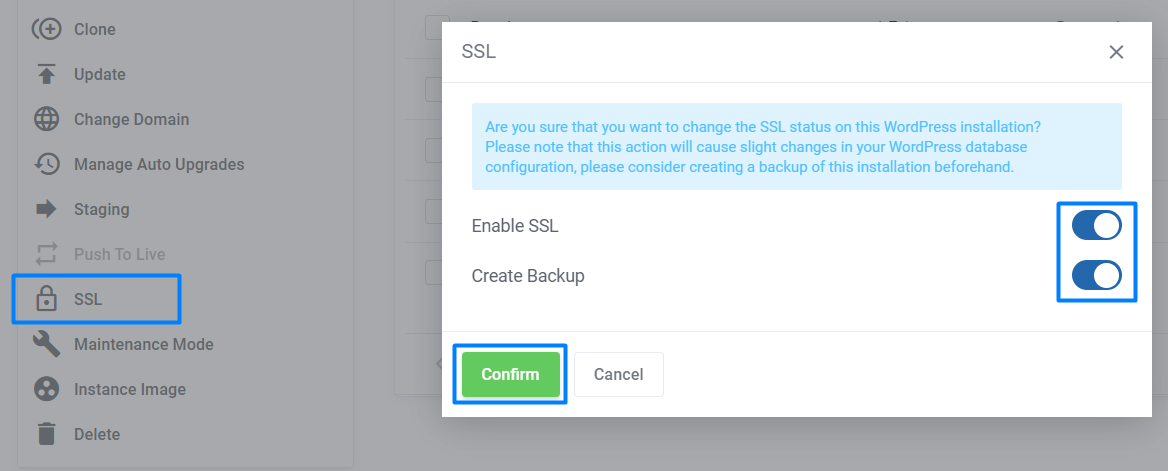
Enable the Toggle button to activate the SSL easily in one step.
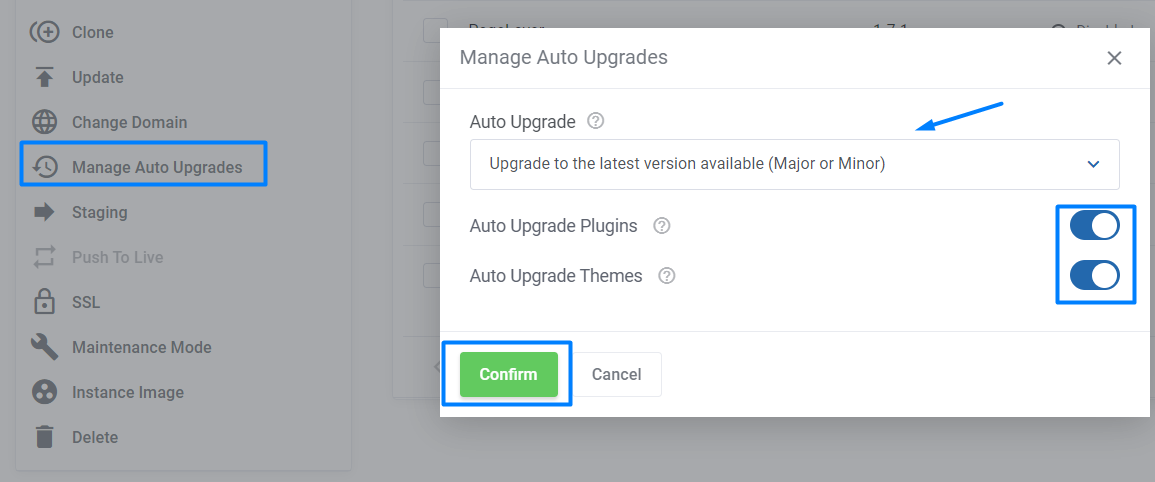
9. Manage Auto Upgrades
Manage Auto Upgrades is used to set the automatic update for WordPress, Plugins, and Themes. If you enable this option, your website WordPress will automatically update to the latest version when it’s available. Also, you can enable the automatic update option for plugins and the theme.
10. WordPress Update
WordPress Files need to be updated for security purposes. When WordPress is in the latest version it will reduce the chance of hacking your website.
Update Option is for manually update your WordPress to the latest version. If you haven’t enabled the manage auto upgrades, then you have to do the WordPress update manually.
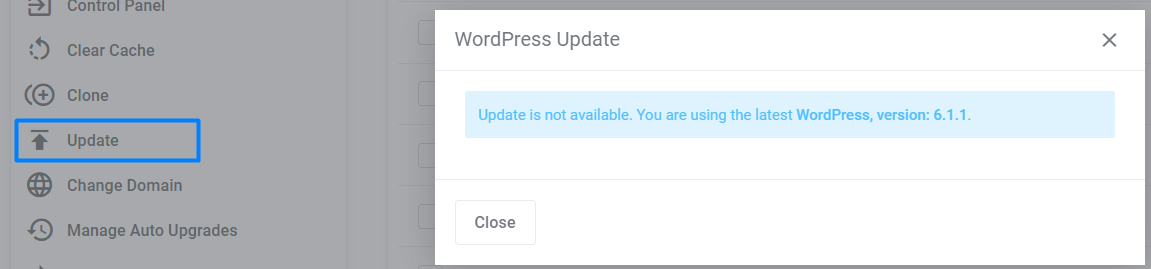
But don’t need to worry. It is also a simple process. Click the “Update” option on the management page. It will show the latest WordPress versions for you. You need to select the version to update it.
If your Website WordPress already has the latest version, It will be shown below,
If you haven’t bought the WordPress hosting package yet, get WordPress Hosting now and experience the best features.
If you are a registered user in SeekaHost and have any queries to be clarified or issues to be sorted, you can raise a ticket through the client area dashboard or email to support@seekahost.com. For immediate interaction or guidelines, contact our support team available in Live Chat at the right bottom corner of the website.