
 Client Area
  SeekaHost.app
  SeekaHost.co.uk
  SeekaHost.in
How To Restore Backup In cPanel?

By Menaga Devi
Table of Contents
First of all, the backup is nothing but taking the copy of the original data. The data can be a website, computer data etc,. Taking backups for your website keeps you relaxed and free from stress. Which means that if your website is deleted or hacked, you cannot retrieve it back. Once deleted, it can’t be revert back again. So, if you take backups at a regular period it can be monthly or weekly, it is a good thing. Also much secure for your website. Some users, find difficult to restore their backups. In cPanel, you have the facility to restore your data.
Yes! In this article, we have guided you to restore your backup files in cPanel. The steps are
STEP 1: Login
Log in to your cPanel account.
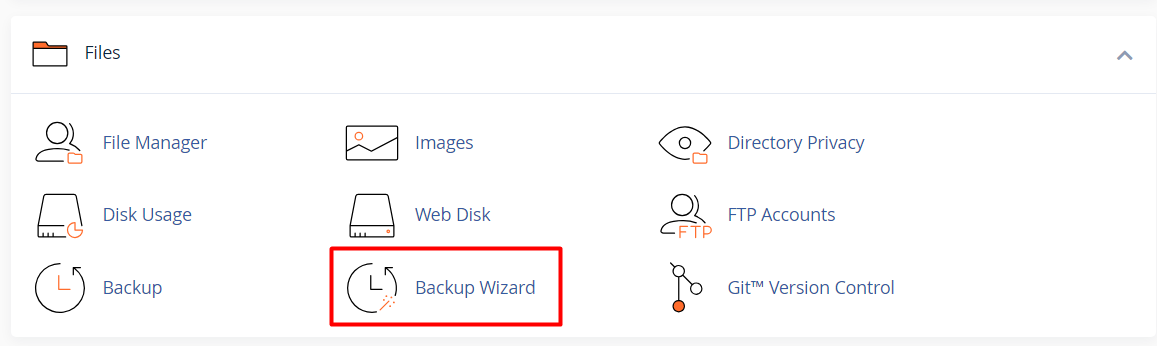
STEP 2: Backup Wizard
Search ‘Backup Wizard’ in the search box. You can find it under the ‘Files’ section. Just tap on it.
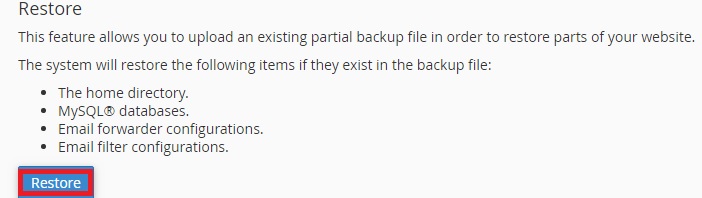
STEP 3: Restore
For restoring your backup data, click on ‘Restore’.
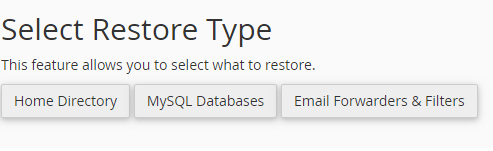
STEP 4: Restore Type
There are types of data option will be available to restore. Select the type of data you want to restore.
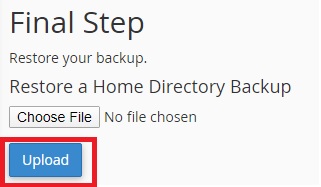
STEP 5: Upload
This is the last and final step in restoring process. To upload the backup files, choose the file that you want to upload and simply click on ‘Upload’. Once you have uploaded the backup files, the data has been restored.
These are the five steps to be followed while restoring your backup files.
[Tweet “How To Restore Backup In cPanel?”]
If you are a registered user in SeekaHost and have any queries to be clarified or issues to be sorted, you can raise a ticket through client area dashboard or email to [email protected]. For immediate interaction or guidelines, contact our support team available in LiveChat at the right bottom corner of the website.