 SeekaHost.com Client Area
  SeekaHost.app
  SeekaHost.co.uk
  SeekaHost.in
How To Update Private Nameserver In TsoHost

By Surya
Table of Contents
Each domain registrar has a different way or interface for updating the Private Nameservers. In this tutorial, you will be reading about how to update private nameserver details in TsoHost, where it’s its headquarters in Slough, Berkshire with its journey started from being the official registrar of .uk domains, who also provides hosting.
Steps involved in updating private name servers in TsoHost:
STEP 1: Login
Login to your TsoHost account.
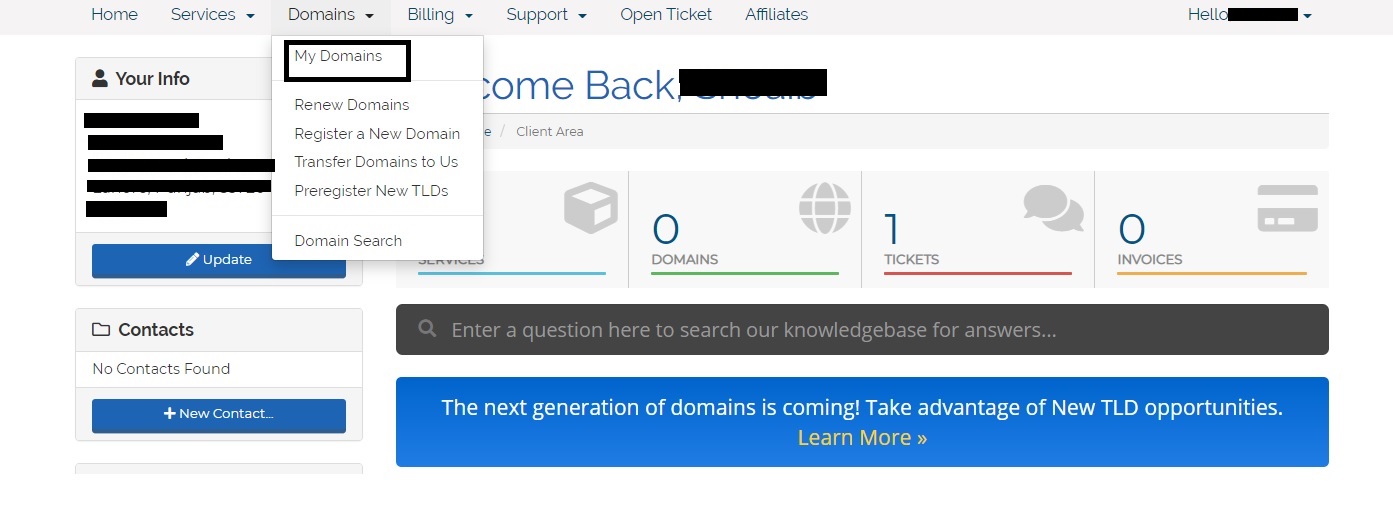
STEP 2:Domains
Click on ‘Domains’ and select ‘My Domains’ option present in the list.
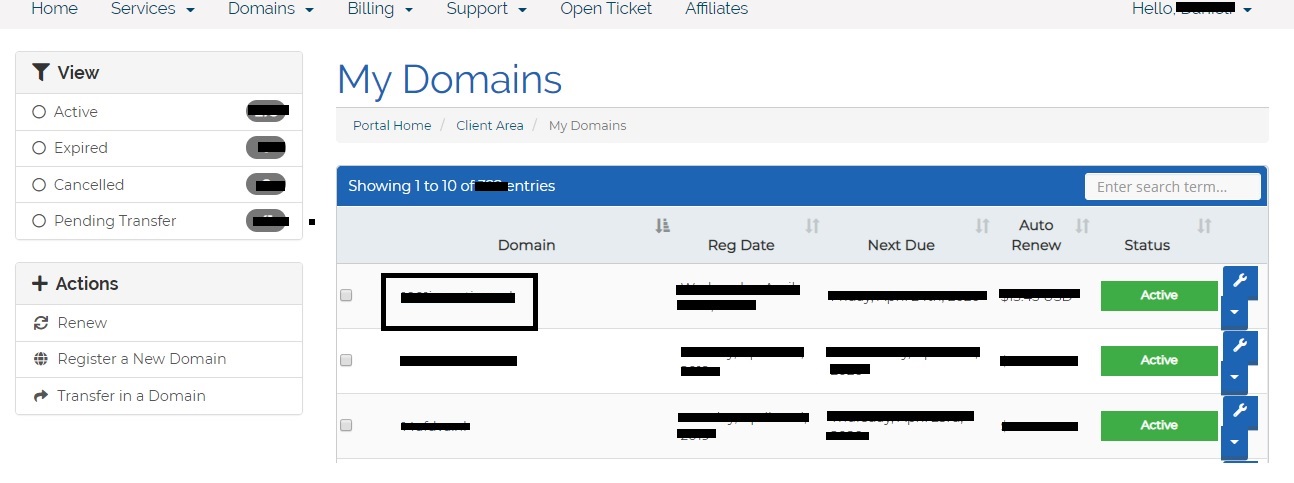
STEP 3: Choosing the domains
Now, select the specific domain for which you would like to update private nameserver.
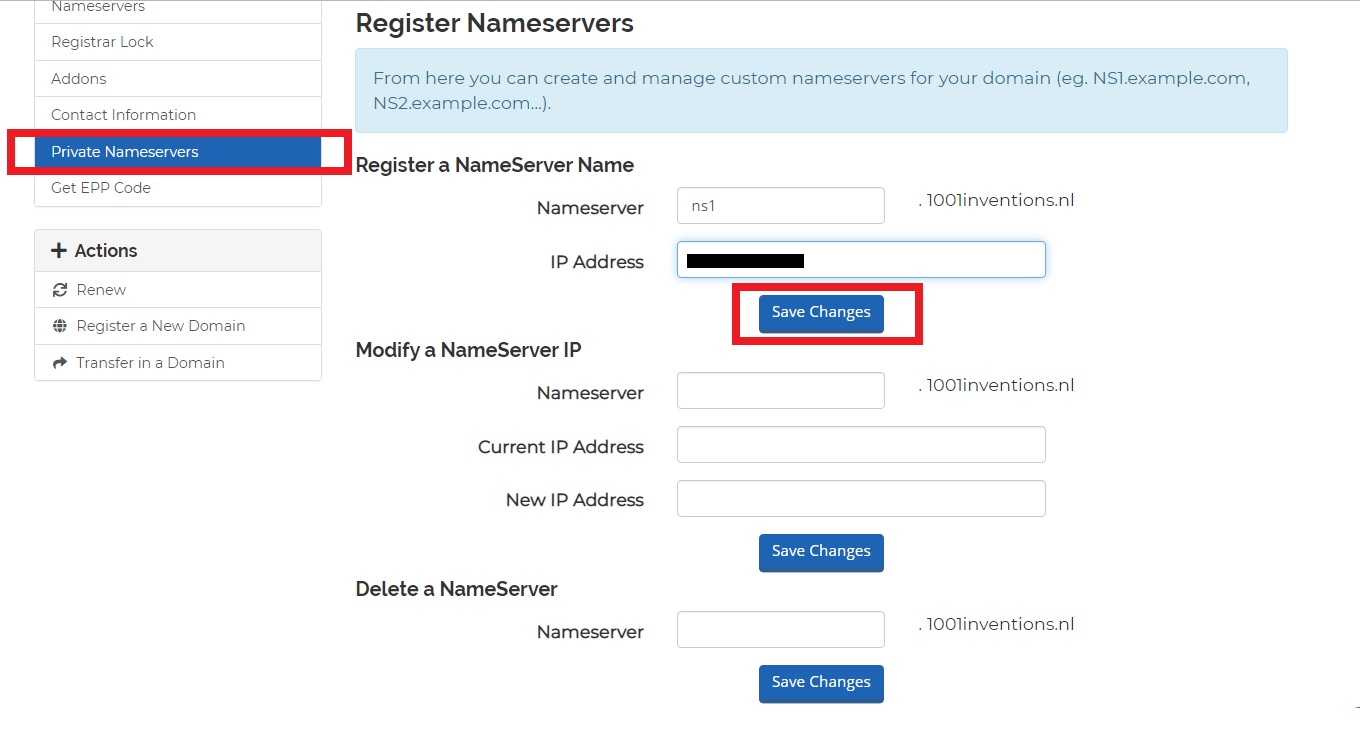
STEP 4: Private Nameservers
Click on Private Name Server option which is present on the left side. Enter the nameserver (ns1) and its IP address. Similarly, repeat the same for nameserver (ns2) and click on ‘Save Changes’. You can also modify, delete the nameserver if in case you updated with the wrong nameserver details.
STEP 5: Changing Nameservers
Then, click on Nameservers option which is above the Private Nameservers option. There you should choose ‘Custom Name Servers’ and enter the list of name servers in the given boxes and click on ‘Change Name Servers’.

Finally, you have updated name servers in TsoHost. If you like to know more about the Private Name server and why it’s used on domains hosted under PBN Hosting package, contact our Live Chat Support or mail to support@seekahost.com for more details.