 SeekaHost.com Client Area
  SeekaHost.app
  SeekaHost.co.uk
  SeekaHost.in
How To Register Name Servers With Network Solutions?

By Surya
Table of Contents
In this article, we will guide you on how to register (or) update the name servers in Network Solutions.
Kindly follow the below-mentioned steps to update the name servers in the domain registrar (Network Solutions)
STEP 1: Login
First, log in to your ‘Network Solutions’ account.
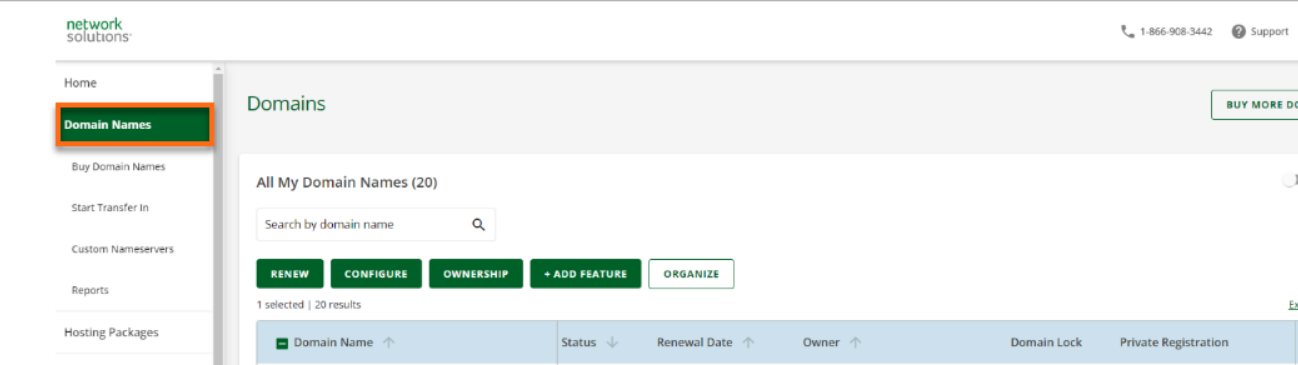
STEP 2: Choose the Domain
On the left section, click ‘Domain Names’ and choose the respective domain name that you to make changes to.
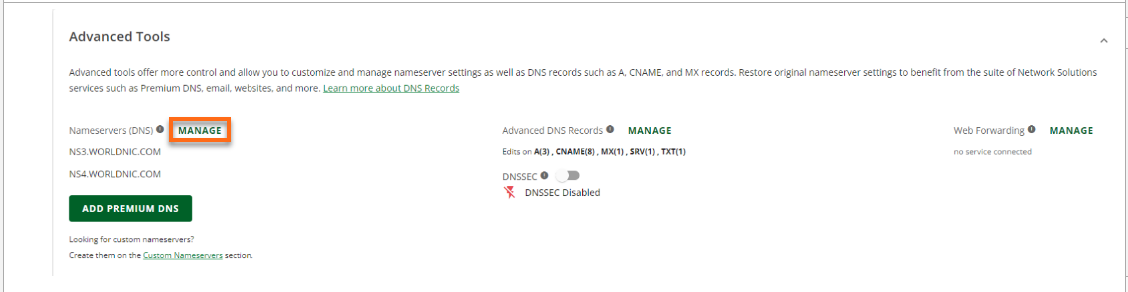
STEP 3: Manage Name Server
Scroll down to the Advanced Tools section and click “Manage“.
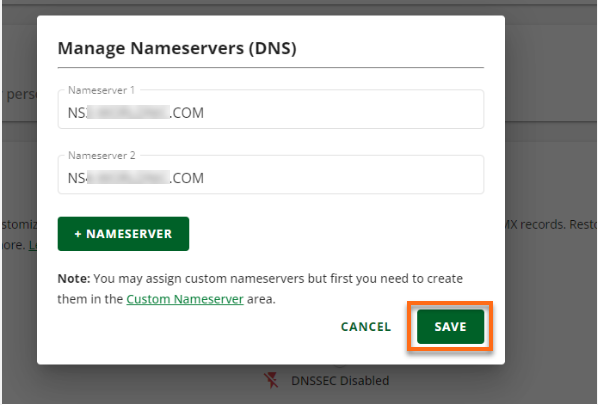
Now enter name servers of the domain in the provided box one by one and click on ‘Save’.
STEP 4: Entering IP address
On the same Advanced Tools section. click ‘Manage‘ under the option ‘Advanced DNS Record‘

After that, click add record and choose ‘A Record‘.
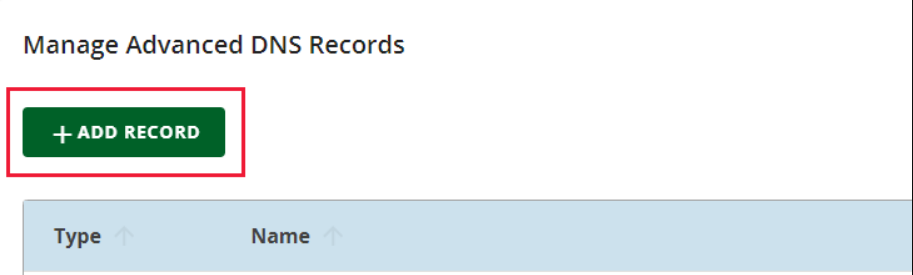
Enter the IP address of the name server which is provided by the hosting provider. Next, click ‘Add’.
Example:
Here, @ will take as domain name.
- Type: A record
- Refers to: @
- Target/Destination: 35.172.94.1
- TTL: 3600
STEP 5: Save Changes
Once you have added the IP address, it asks for the confirmation of updating the name server of the domain. After checking, just click on ‘Save Changes’.
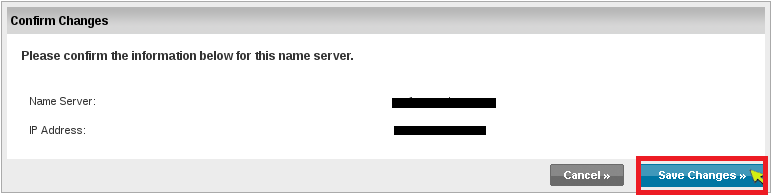
The nameserver and IP address for the domains will get updated.
Learn More About: How to Update Nameserver for Custom and Private
[Tweet “How To Register Name Servers With Network Solutions?”]
If you are a registered user in SeekaHost and have any queries to be clarified or issues to be sorted, you can raise a ticket through client area dashboard or email to support@seekahost.com. For immediate interaction or guidelines, contact our support team available in LiveChat at the right bottom corner of the website.