 SeekaHost.com Client Area
  SeekaHost.app
  SeekaHost.co.uk
  SeekaHost.in
How to Use cPanel Zone Editor to Manage DNS Records?

By Swetha
Managing DNS records is a crucial aspect of maintaining your website’s functionality and ensuring that your domain resolves correctly to the appropriate servers. cPanel provides a user-friendly tool called Zone Editor that allows you to easily add, edit, and manage DNS records for your domain. In this guide, we will walk you through the process of adding and editing DNS records in cPanel Zone Editor.
Using cPanel zone editor for managing DNS records
1. Accessing cPanel Zone Editor:
Step 1: Log in to cPanel using your cPanel username and password
cPanel login URL is usually like this -> https://yourdomain.com/cpanel
(Make sure to replace the yourdomain.com with the original domain name)
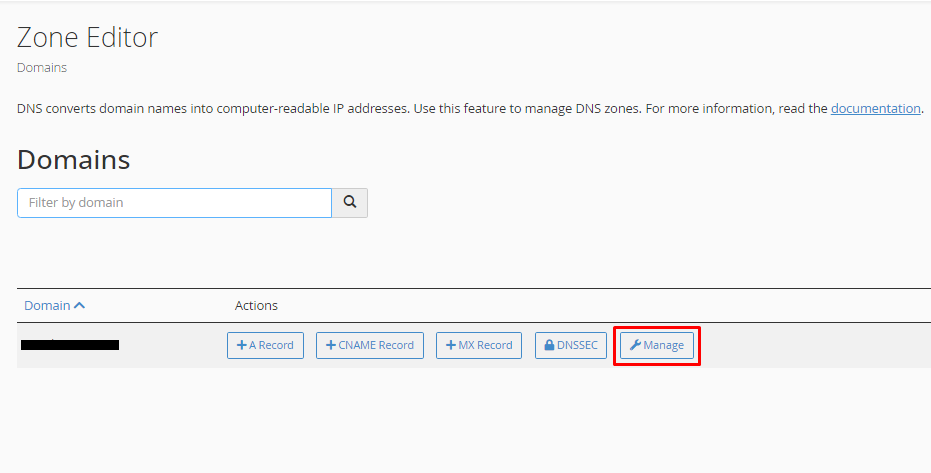
In your cPanel dashboard, find the “Domains” section or search “Zone Editor” and click on that.

It will navigate to another page. There from the drop-down menu, select the domain for which you want to add a DNS record. If it is a single account, you will see the domain name directly on that page.
Next, click on the “Manage” button next to the domain name.
A new window will open. There you will see the default DNS records that are provided by your hosting provider.
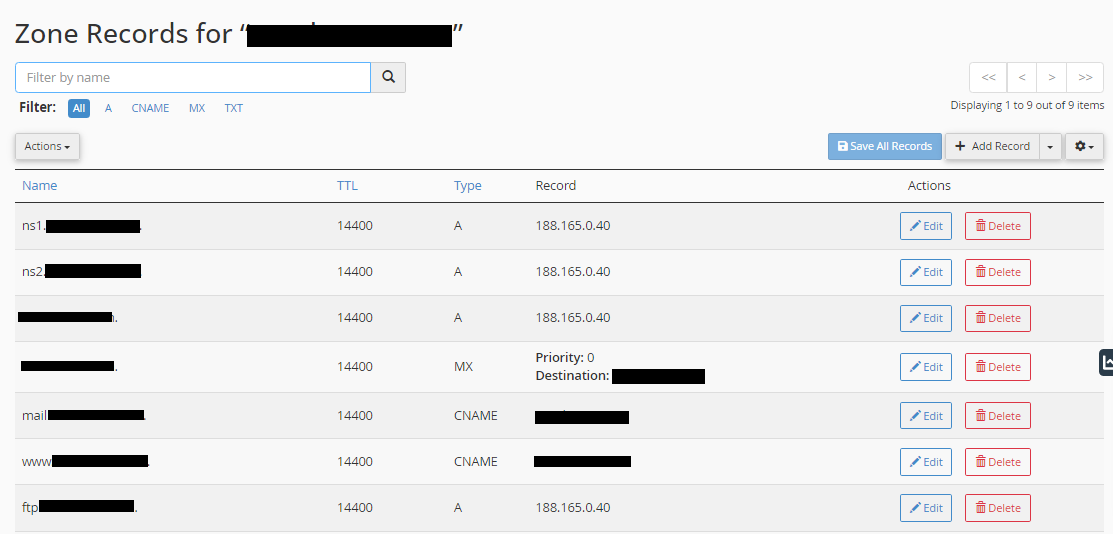
(Note: Before making any major DNS changes, consider taking a screenshot or note of your existing records to ensure you can revert if necessary.)
2. Adding a New DNS Record:
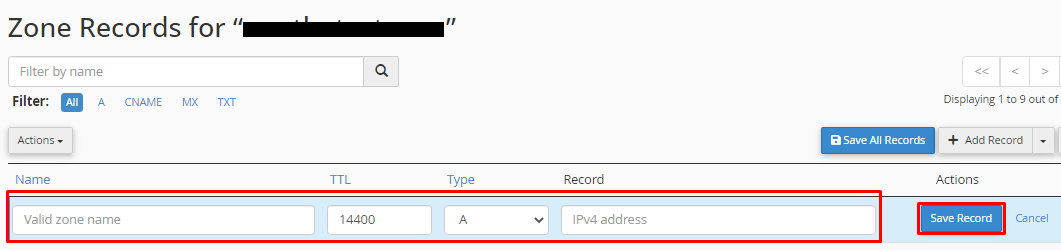
To add a new DNS record, click on “Add Record” on the right-hand side.
Select the type of DNS record you want to add from the options provided (A, AAAA, CNAME, MX, TXT, SRV) from the list.
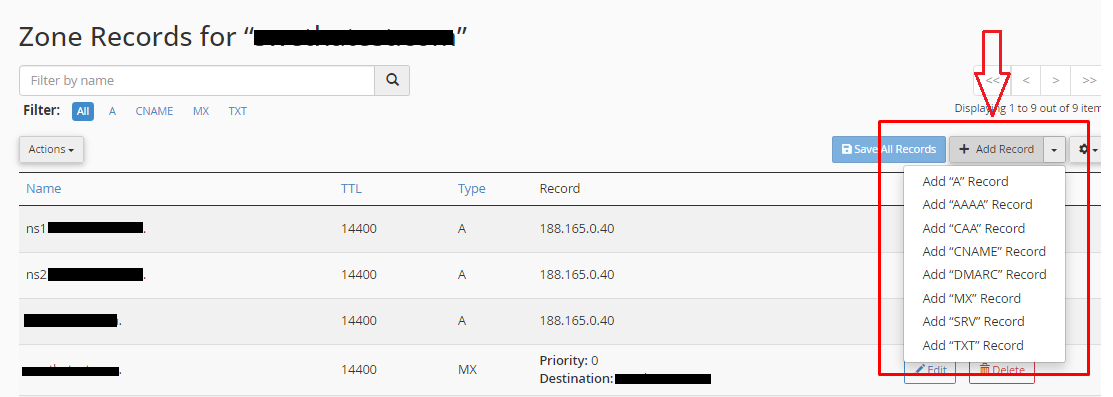
Fill in the required information such as the name, destination IP address, priority for MX records, text values for TXT records, etc. as per your requirement.
Once you’ve entered the required details, click the “Save Record” button to save the updated new record.
3. Editing an Existing DNS Record:
Search and find the DNS record that you wish to edit in the list and click the “Edit” option next to the record.
Update the necessary details of the DNS record and values.

After making the desired changes, click the “Save Record” button to apply the edits to the DNS record.
4. Deleting a DNS Record:
Locate the DNS record you want to remove and click the “Delete” option next to it.
Next, a confirmation prompt will appear. Confirm the deletion to remove the DNS record.
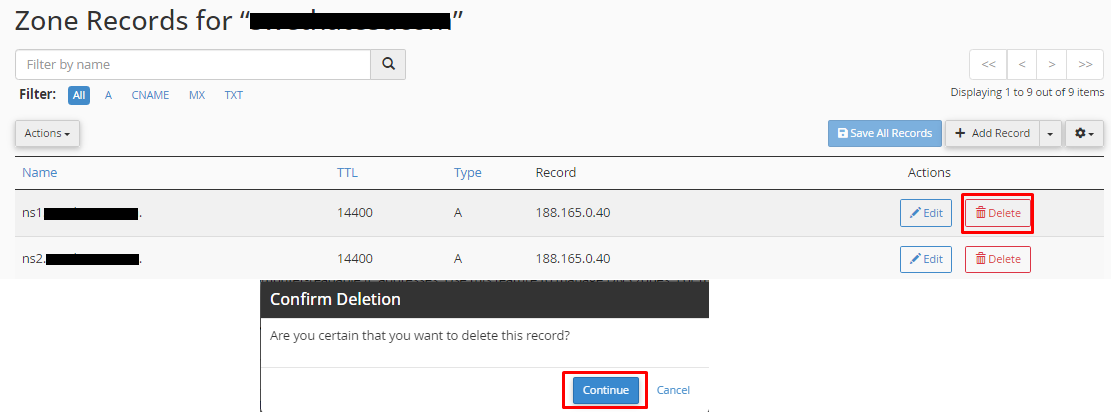
Make sure to click the “Save Record” button to finalize the deletion.
Once you are done adding or editing the DNS records, you have to wait for some time to know if it works or not, because it will be under propagation.
Changes typically propagate within 24 to 48 hours, although some ISPs might update their records faster.