 SeekaHost.com Client Area
  SeekaHost.app
  SeekaHost.co.uk
  SeekaHost.in
How to Clone a WordPress Website in SeekaHost?

By Aslam Saah
Website cloning:
Website cloning is just taking a copy of your existing website files, content, and themes to create a new website. It allows developers to create a new website without the need to create from the scratch.
It eliminates the business planning, market research, and strategy implementation for your User Interface Design from you to do.
Seekahost provides WordPress hosting with a lot of features like WordPress Cloning, Staging environment, and many.
There are some reasons for you to do the website cloning as follows,
- Compatibility test
- Move site to a new server
- Backup Your website
- Clone the website for your similar project
Steps for how to clone a WordPress Site
Step1: Login to your SeekaHost Client area account, you can manage your WordPress from there.
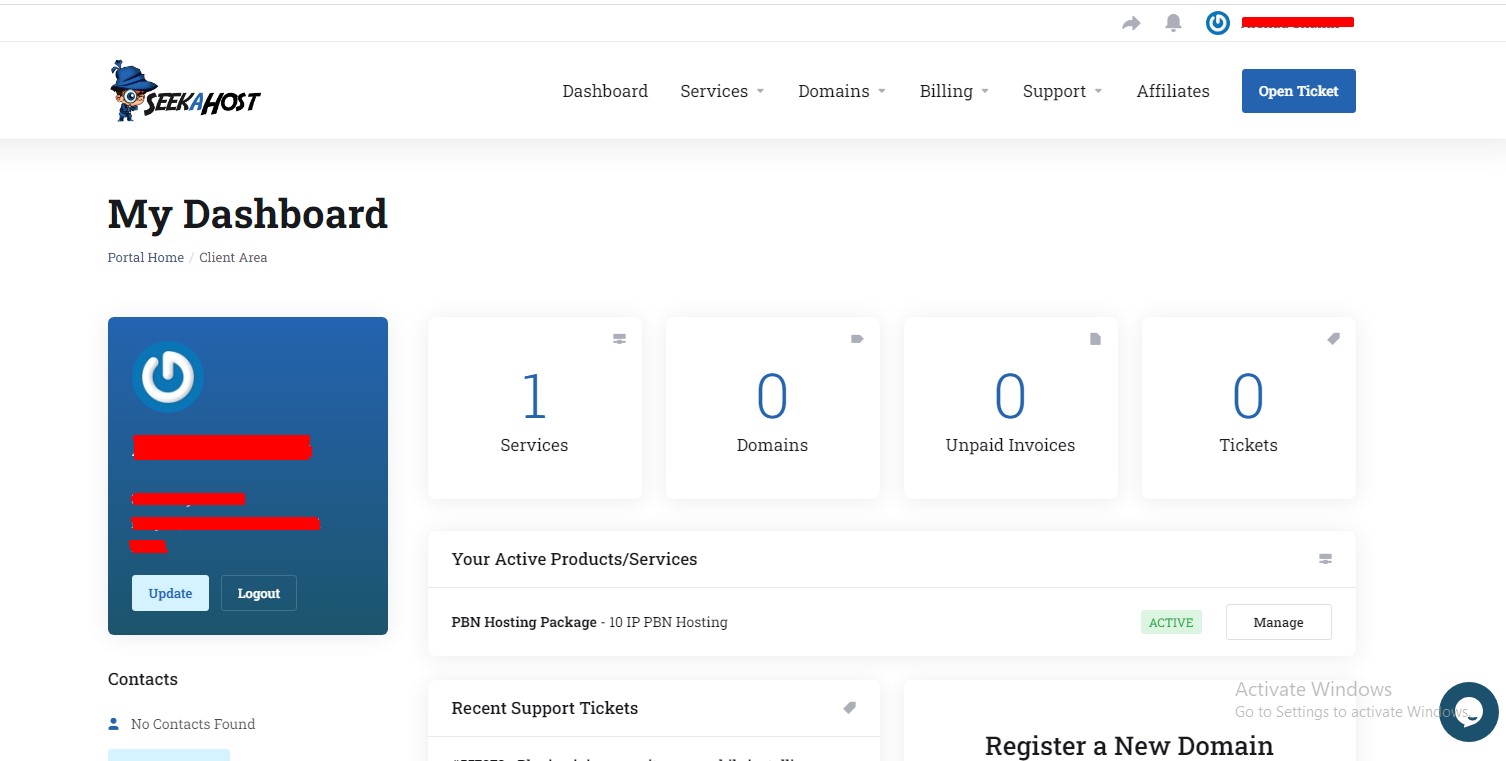
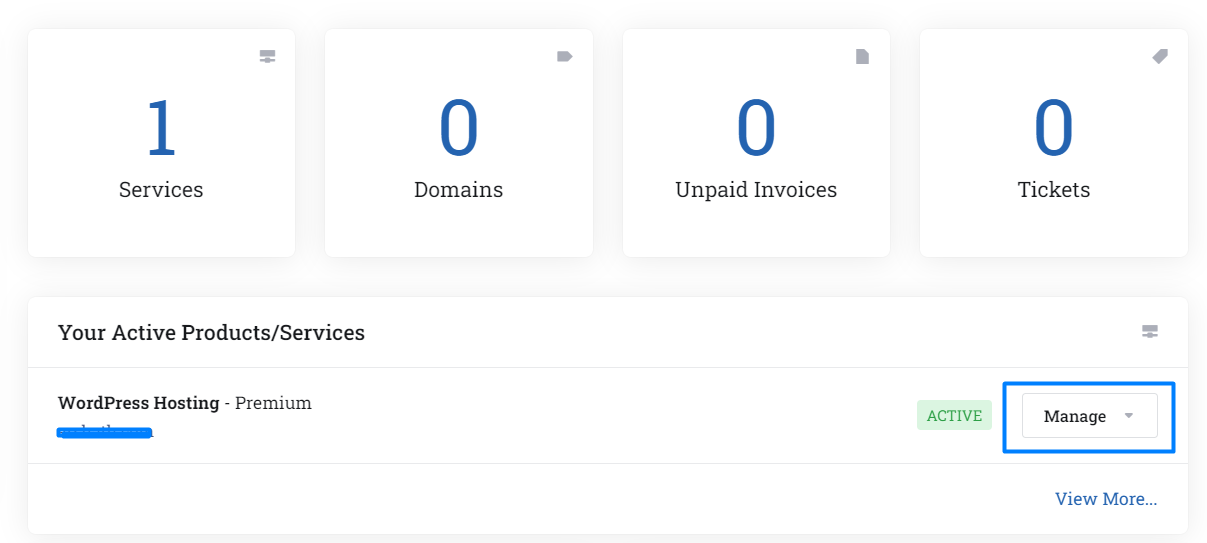
Step2: Go to the Services, Select the package from “My Products & Services”

or select the package directly from the active products shown in the dashboard.
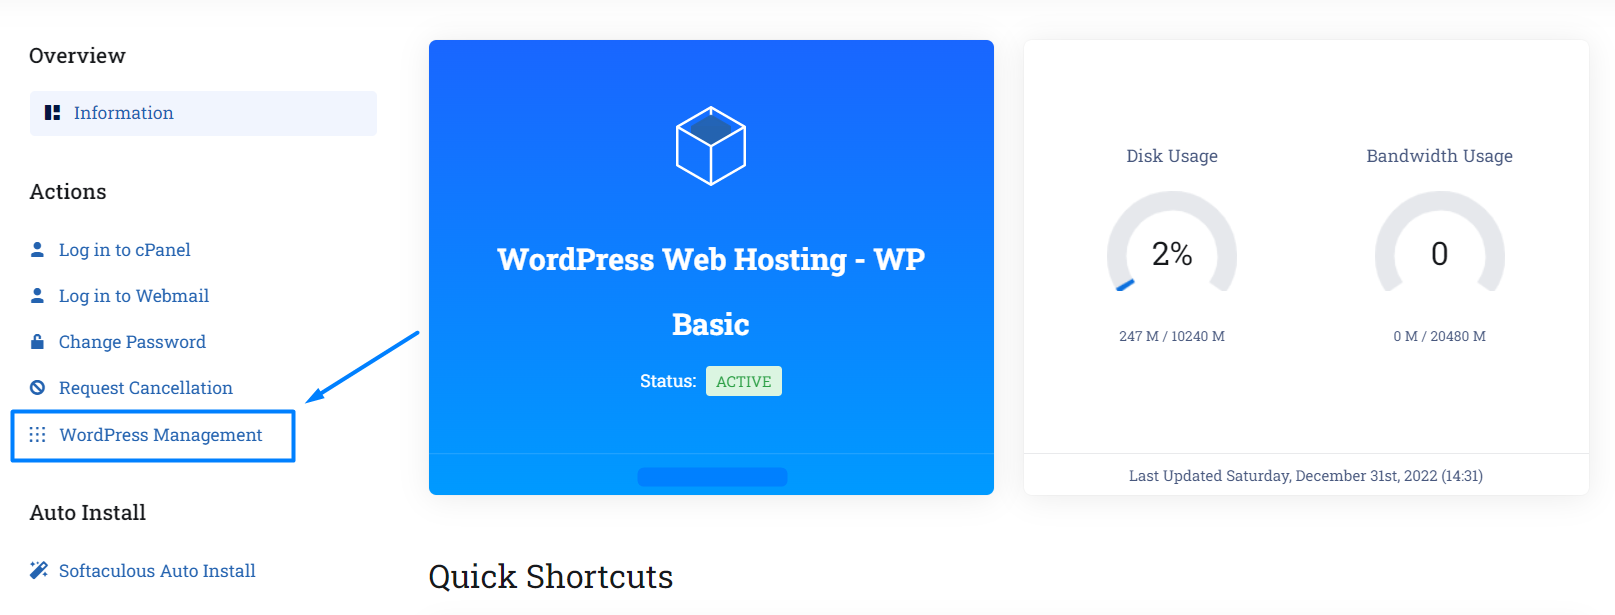
Step3: The “Managing Basic WordPress Hosting” page will display. There Click the WordPress Management as shown below image.
Step 4: Inside the WordPress manager, you will see the product name and Installation URL there. Then, click the Edit symbol which is on the right-hand side of the page.
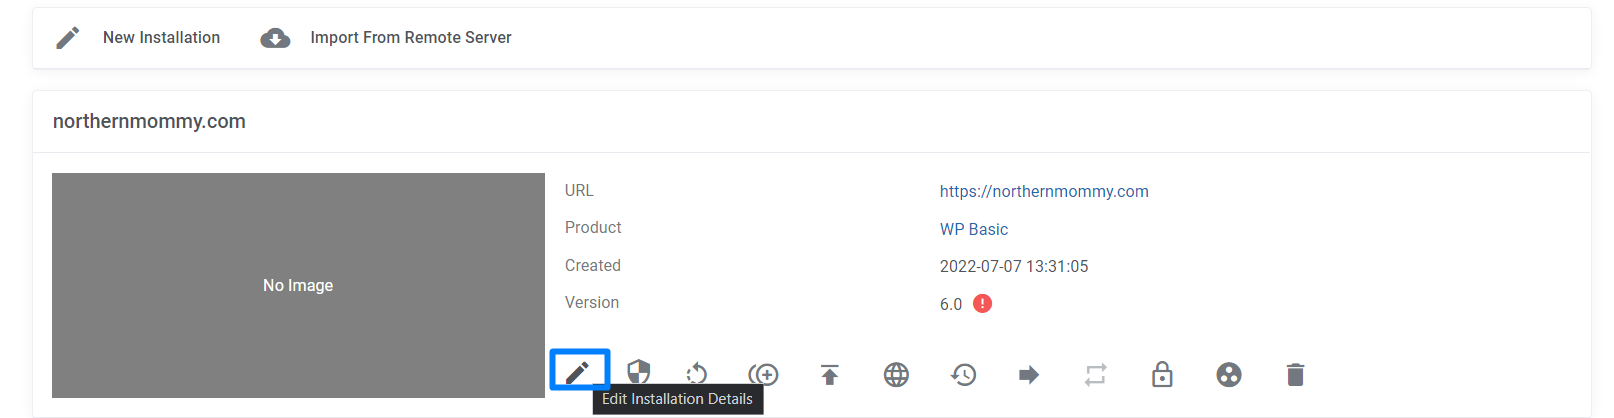
Step 5: Next, you will see the Installation details inside that. Under the “Action” click “Clone” to initiate the process.
Step6: A new window will open. Enter the required details for the cloning process.
Protocol: Select the type of protocol that you want to create for your cloning website(http://, https://, http://www, https://www).
Domain: Type in the domain on which WordPress will be installed. So, enter your domain name here.
Directory: Enter the directory name on where the WordPress will be installed. For example “WordPressclonesite” or default name.
Database Name: Type the database name for this installation. For example, CloneDB or default name.
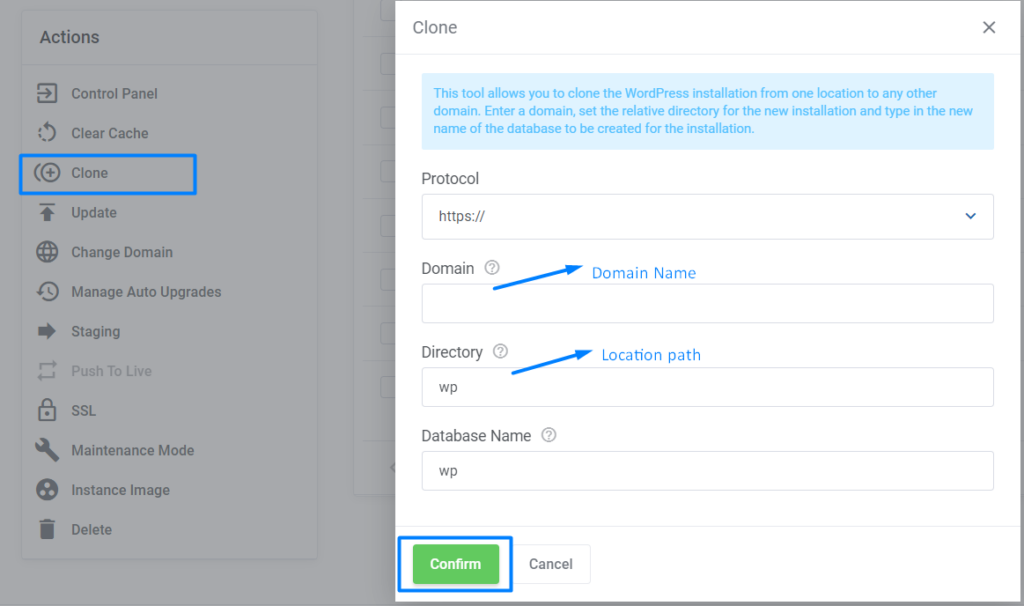
Step 7: At last, Click confirm to finish the cloning process.
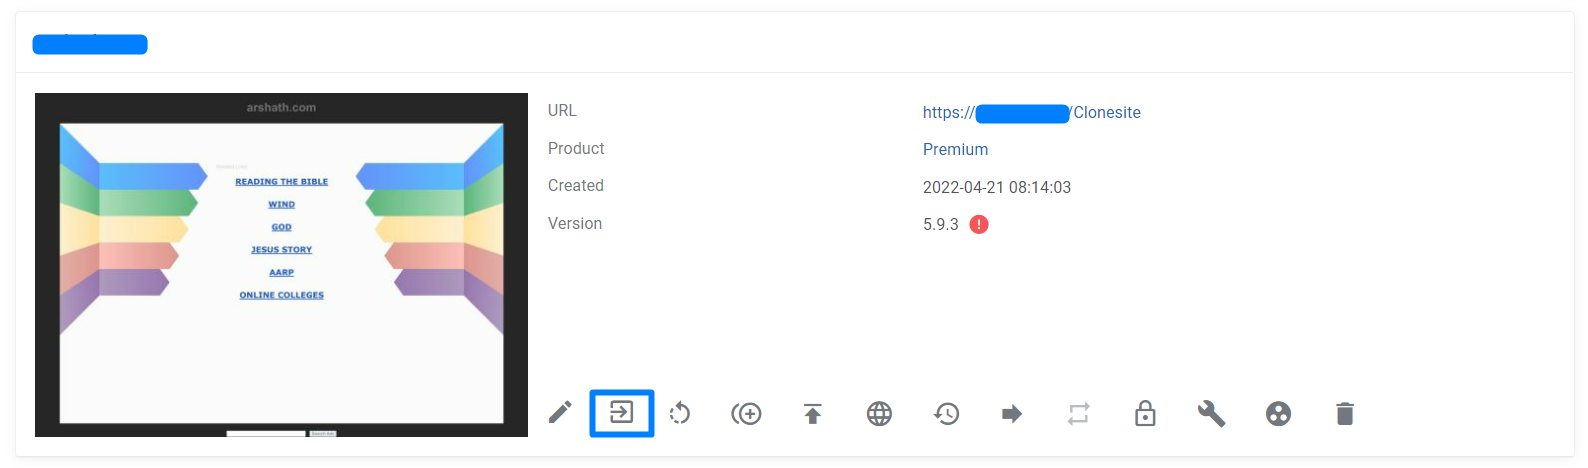
Now you have successfully created the clone of your WordPress website. You can see the created directory in the File Manager section.
Go to the WordPress manager section. There you can see the Cloning website details. Go to the WordPress manager section. There you can see the cloning installation details. Click login to control panel option directly from here.
If you are a registered user in SeekaHost and have any queries to be clarified or issues to be sorted, you can raise a ticket through the client area dashboard or email to support@seekahost.com. For immediate interaction or guidelines, contact our support team available in LiveChat at the right bottom corner of the website.