SeekaHost.com Client Area
  SeekaHost.app
  SeekaHost.co.uk
  SeekaHost.in
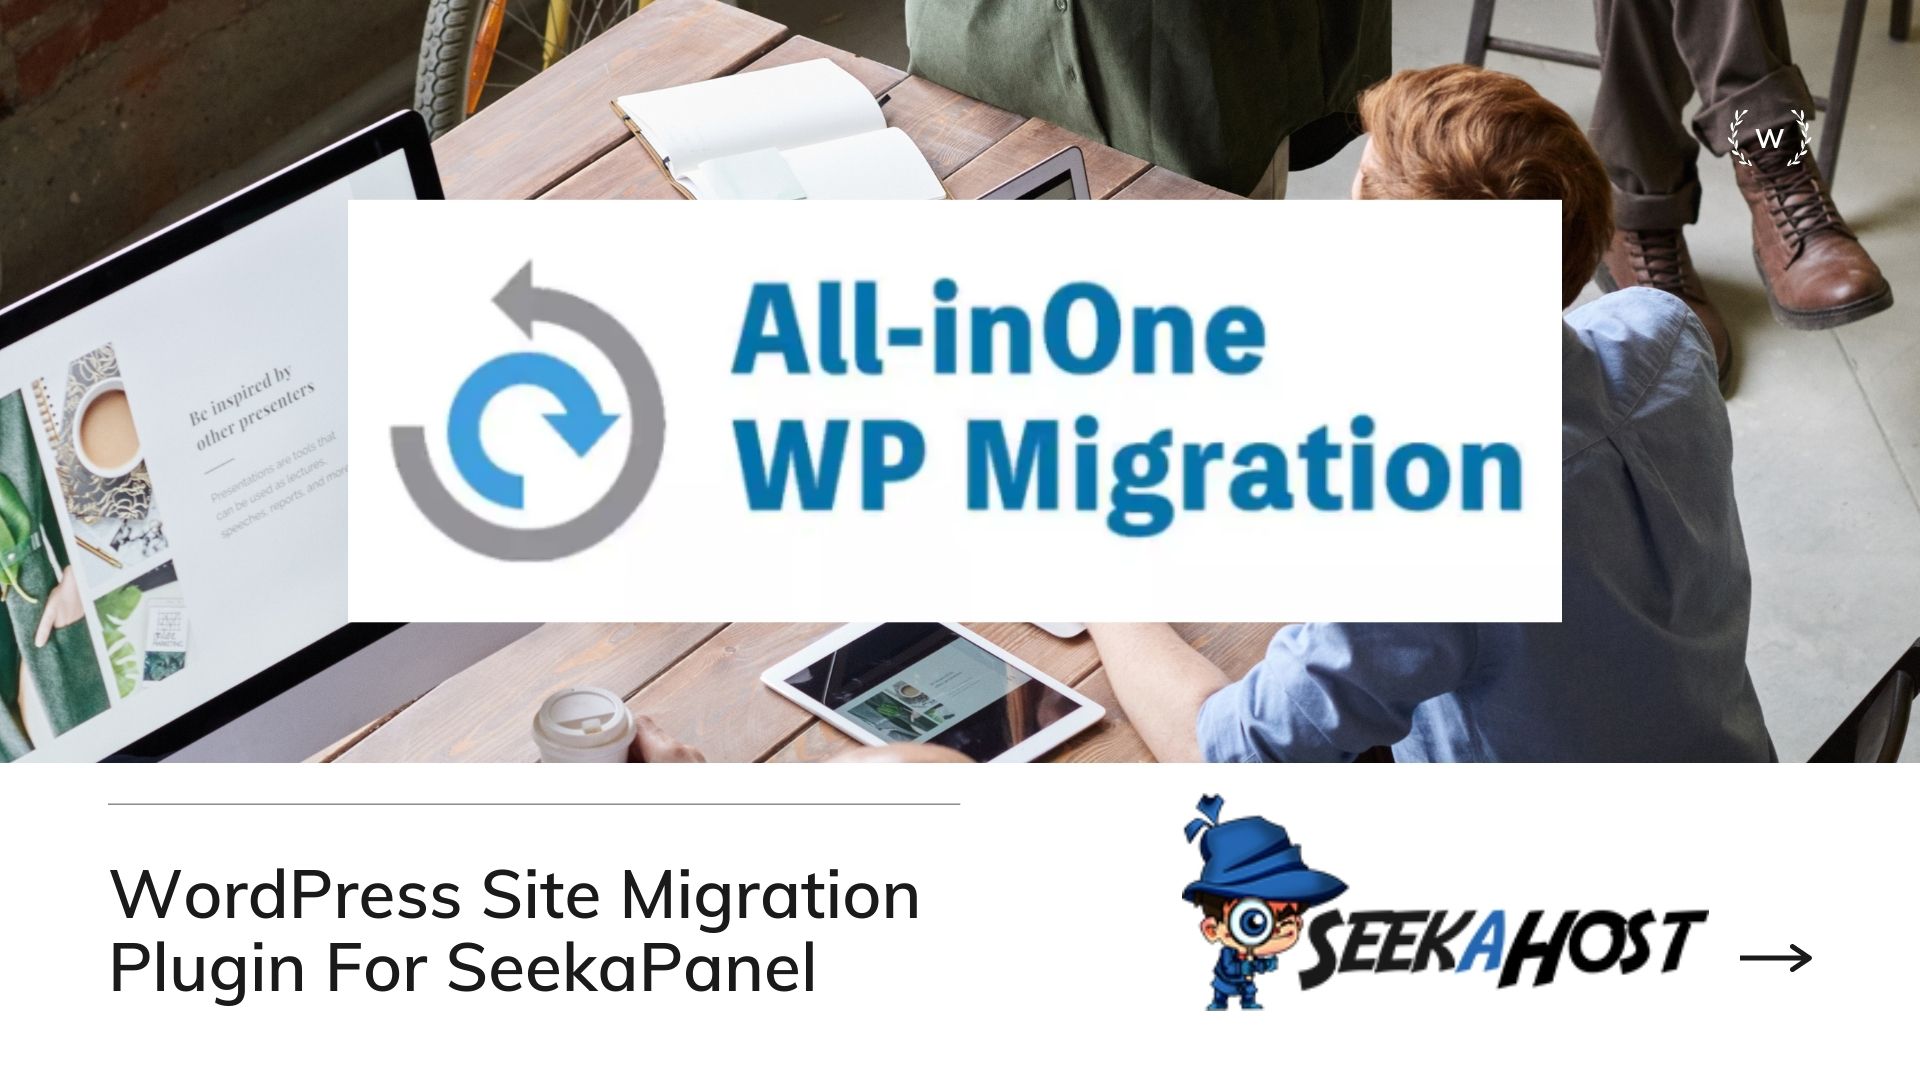
Use All-In-One WP Migration To Move A Website Without Down Time

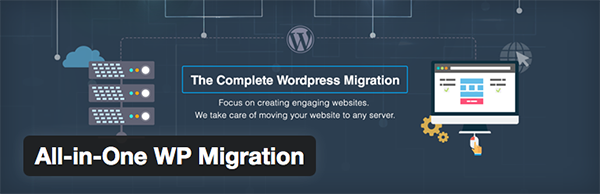
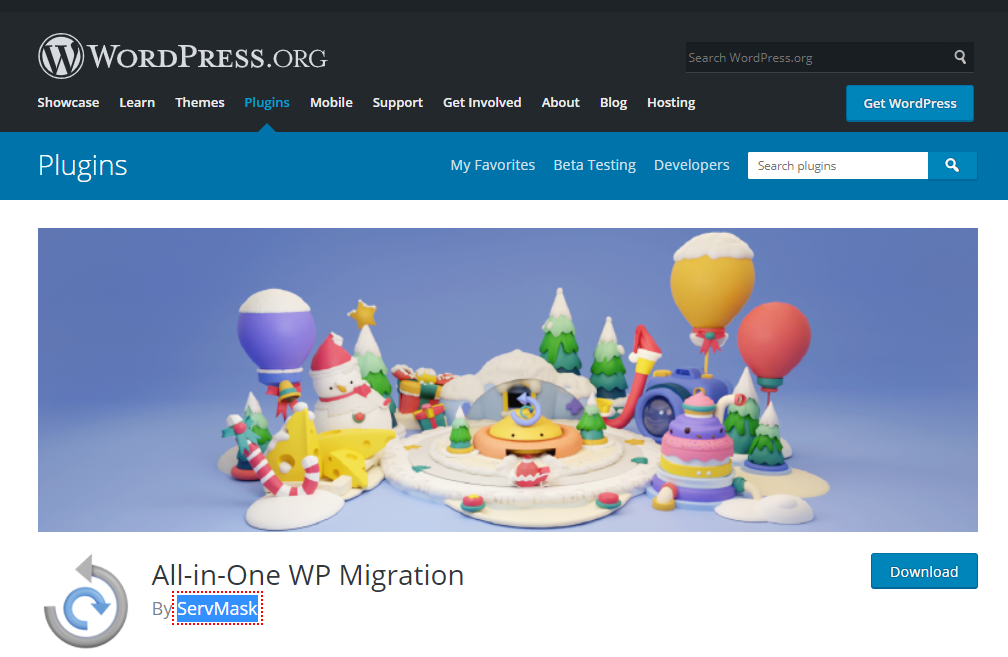
The All-In-One WP migration by ServMask is one of the best WordPress migration plugins and we recommend it for all our clients who are using the WordPress hosting control panel.

When it comes to moving a WordPress websites the main concern is the downtime. That’s stopping many people from changing their WordPress host and get on a good WP hosting plan.
On our live chat, we get daily chats asking us about is fine to change my host and would there be downtime when migrating to SeekaHost. So I have written this guide to explain to you the process of using one of the best plugins that will get your site moved easily. Please note that if you have purchased a WordPress hosting package from SeekaHost WordPress hosting site we will help you move your site free of cost. So just open a ticket via the client area and our team will do that for you.
Why use the All-In-One WP Migration?
Migrating a Website without any downtime is very much important to avoid losing some potential customers.
Website Migration is a tedious process and also the person who migrates the website must have the necessary knowledge and practical experience. So here are the simple steps mentioned below to migrate your website without any downtime.

Simple WordPress Migration
If it a WordPress Website then it is simple to migrate using some powerful plugins. Manual Migration is very troublesome process because if the server location is changed then the location of the entire file system will get changed. So changing location or renaming the entire file is not possible to make the migration successful. So we can migrate using some powerful plugins like All in One WP Migrator or Duplicator. These two are the exclusive WordPress plugins to migrate or to back up the entire website.
Before starting Website Migration, check the things to be considered before migration process. So that it will give some clear view about the migration process.
Migrate using All in One WP Migrator
Install the All in One WP Migrator and active the plugin. It is recommended to uninstall the security and cache plugins to avoid issues.
Follow the below steps after installing the plugin.
Old Server / Hosting
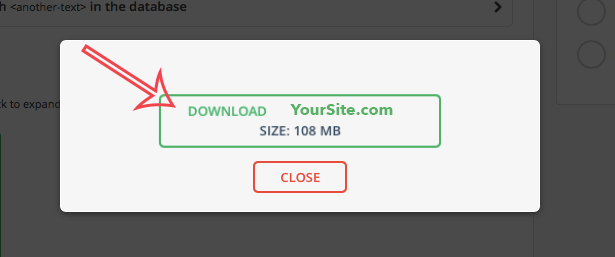
- Click on the “All in One WP Migrator” in the left most column and click “Export”.
- As a result there will be an option as “EXPORT TO”, click on it.
- In the Option select “FILE”
- In the POP UP click on “Download File”.
- Save the file in your desktop.
New Server/ Hosting
- Install the plugin in the new WordPress website.
- Click on the “All in One WP Migrator” in the left most column and click “Import”.
- Select the File from your Computer.
- Website is Successfully Migrated.
- We must delete the Plugin after the migration process.
Watch the Below video for more reference.
Steps to Migrate a Website Without Downtime
- Buy the new Hosting and create hosting for your domain name. (Ex: www.example.com)
- Don’t change the NameServer to your new hosting.
- Before that you must upload the Website Backup and want to check whether the site is perfect or not.
- For that you need to change the host file in your Personal Computer.
- In Windows 8, 8.1, 10 go to C:\Windows\System32\drivers\etc and there you can find a file name hosts.
- Open the file in Notepad or Notepad++. (This requires Administrator Access)
- Collect the IP Address of your new Server and add it in your host file.
- Example:
- 192.168.123.12 www.example.com
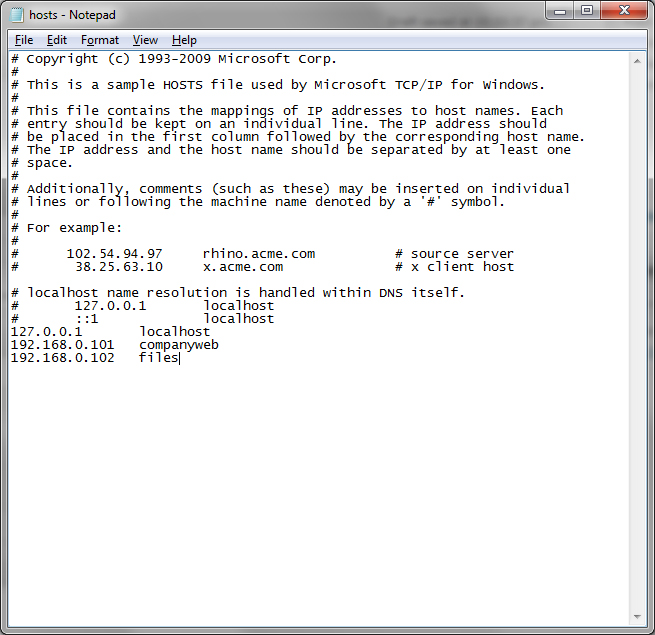
- 192.168.123.12 www.example.com
- Example:
- Open the Command Prompt and Add the below lines to flush the DNS Resolver Cache.
- ipconfig /flushdns
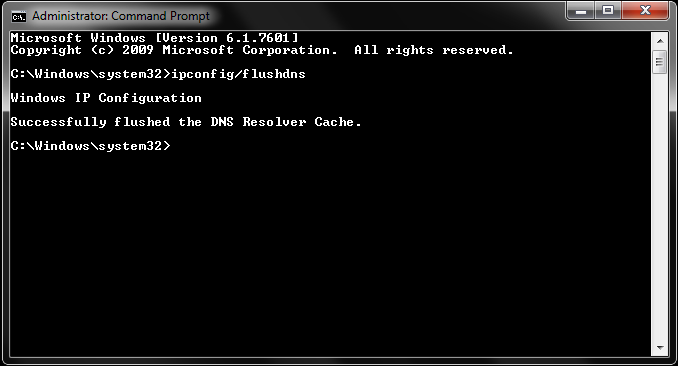
- ipconfig /flushdns
- Now if you open your website on your Personal Computer where you edited the host file, you will be pointed to the new server. But the People from other computers will be normally pointed to the old server where DNS NameServer is pointing.
- Once after Migrating and checking the Website, Change the Host file on your Personal Computer and Change the NameServer details as well.
You can watch the below video to see the easy tutorial.
That’s how to use the all-in-one WP Migration plugin to easily move your WordPress sites and blogs to SeekaHost.
If you need any support in moving your WP sites to SeekaPanel or cPanel WordPress hosting package, please get in touch with us.
We can help you choose the best plan and move it fast.