
 Client Area
  SeekaHost.app
  SeekaHost.co.uk
  SeekaHost.in
How To Update Private Nameservers In NameBright

By Surya
Table of Contents
Every domain registrar has a different way or interface for updating the Private Nameservers. In this article, you will be guided on how to update private nameserver details in NameBright.
If you would like to know more about PBN Hosting Packages, then you can contact of Live Chat team for assistance.
Set Private Nameservers in NameBright
STEP 1: Login
Login to your ‘NameBright’ account.

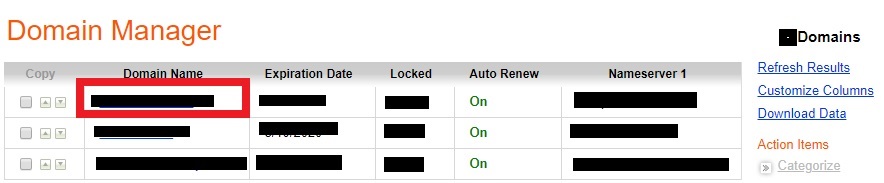
STEP 2: Domain Manager
Under ‘Domain Manager’, click on the particular domain to update the nameserver.
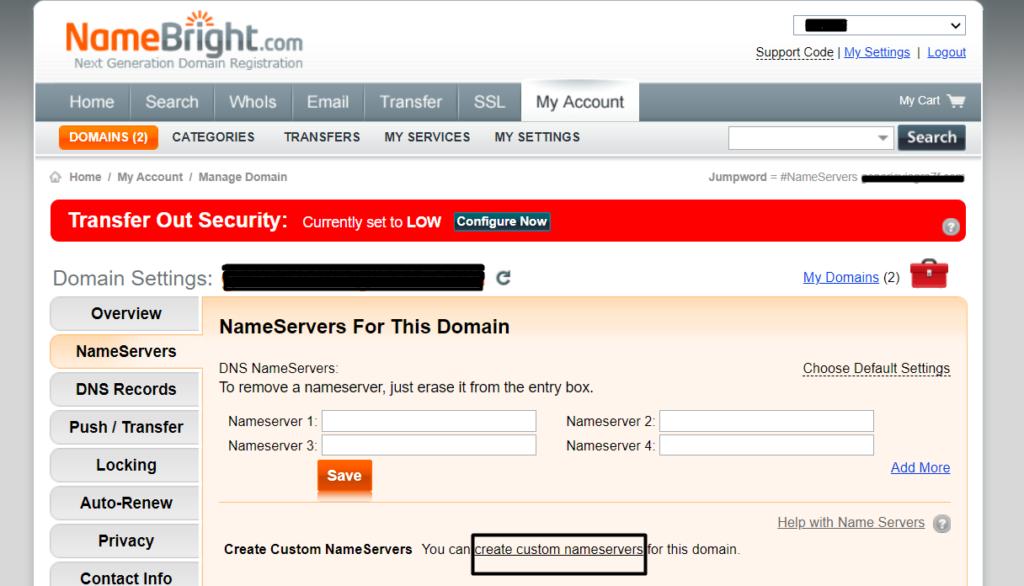
STEP 3: Dashboard
On the left-hand side of the dashboard, click on ‘Nameservers’. There you can find ‘Create Custom Nameserver’ at the bottom.
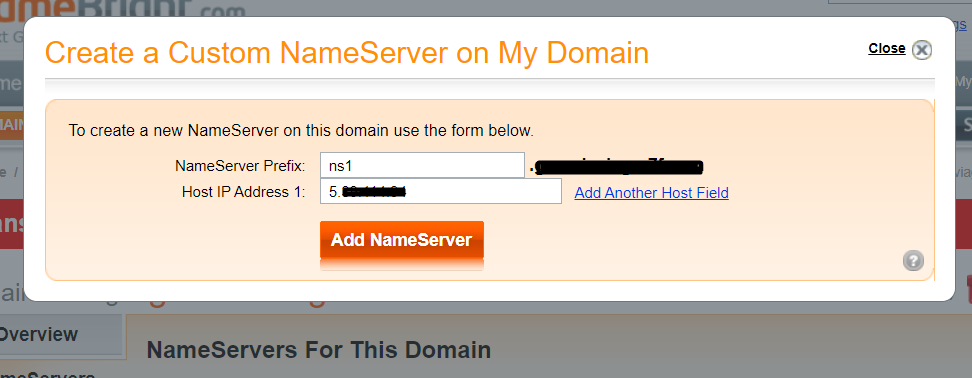
STEP 4: Adding Nameservers
Below ‘My Custom Nameservers’, click on ‘Create a New Custom Nameserver’ to create it. Enter the prefix of the nameserver and its corresponding IP address. Then, click on ‘Add Nameserver’. Similarly, you can create for other nameservers of the domain.
STEP 5: Updating Nameservers
Under the option ‘Nameservers For This Option’, enter the nameservers of your domain and click ‘Save’.
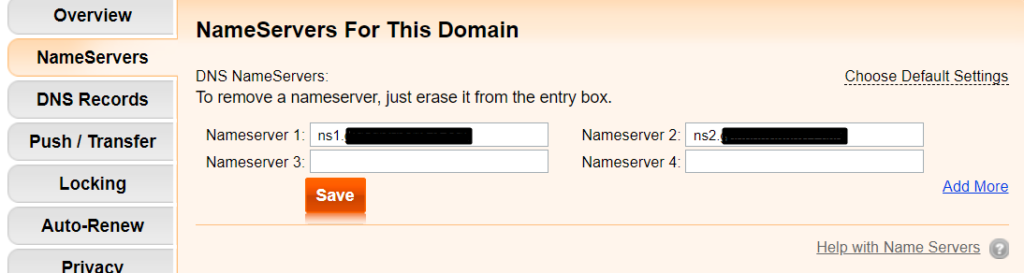
Finally, you have updated the private nameservers in Namebright.
[Tweet “How To Update Private Nameserver In NameBright”]
If you like to know more about the Private Name server and why it’s used on domains hosted under PBN Hosting package, contact our Live Chat Support or mail to [email protected] for more details.